Saab RF-35 Draken - Completing the build
It's time for the final blog post for this build. I have secretly been finishing up this kit, but have been to lazy to write update posts, but here it is.
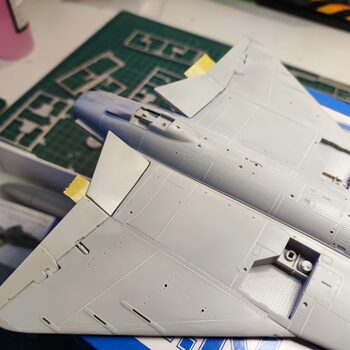
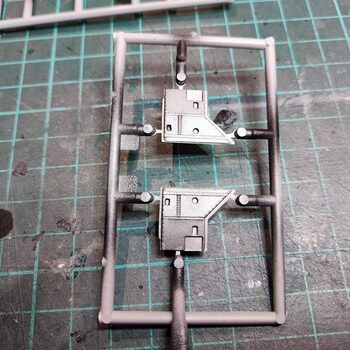
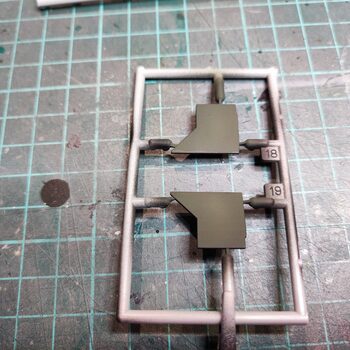
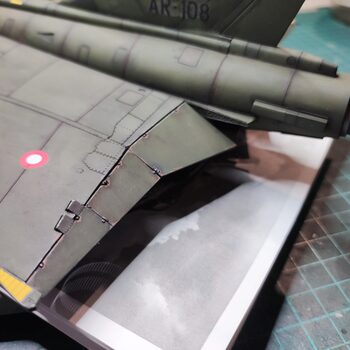
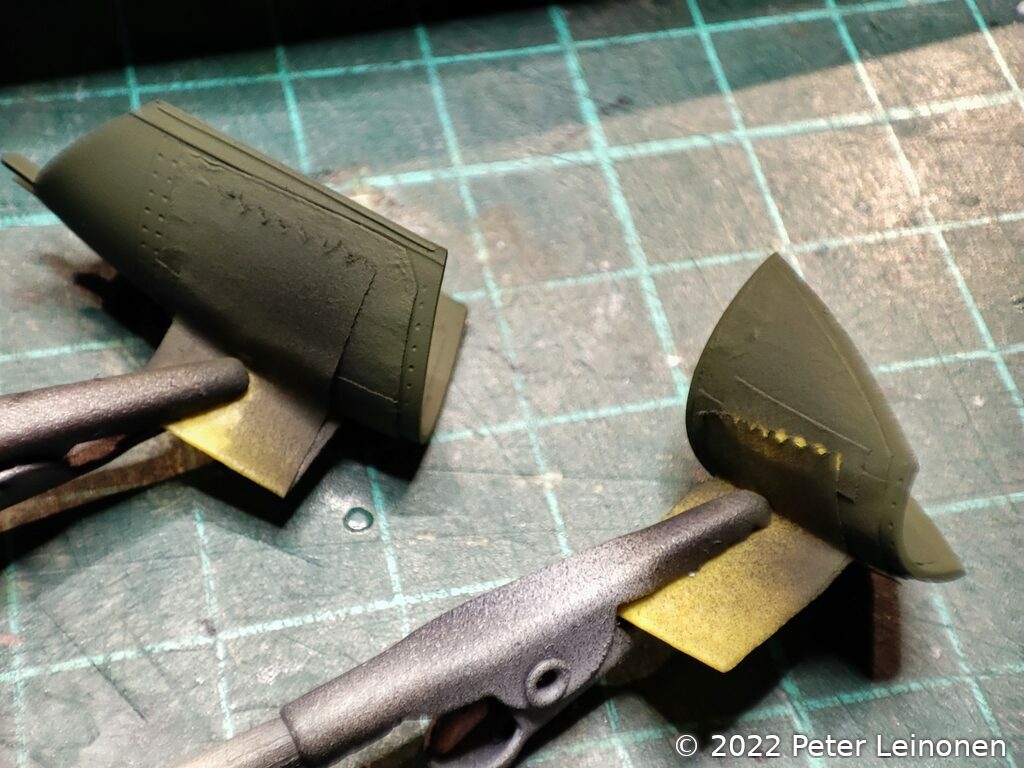
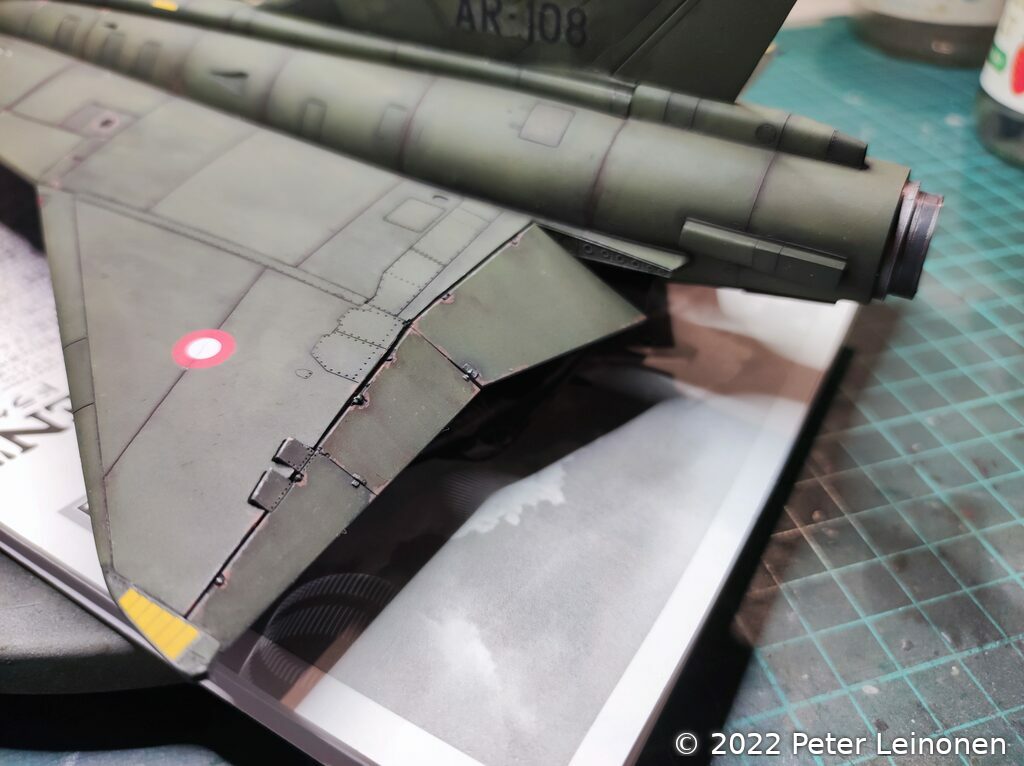
Wing flap assembly
I glued on the wing flaps that I had previously cut off, and installed them in a flaps down configuration. Because when the aircraft is stationary, the flaps are down.
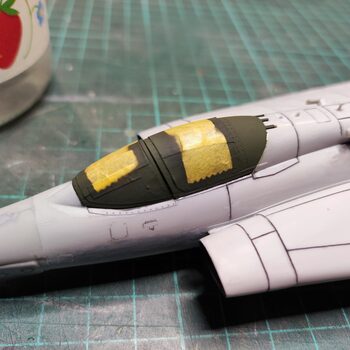
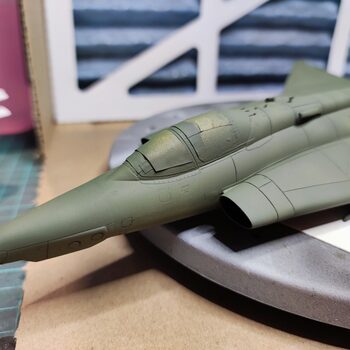
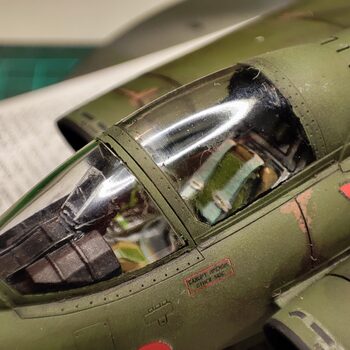
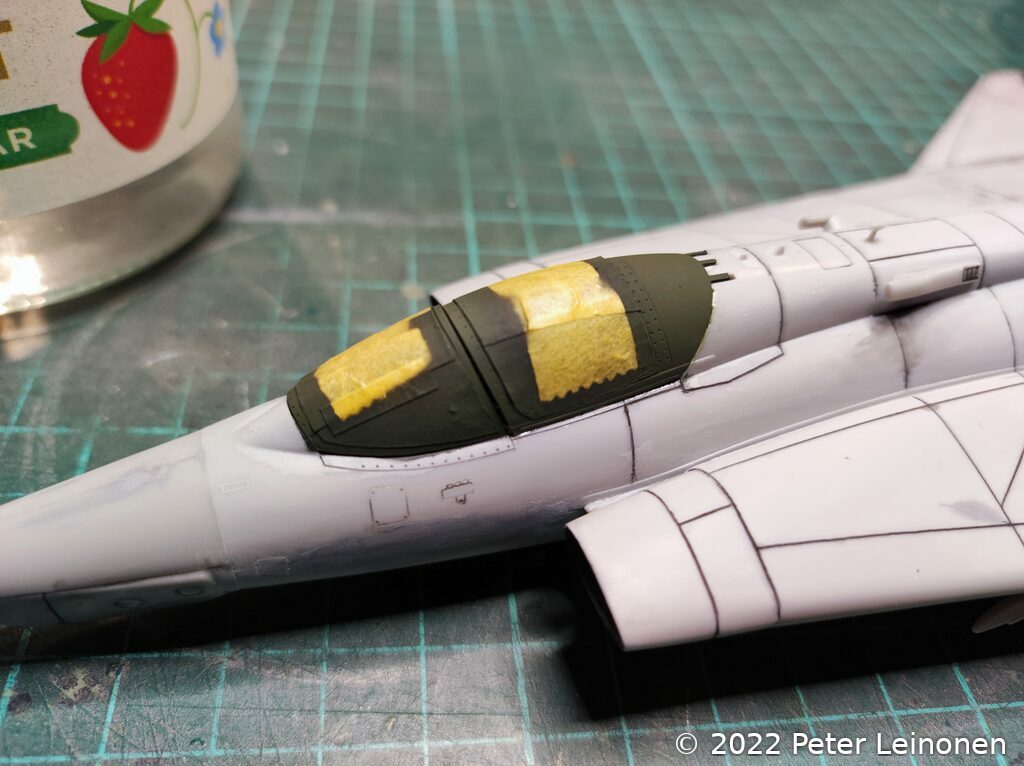
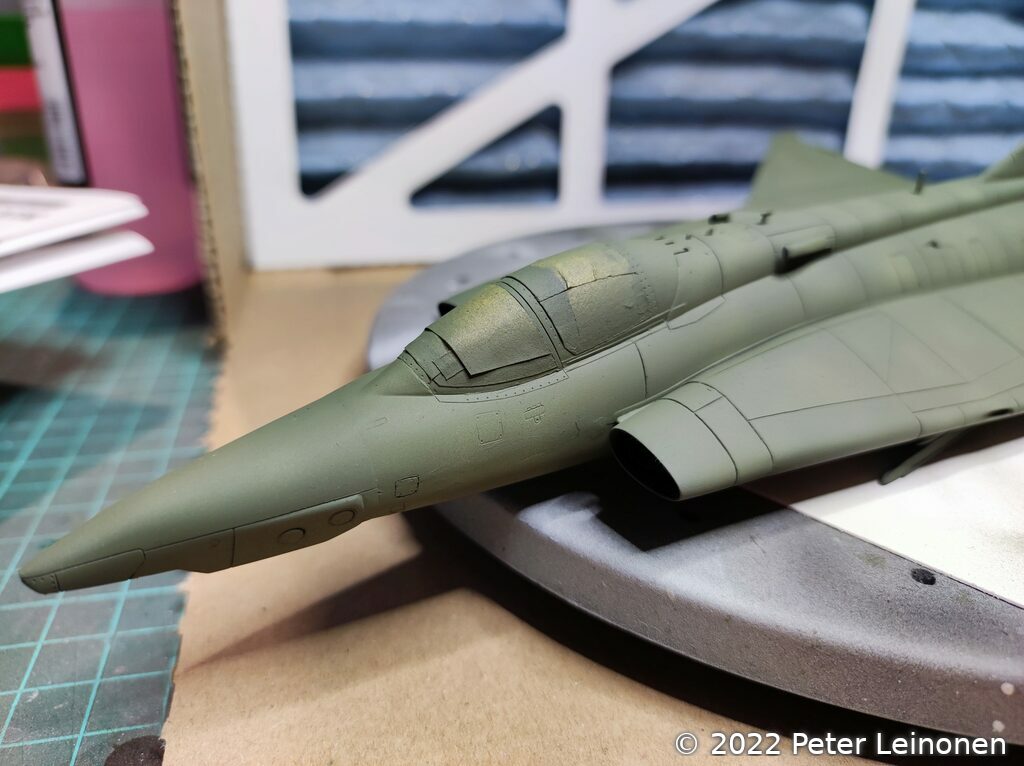
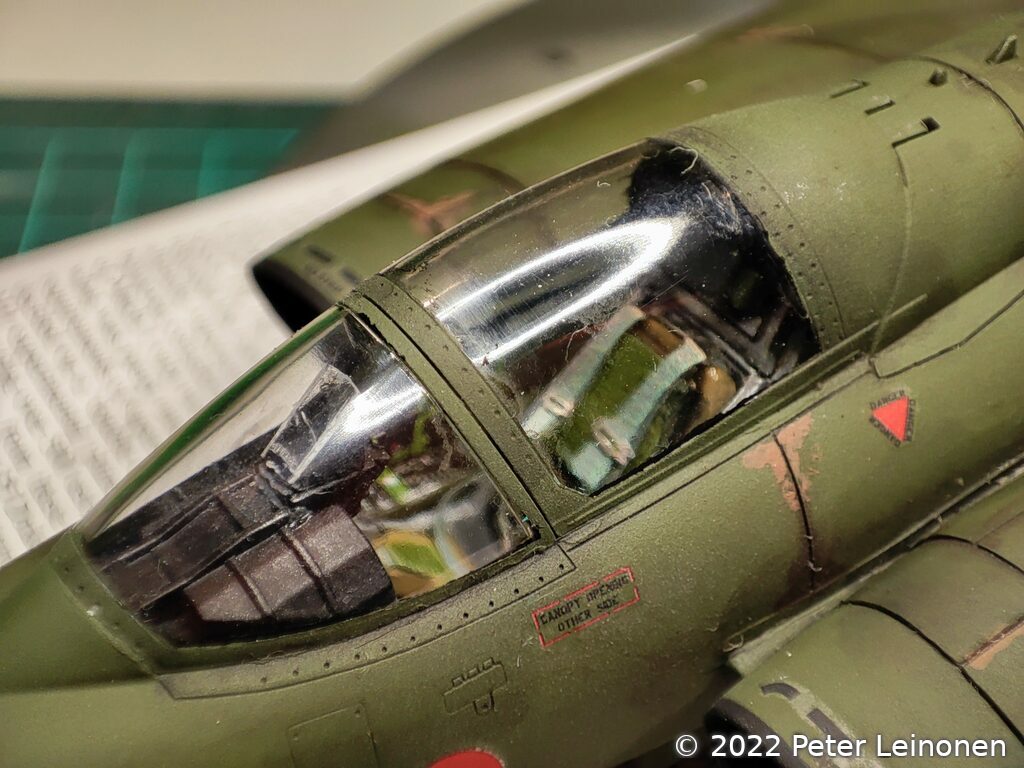
Painting the canopy
The canopy was painted with my airbrush, on the inside and outside. First with black primer and then green.
I then installed the canopy on the fuselage using PVA glue.
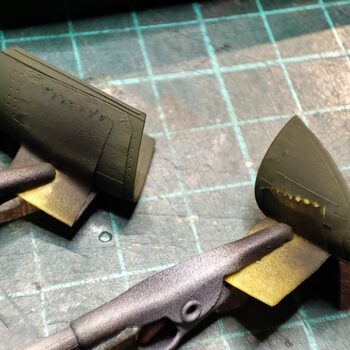
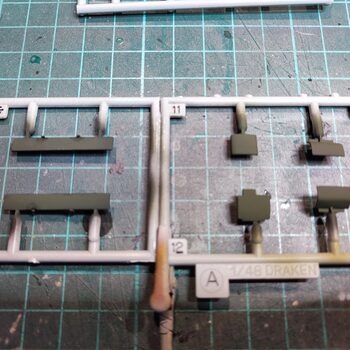
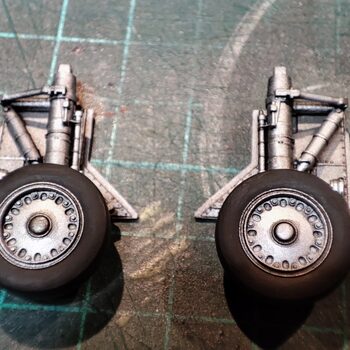
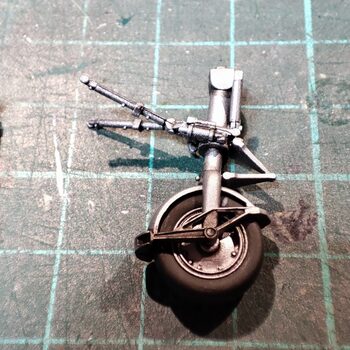
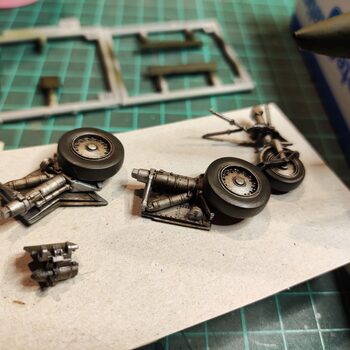
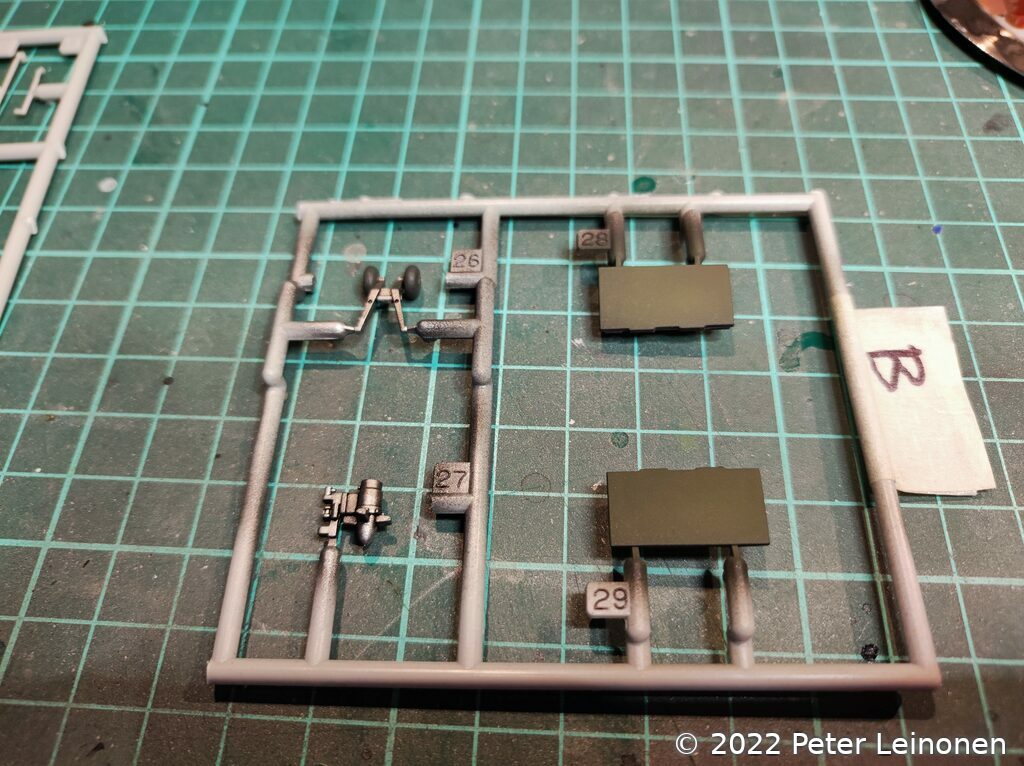
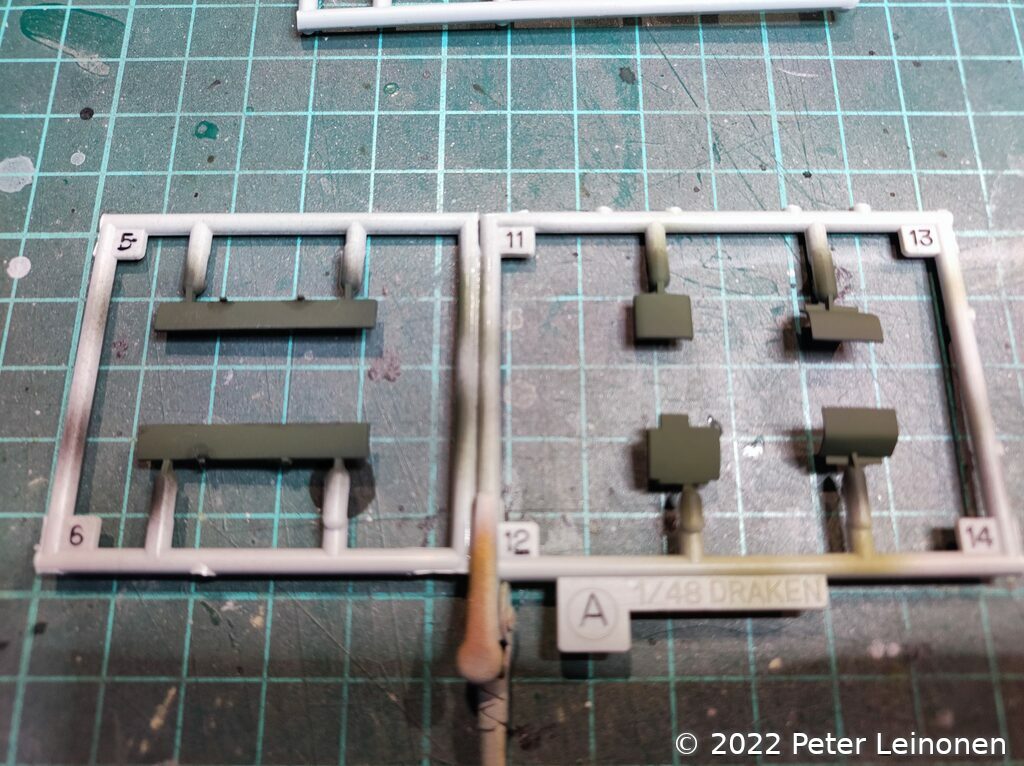
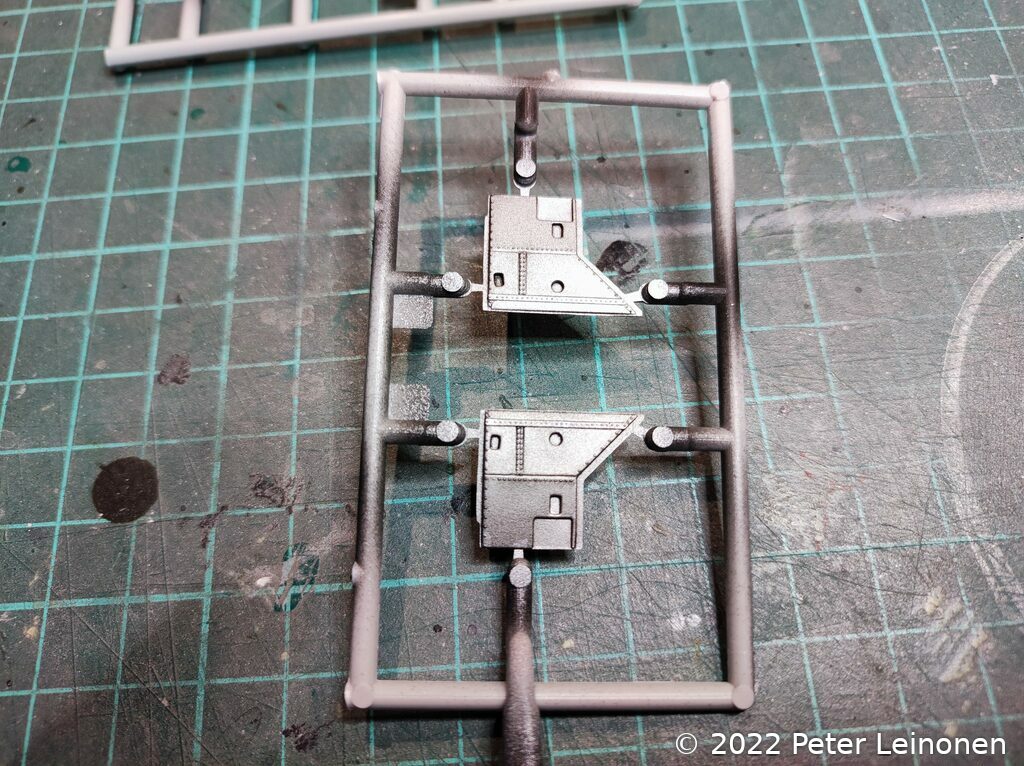
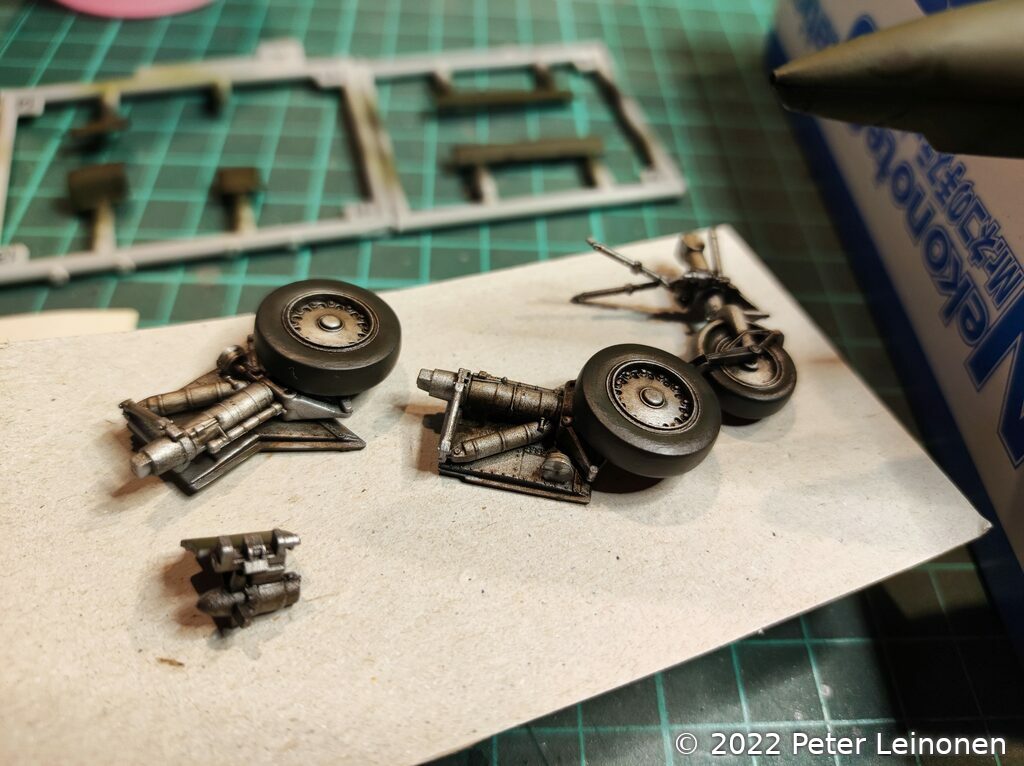
Painting wheels and flaps
I decided to assemble some parts directly on the sprues, and then also paint them directly on the sprues. Makes life easier.
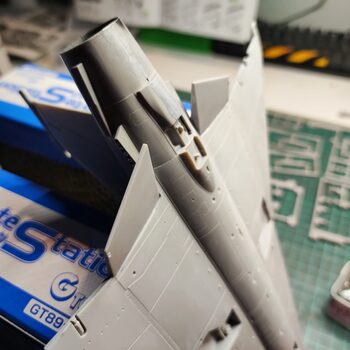
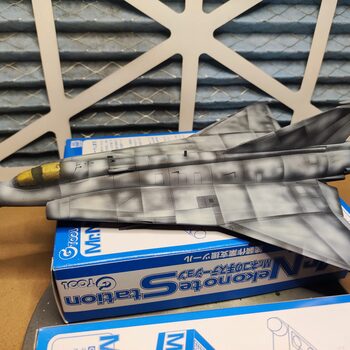
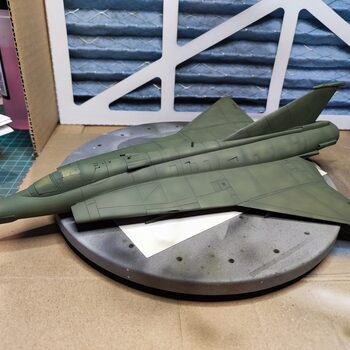
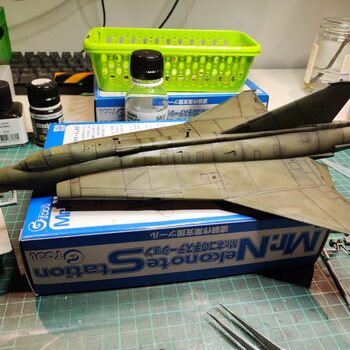
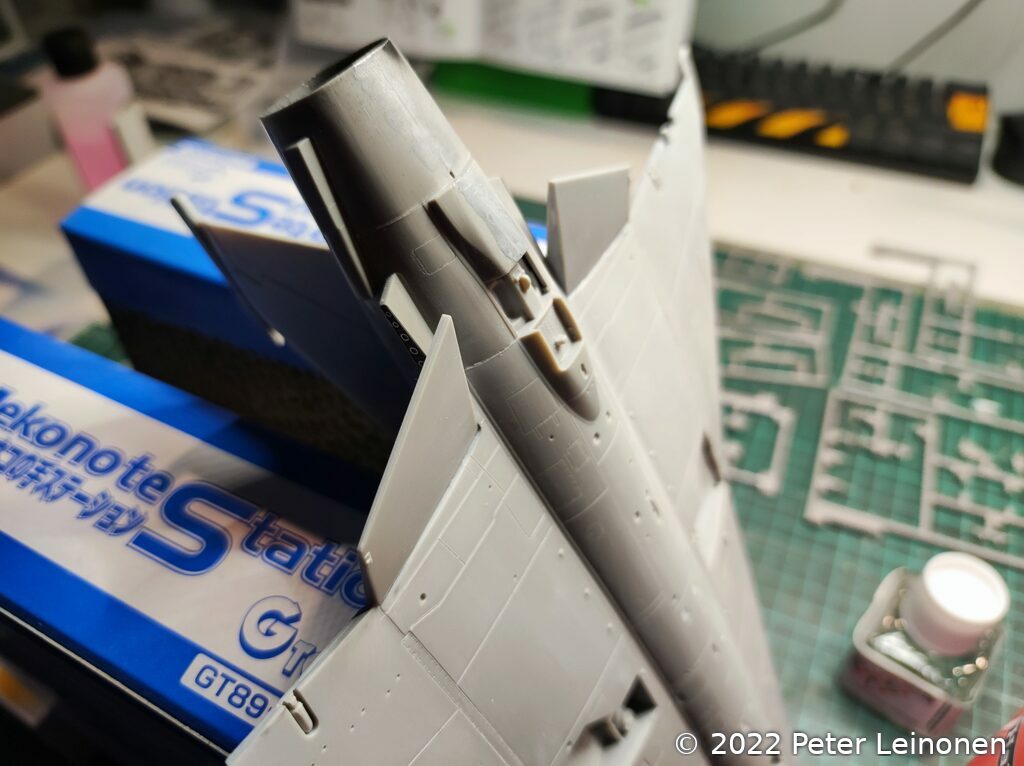
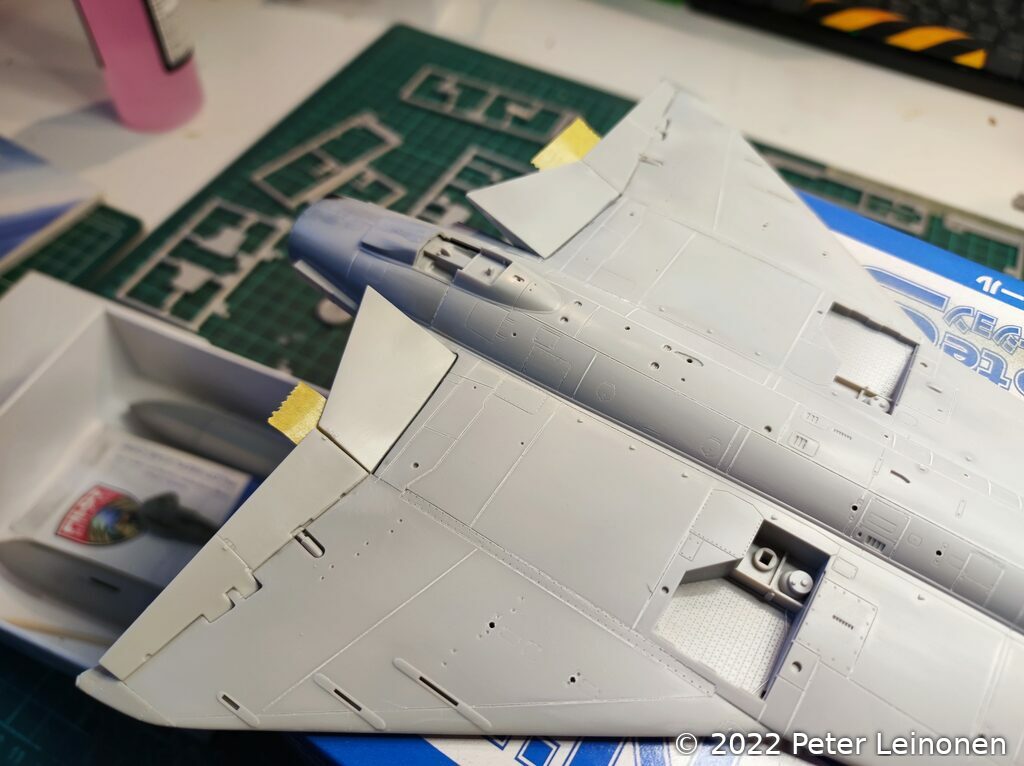
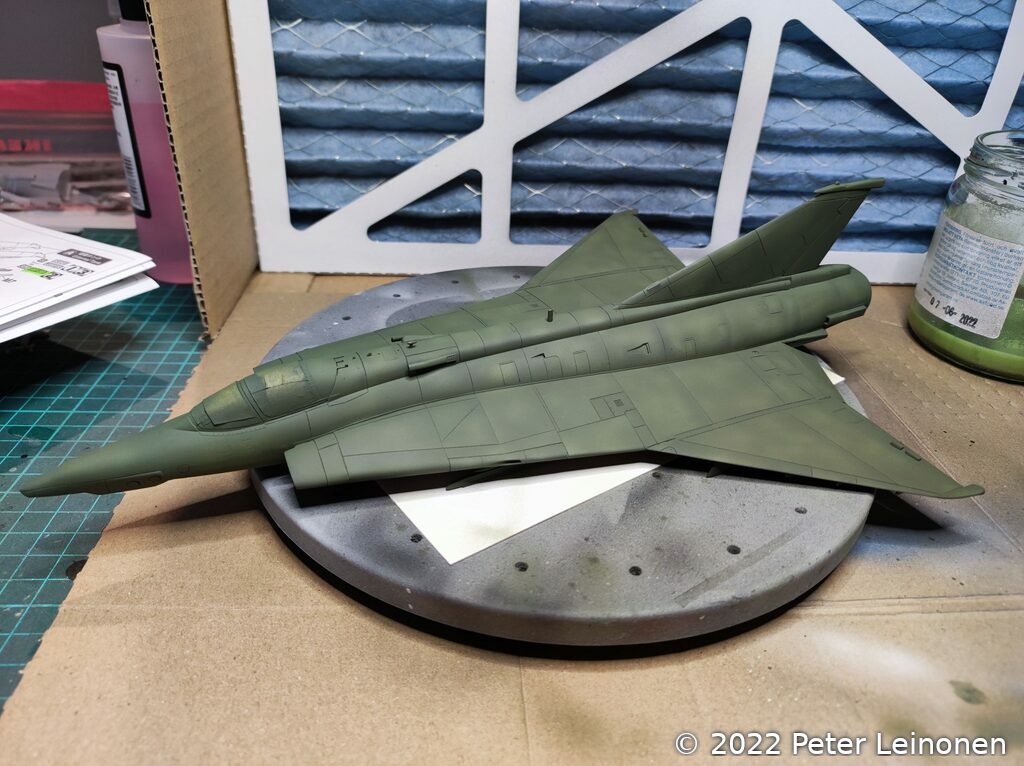
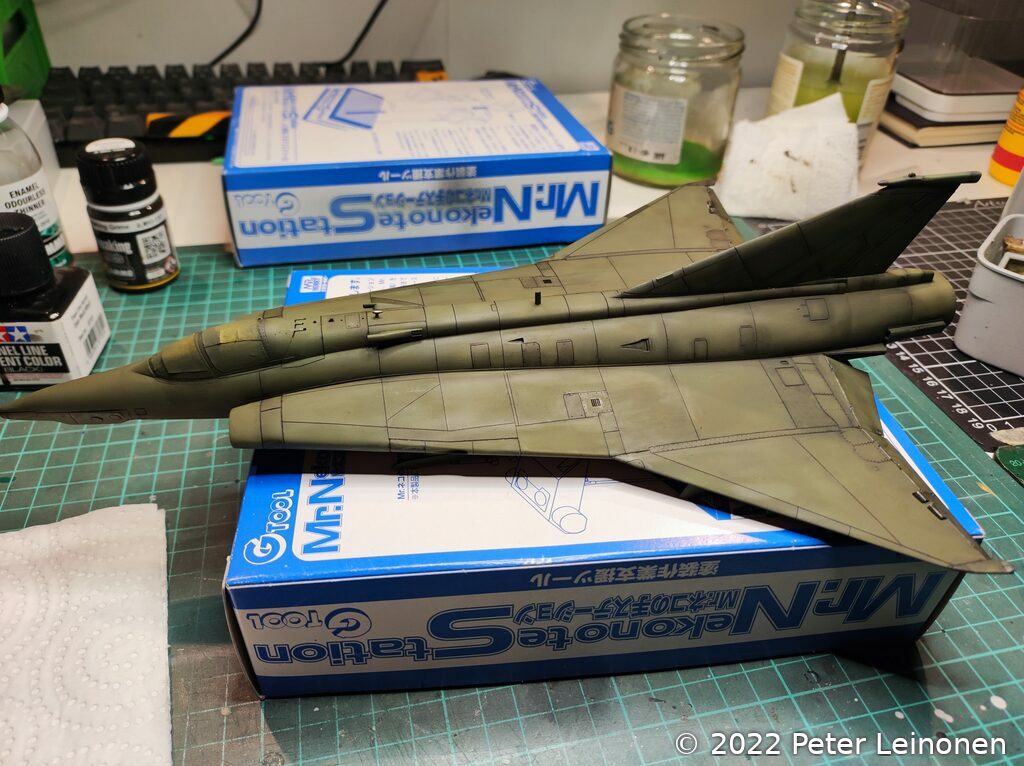
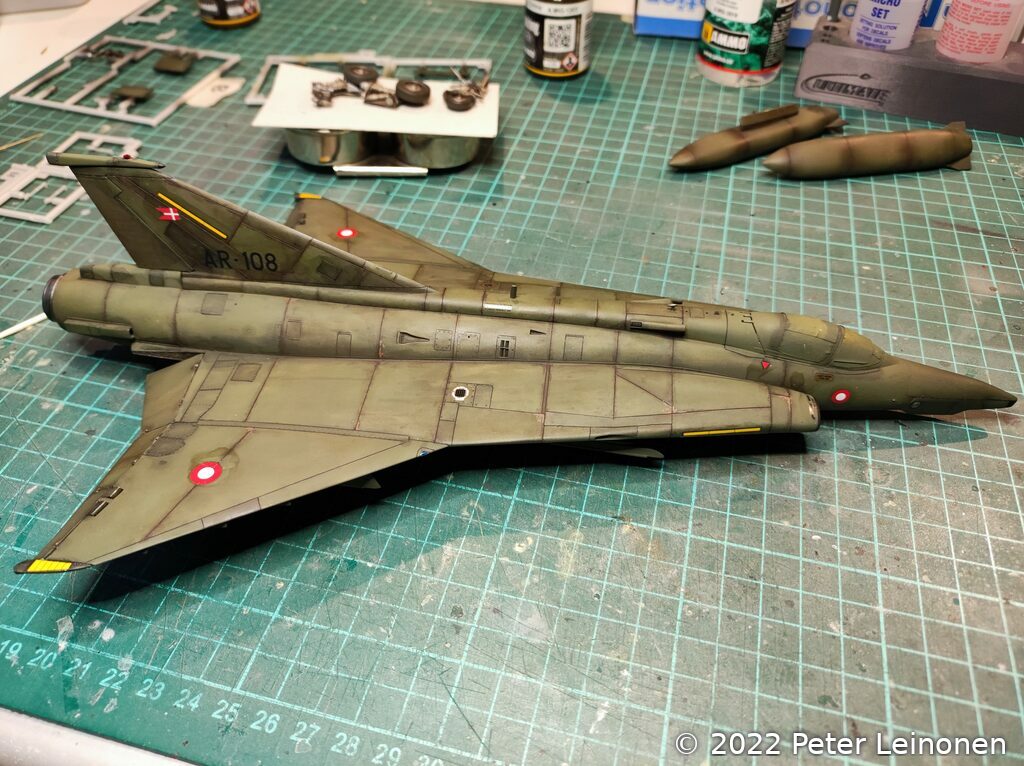
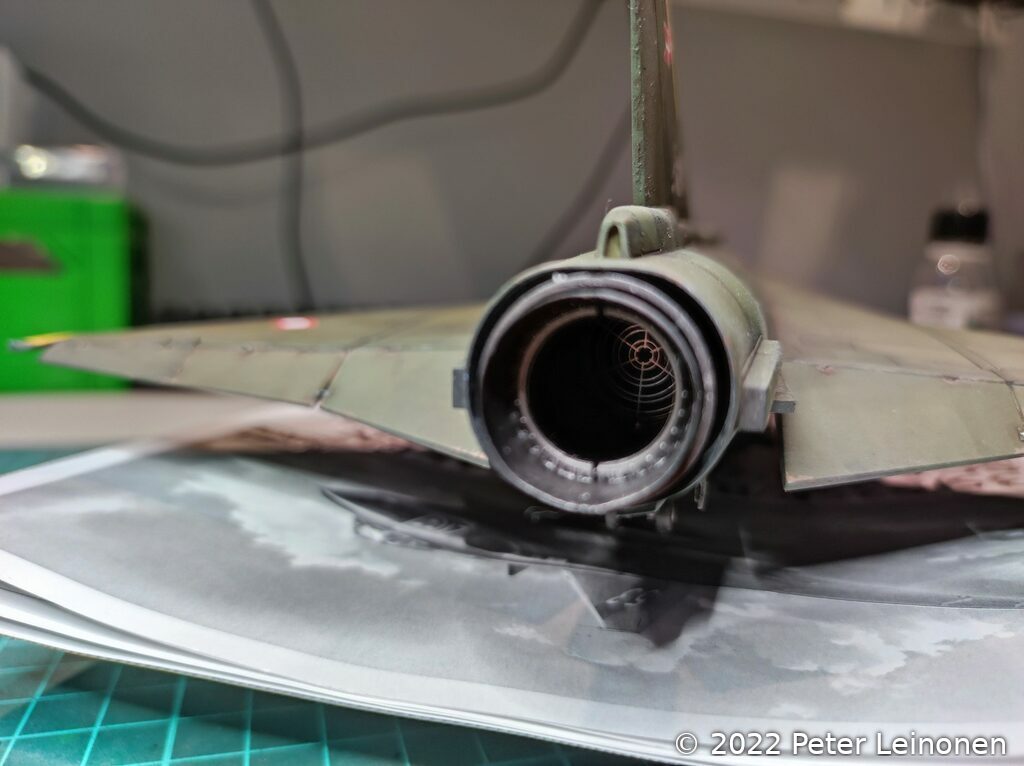
Painting the fuselage
I primed the fuselage with black primer, and then used off-white to highlight the panels. I also used a piece of cardboard to mask some panels and give them a "hard edge".
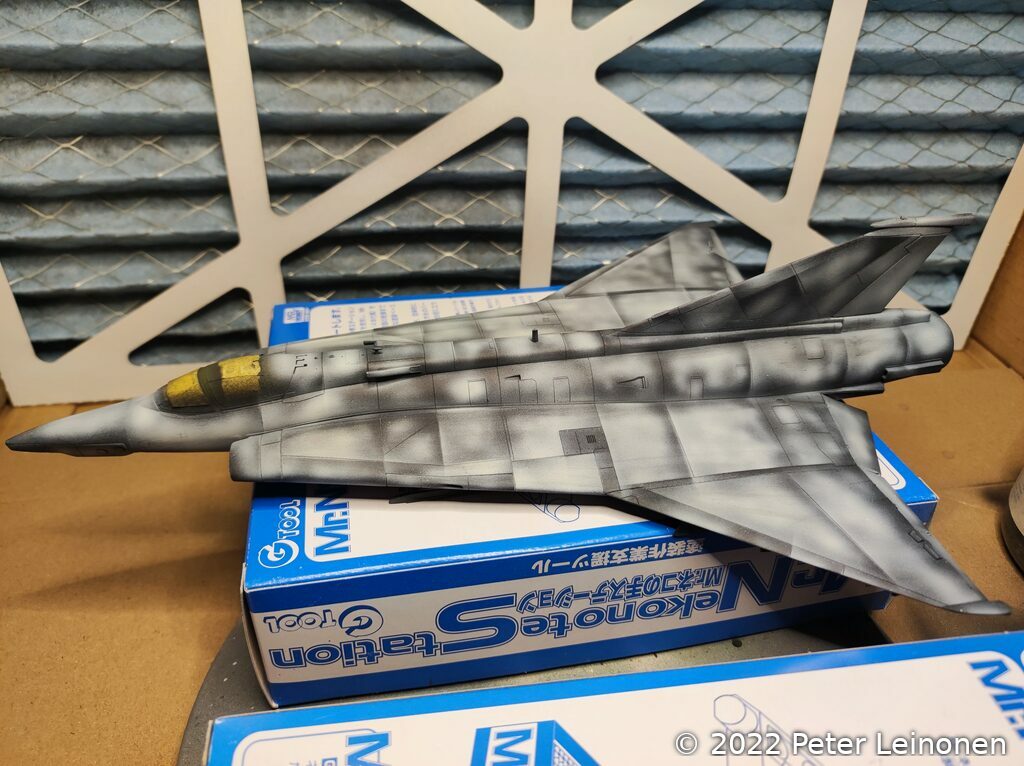
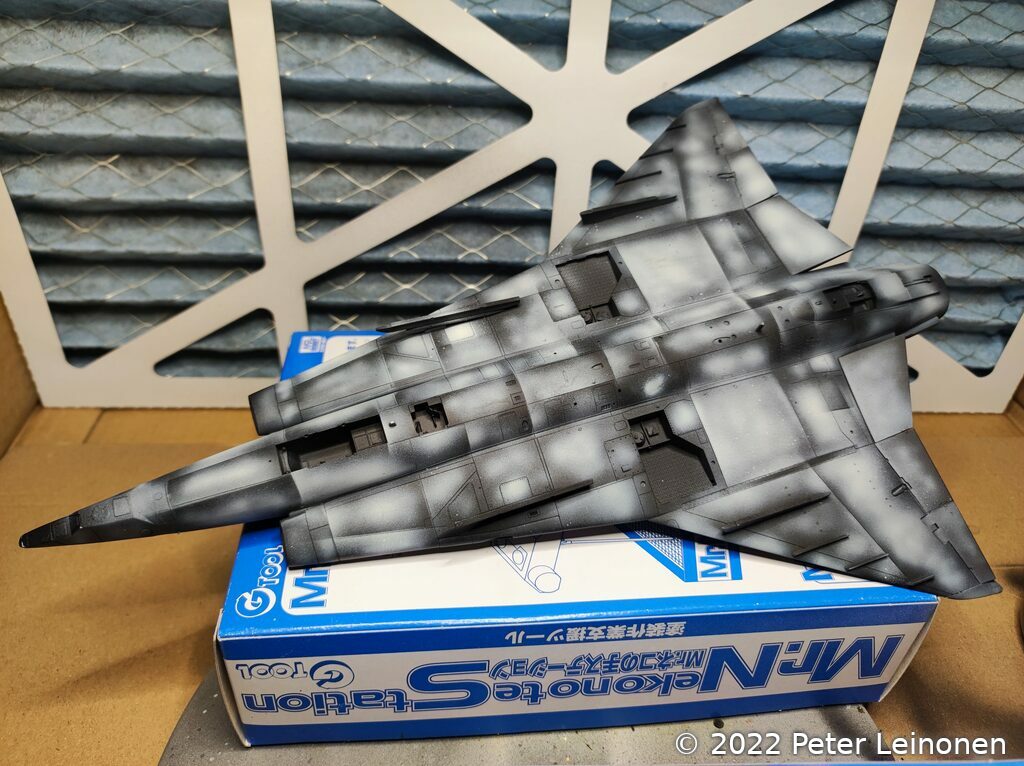
Then I coated the entire fuselage with green, but since I did the previous work with the highlights, the surface is not flat green, and looks more interesting.
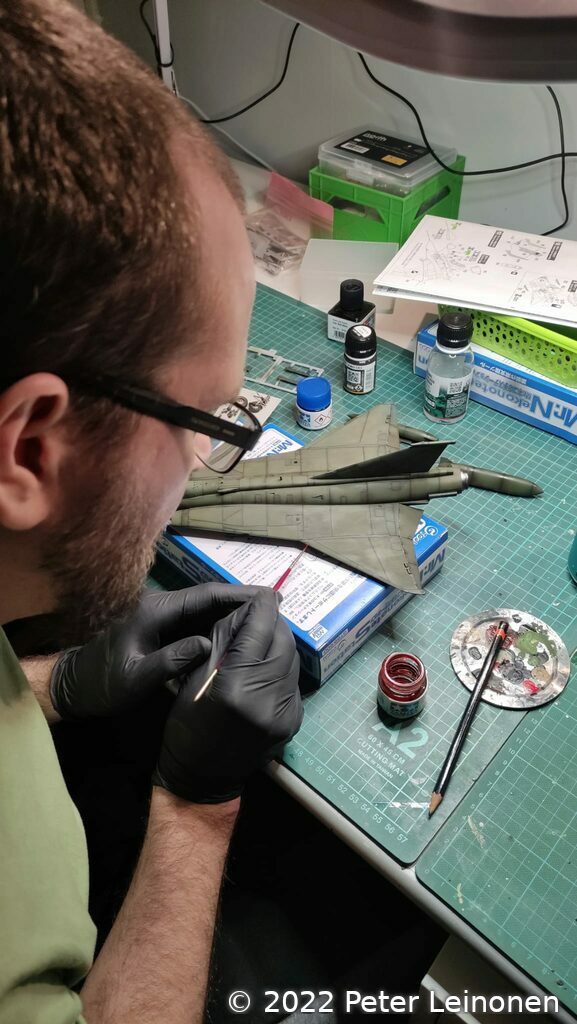
Weathering with enamel products
Not really sure why I decided to do weathering BEFORE adding decals, but that's what I did.
I used enamel products from Ammo. Streaking Grime.

Also the wheels, and wheel bays got some grime as well.
Lights
For the lights I used red and blue clear paint from Tamiya
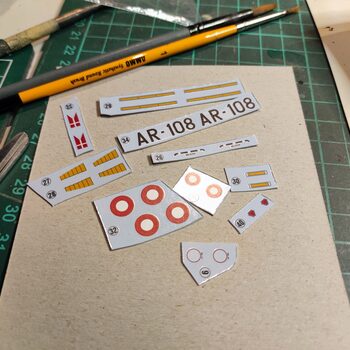
Decals
Cutting out the specific decals required for the RF-35 version.

I used decal setting fluid, but I made another mistake, and forgot to apply clear varnish before, resulting in "silvering" of the decals. :/
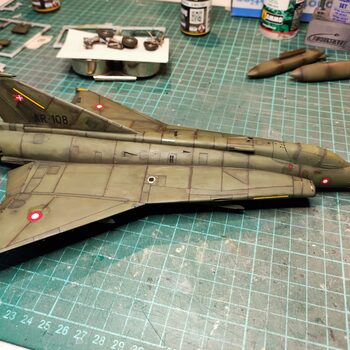
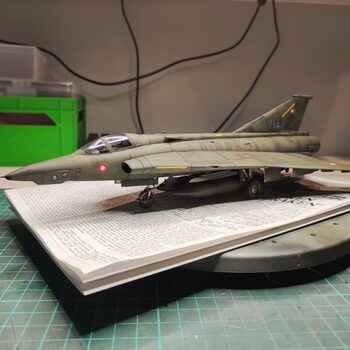
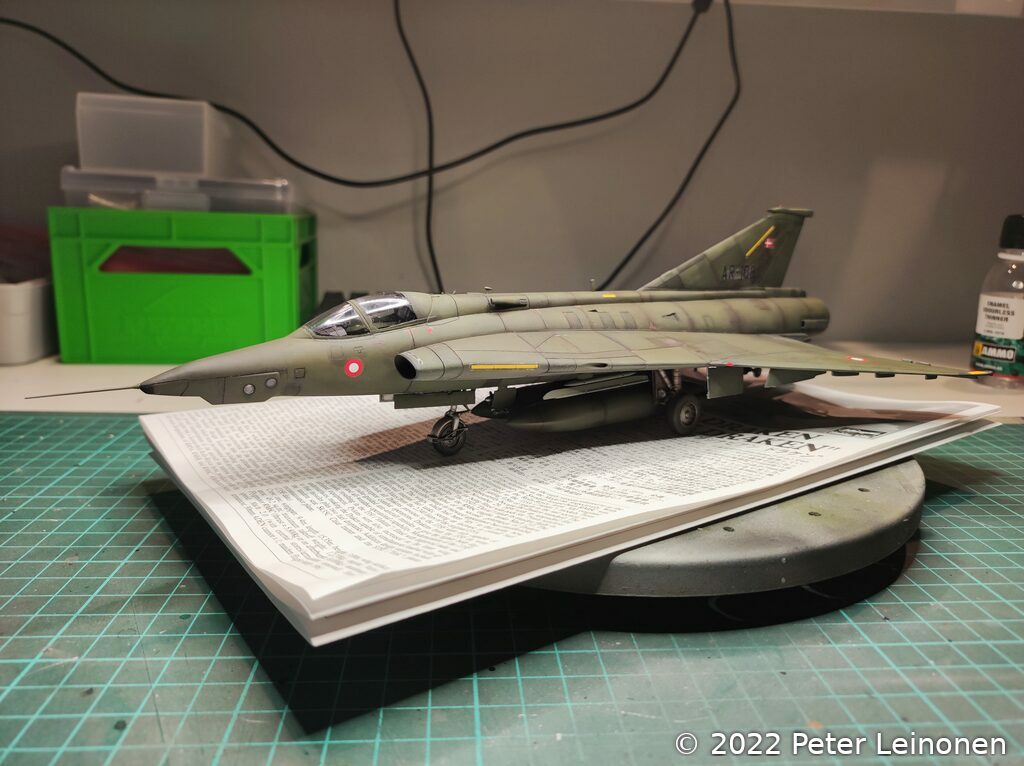
Final result
Despite some mistakes made, the result looks pretty damn good. I learned new things. I did not use most of the photo etch parts, because I found them to be very hard to work with, and I got super frustrated trying to add them to the model. Some of them came off during handling, and I got annoyed.
Thank you for reading. See you next time.