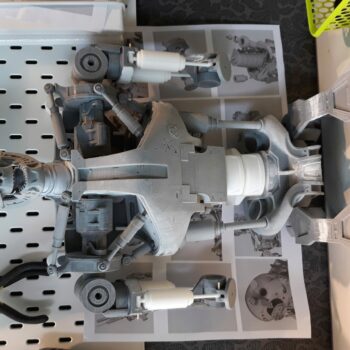
3D Printed T-800 Endoskeleton Part 2
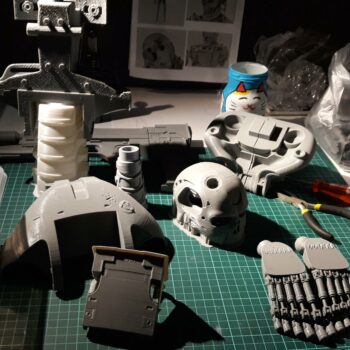
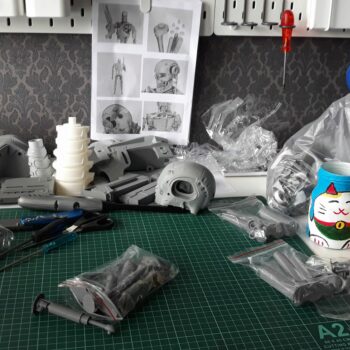
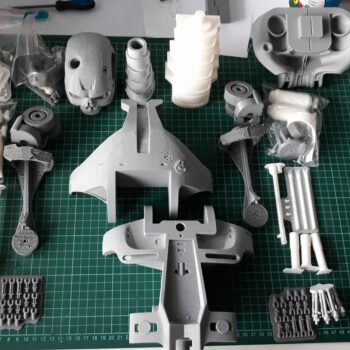
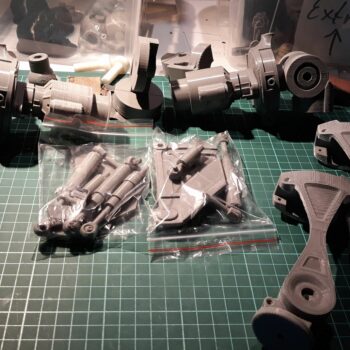
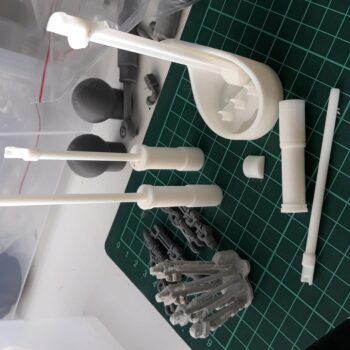
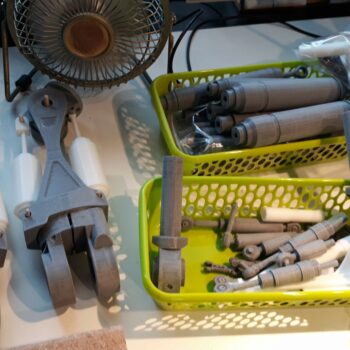
Lot's of sanding and cleaning up parts to make it fit together nicely.
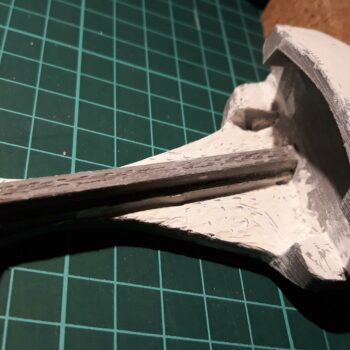
I experimented with some putty found in the hardware store to smoothen out layer lines, but the putty I bought was difficult to work with. It cured so fast and it smelled awful and had to do it outside, so I gave up on it.
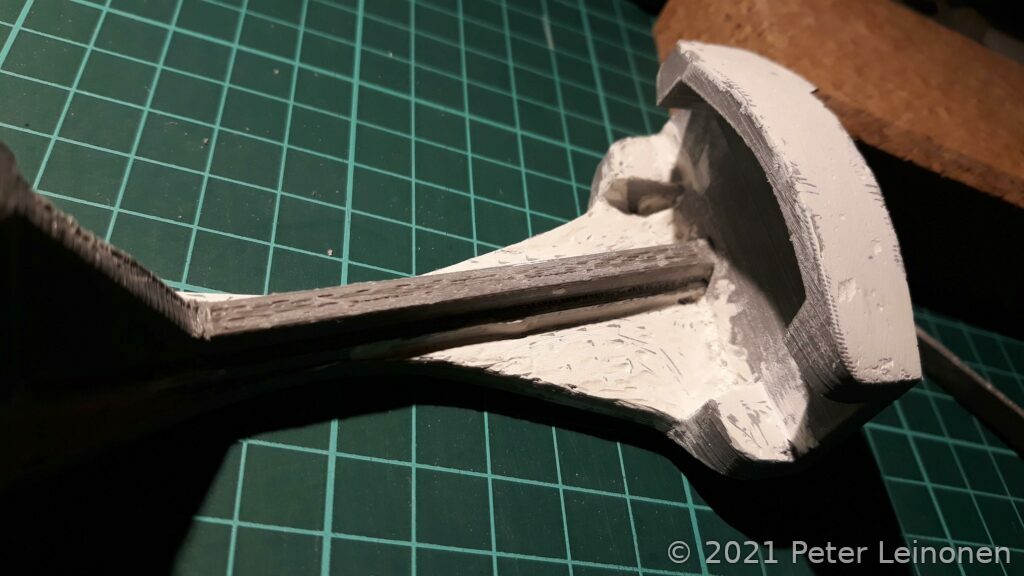
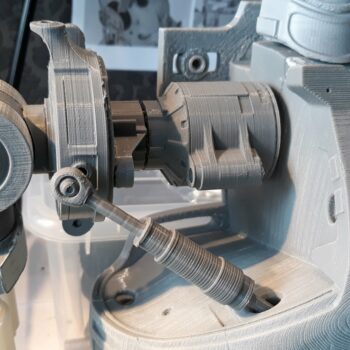
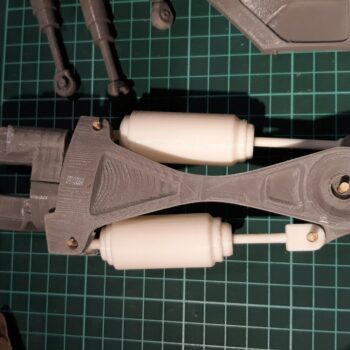
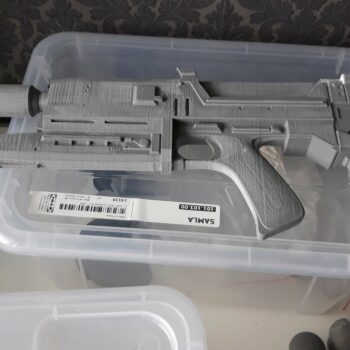
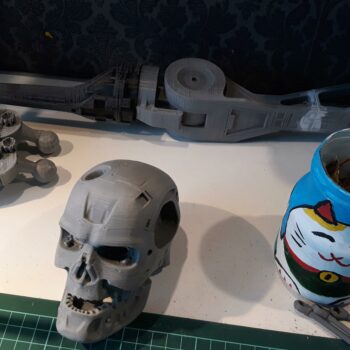
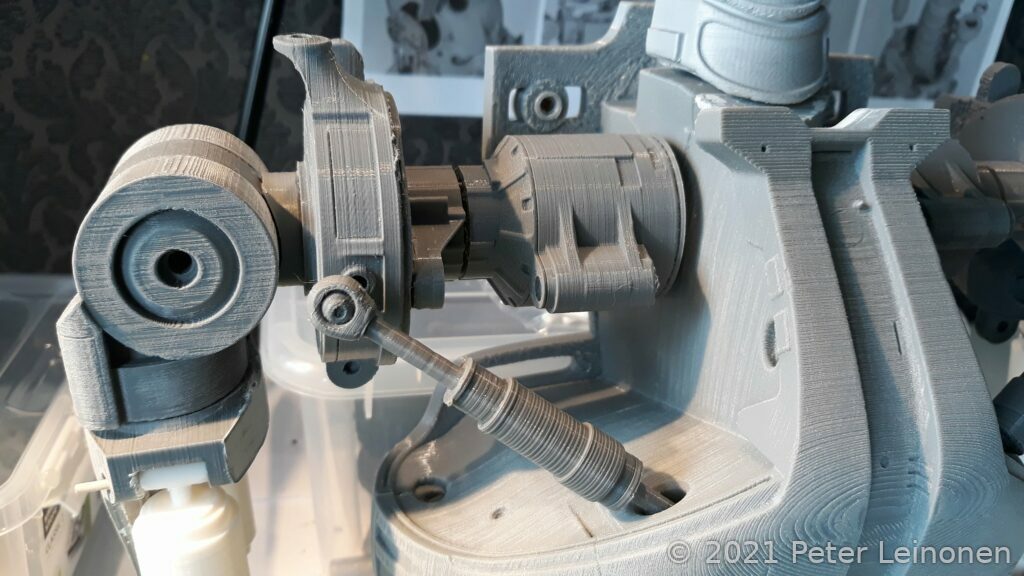
As you can see, there is alot of layer lines, and sanding is just not enough if you want a smooth surface.
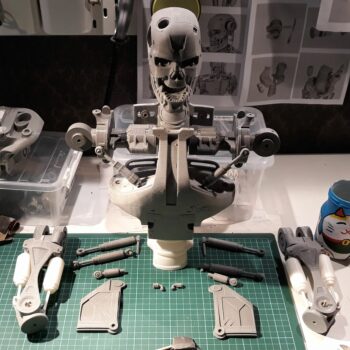
In the next part I will paint the T-800. In the meantime, check out the gallery below:
Gallery
![](/images/articles/endo3d-chapter2/thumbs/20200616_230737.jpg)
![](/images/articles/endo3d-chapter2/thumbs/20200617_173040.jpg)
![](/images/articles/endo3d-chapter2/thumbs/20200617_203524.jpg)
![](/images/articles/endo3d-chapter2/thumbs/20200620_191056.jpg)
![](/images/articles/endo3d-chapter2/thumbs/20200621_215652.jpg)
![](/images/articles/endo3d-chapter2/thumbs/20200622_141800.jpg)
![](/images/articles/endo3d-chapter2/thumbs/20200622_214948.jpg)
![](/images/articles/endo3d-chapter2/thumbs/20200622_215001.jpg)
![](/images/articles/endo3d-chapter2/thumbs/20200622_215006.jpg)
![](/images/articles/endo3d-chapter2/thumbs/20200627_144651.jpg)
![](/images/articles/endo3d-chapter2/thumbs/20200627_160321.jpg)
![](/images/articles/endo3d-chapter2/thumbs/20200627_160333.jpg)
![](/images/articles/endo3d-chapter2/thumbs/20200627_160402.jpg)
![](/images/articles/endo3d-chapter2/thumbs/20200629_154649.jpg)
![](/images/articles/endo3d-chapter2/thumbs/20200629_154656.jpg)