Saab RF-35 Draken - Fuselage assembly & canopy masking
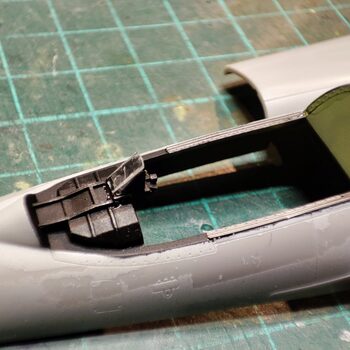
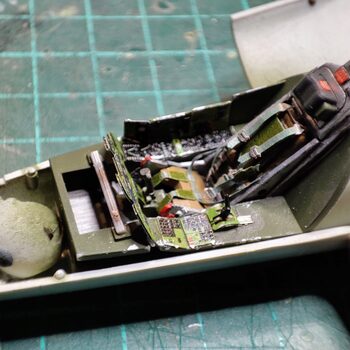
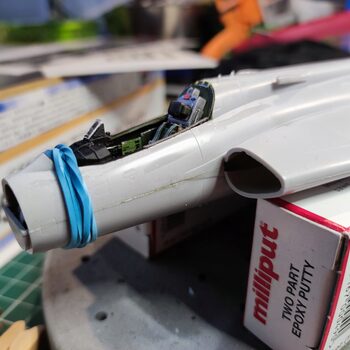
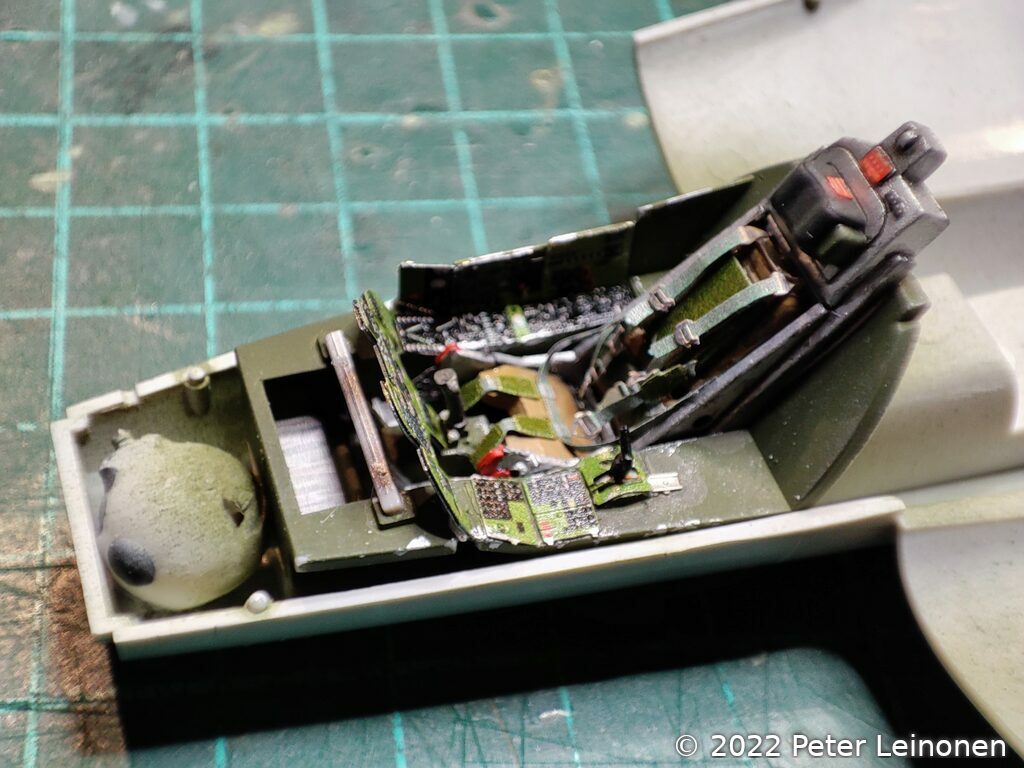
It's time to assemble the fuselage. In order to do that, I must install the cockpit. So I added the optical sight unit which consists of original plastic parts and some photo etch.
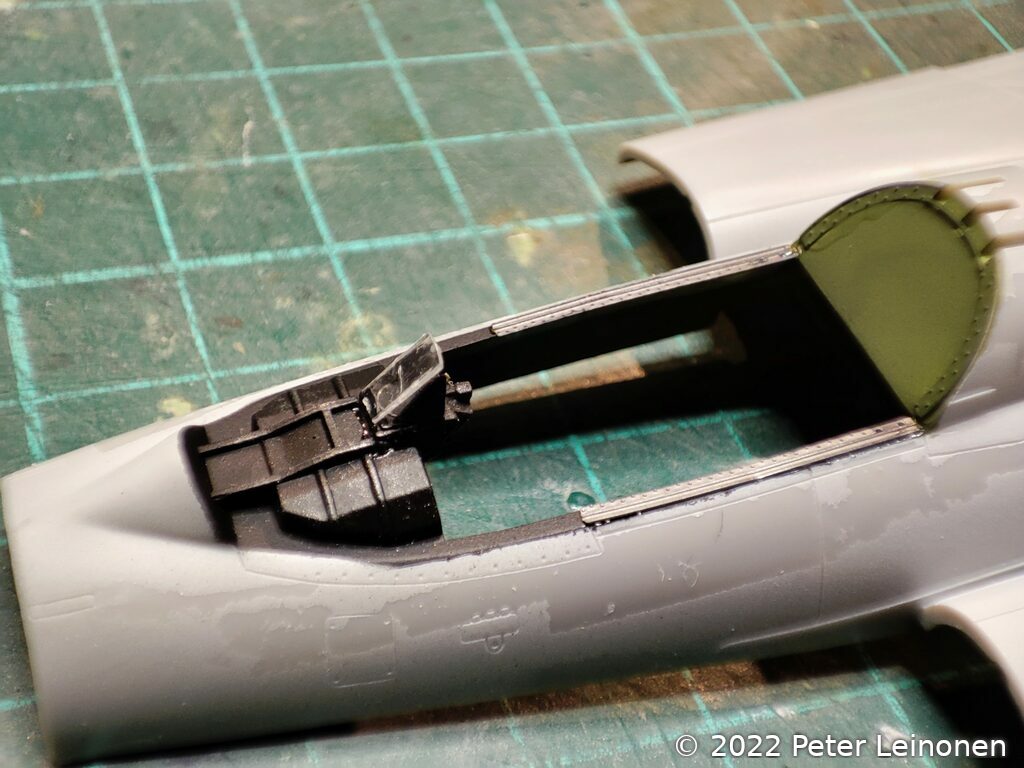
I have added a counterweight (metal weight from a fishing hook) to make sure the aircraft does not tip over backwards.
The cockpit is glued into the bottom half of the fuselage.
I used a rubber band to hold the front parts together while the glue dries. The rest of the fuselage was easy and required only my fingers holding together the parts.

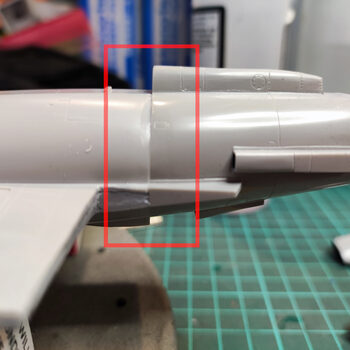
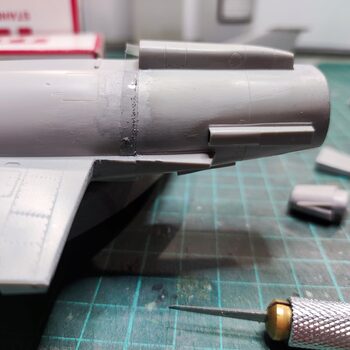
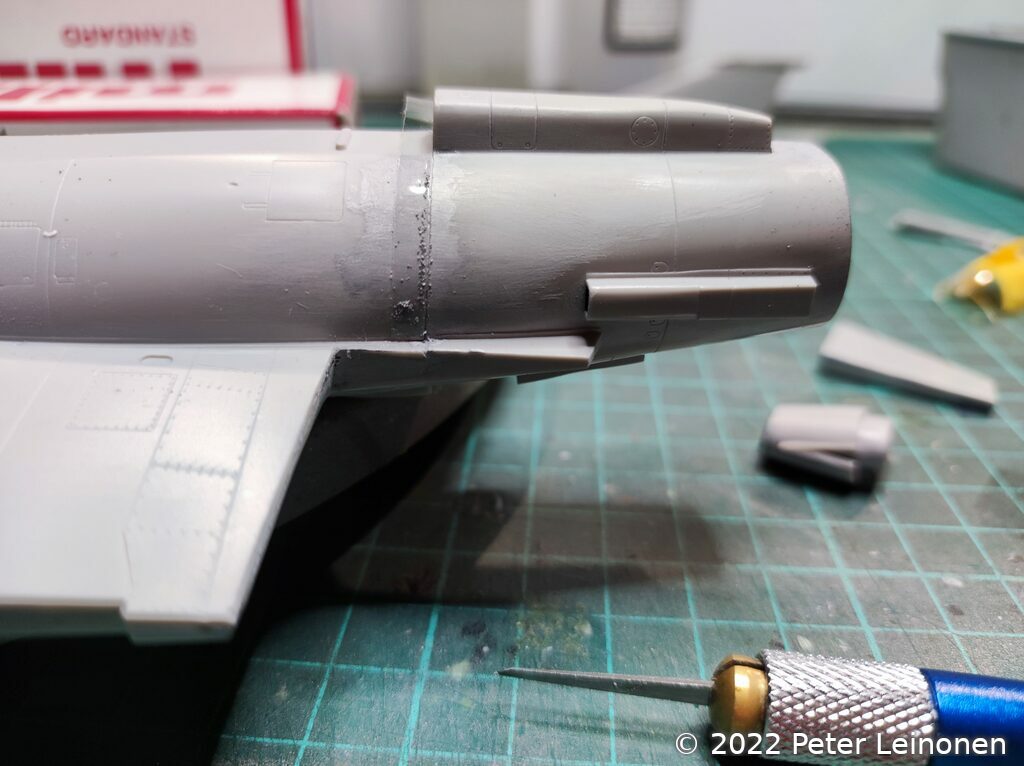
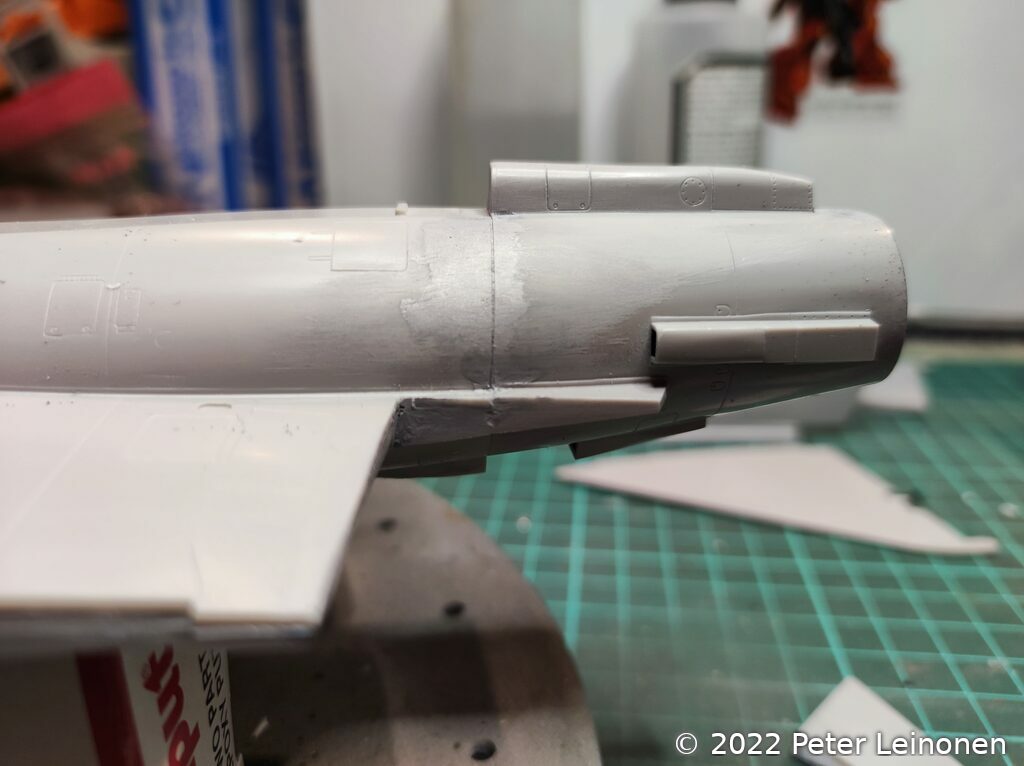
Attaching the rear end, did not look quite right. So I had to do some modifications..
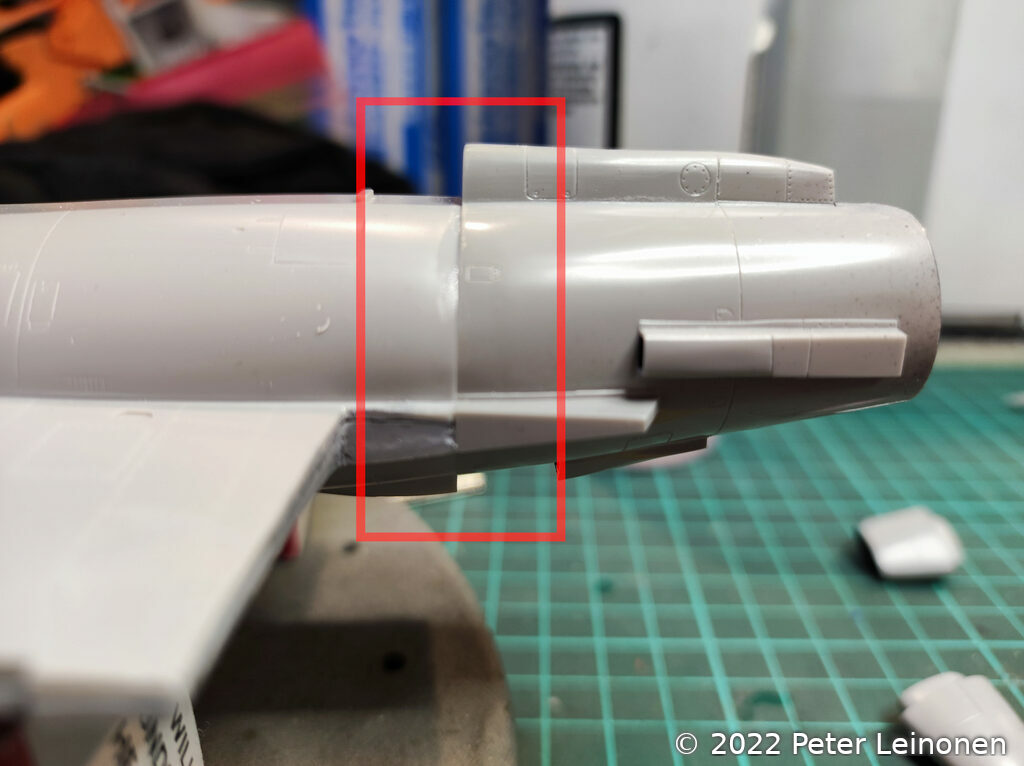
In order to fix this, I used Tamiya putty and sandpaper.
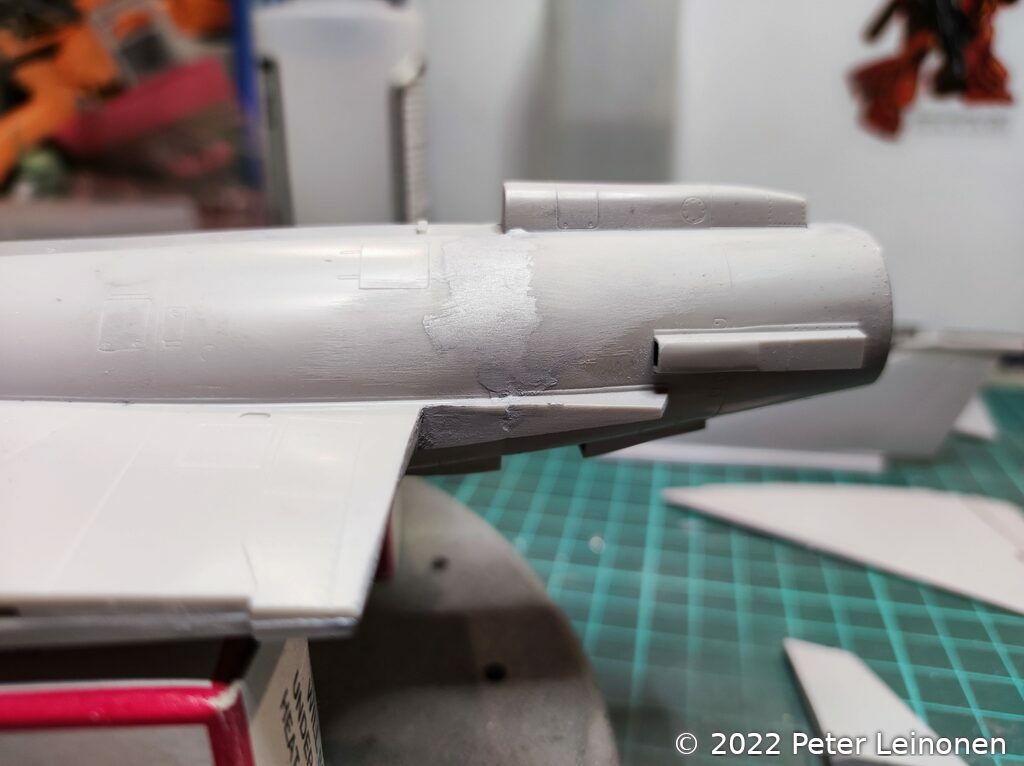
And to add the seam/panel line back, I used scribing tape and my scriber.
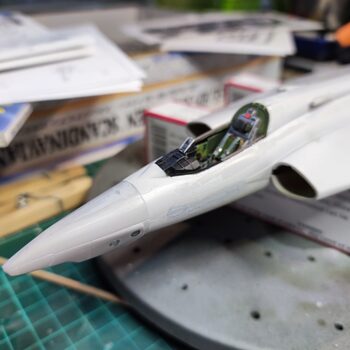
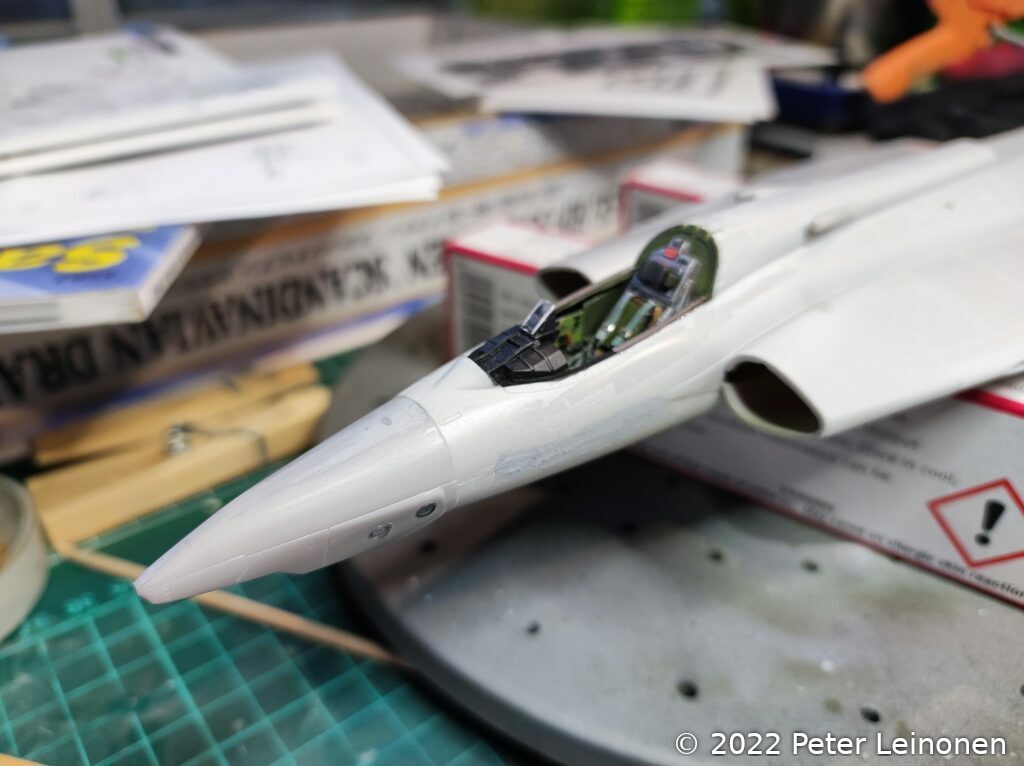
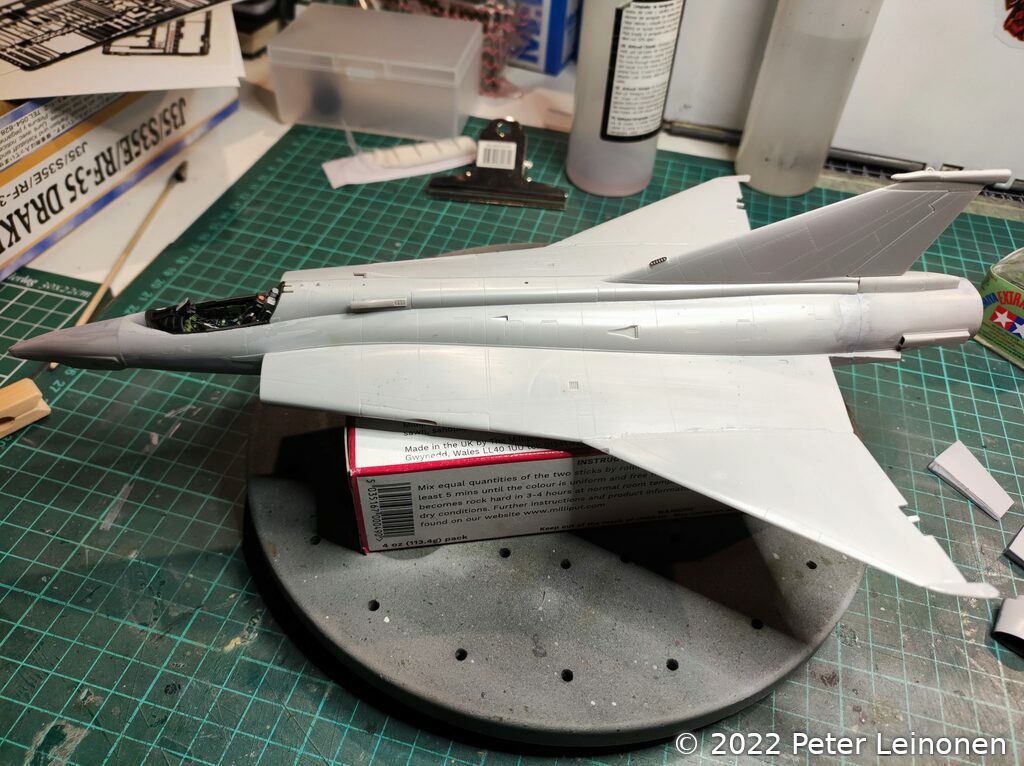
Nose cone & wings
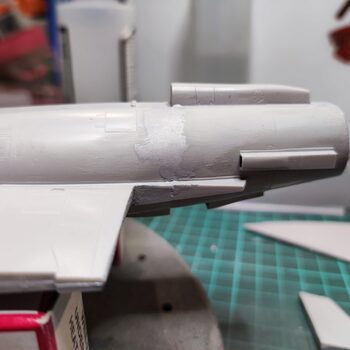
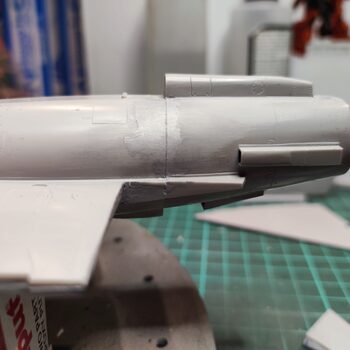
I attached the previously built nose cone (no pictures of that step). I also added some putty to the front of the fuselage to fix the seam when gluing together the top and bottom halves of the fuselage.
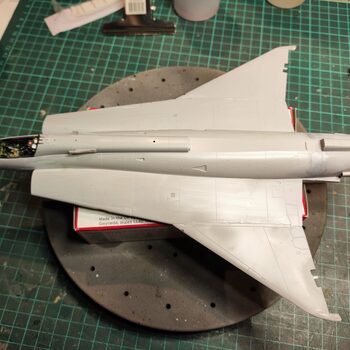
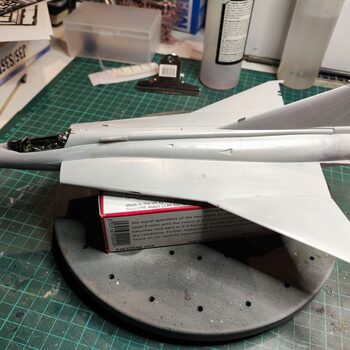
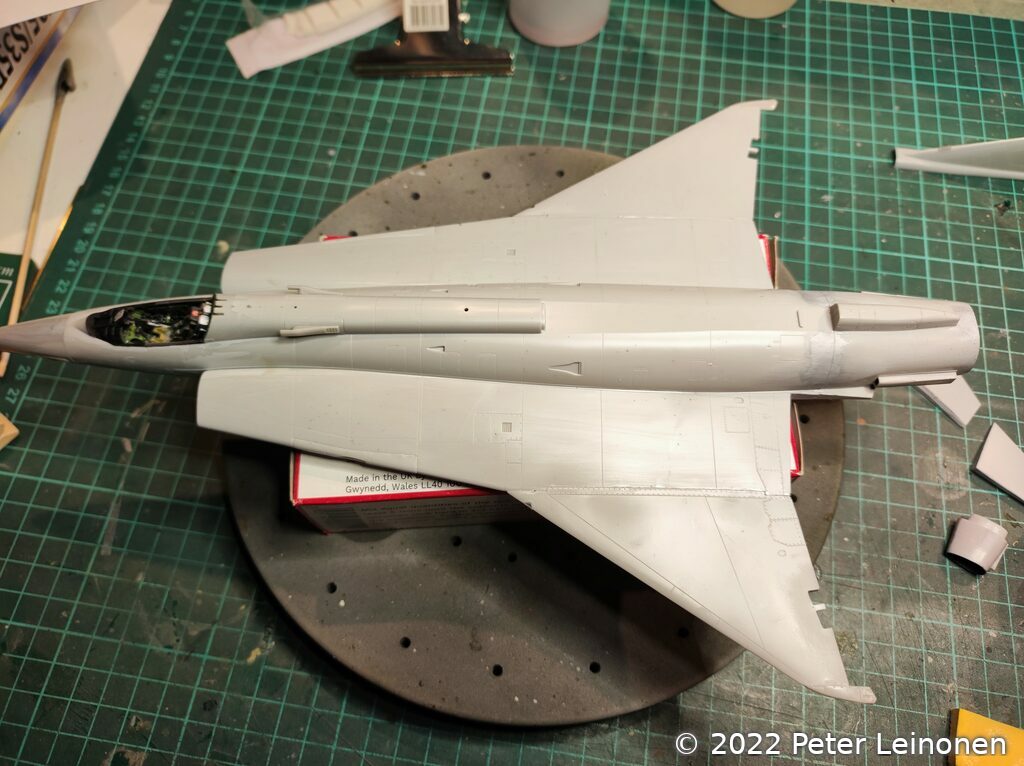
Next up, I attached the wings.
When the glue has dried, I will probably attach the wing flaps. More on this later :)
Masking the canopy
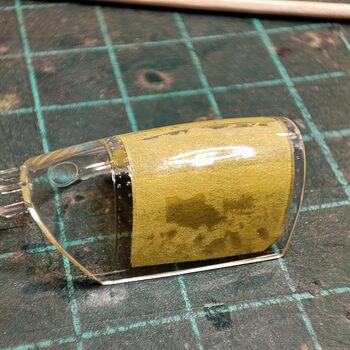
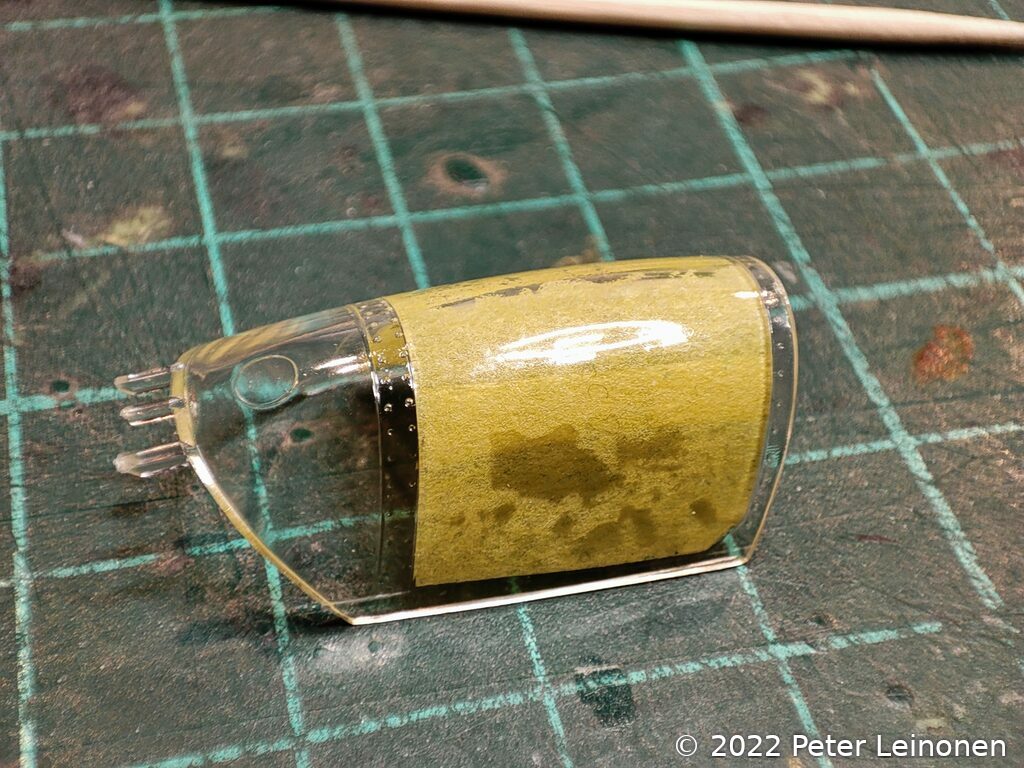
Masking the canopy was quite tricky and took me several attempts to make it look right. The trickyness comes from the fact that the canopy is curved. I first masked the inside and then the outside. The process I followed works like this:
Put tape on the outside of the canopy on one side. Trace the frame with a toothpick, then draw with a mechanical pencil over the trace. Remove the tape and put it on your cutting mat/surface, then cut out what you have drawn with a hobby knife.
Then put the cut out tape part on the inside of the canopy on the opposite side. Repeat for the other side.
Masking the inside of the canopy Then you put the tape on the outside, trace, draw and cut it and put it back. Repeat on the other side.
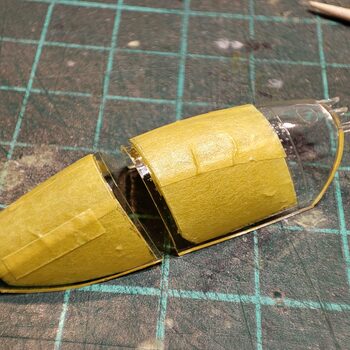
In case the tape is not covering the entire canopy, repeat the above steps for the "top" of the canopy.
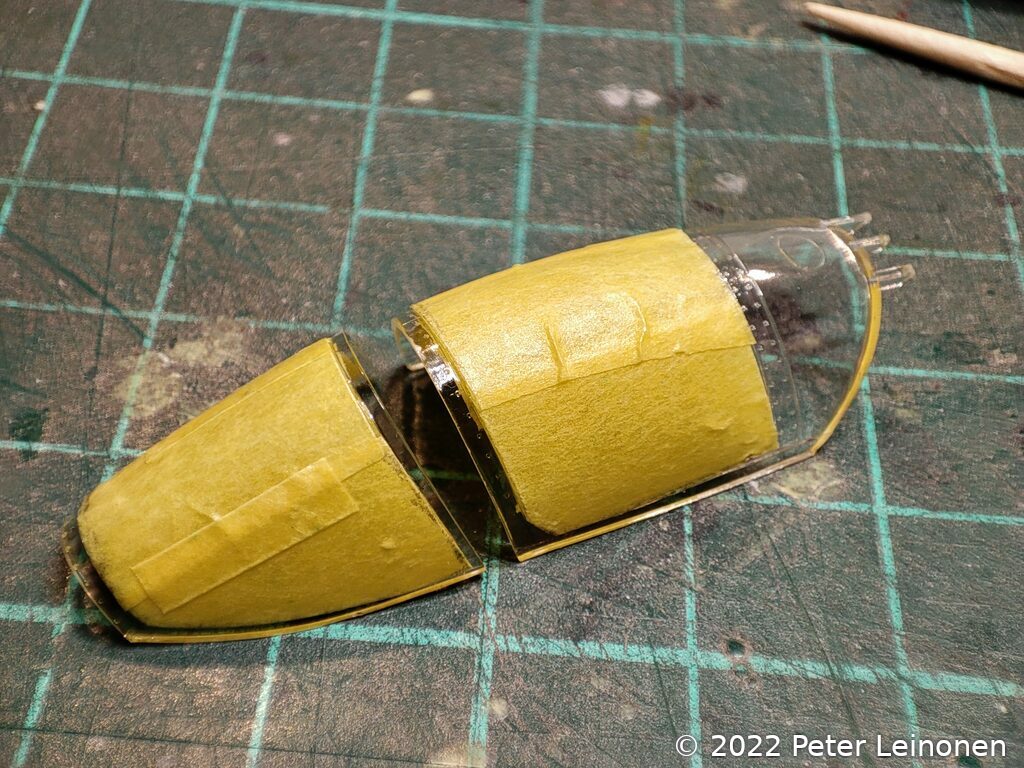
Canopy masked on both sides, ready to be painted
See you in the next post :)