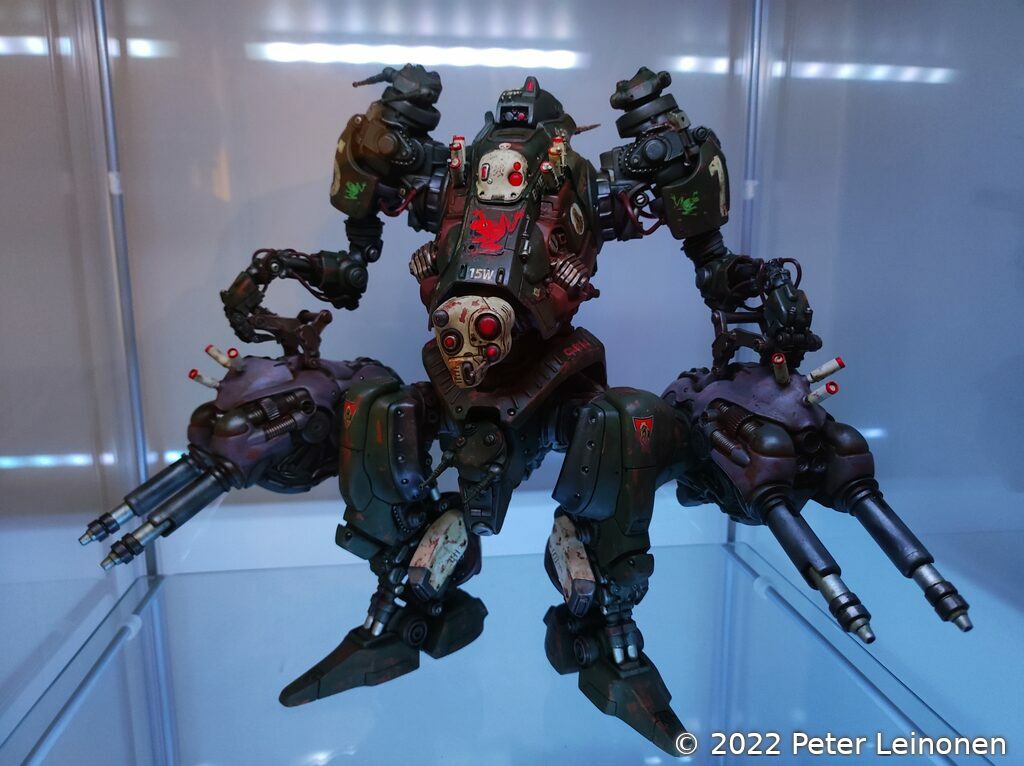
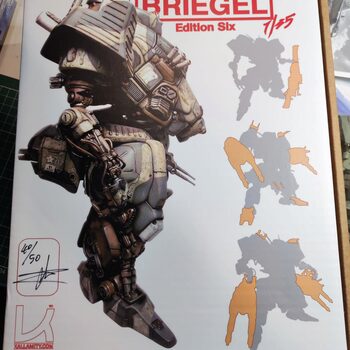
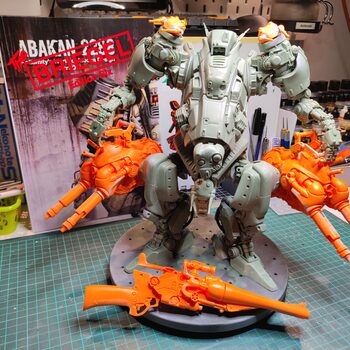
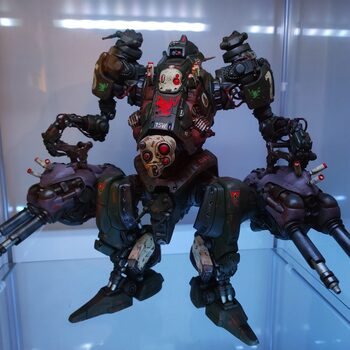
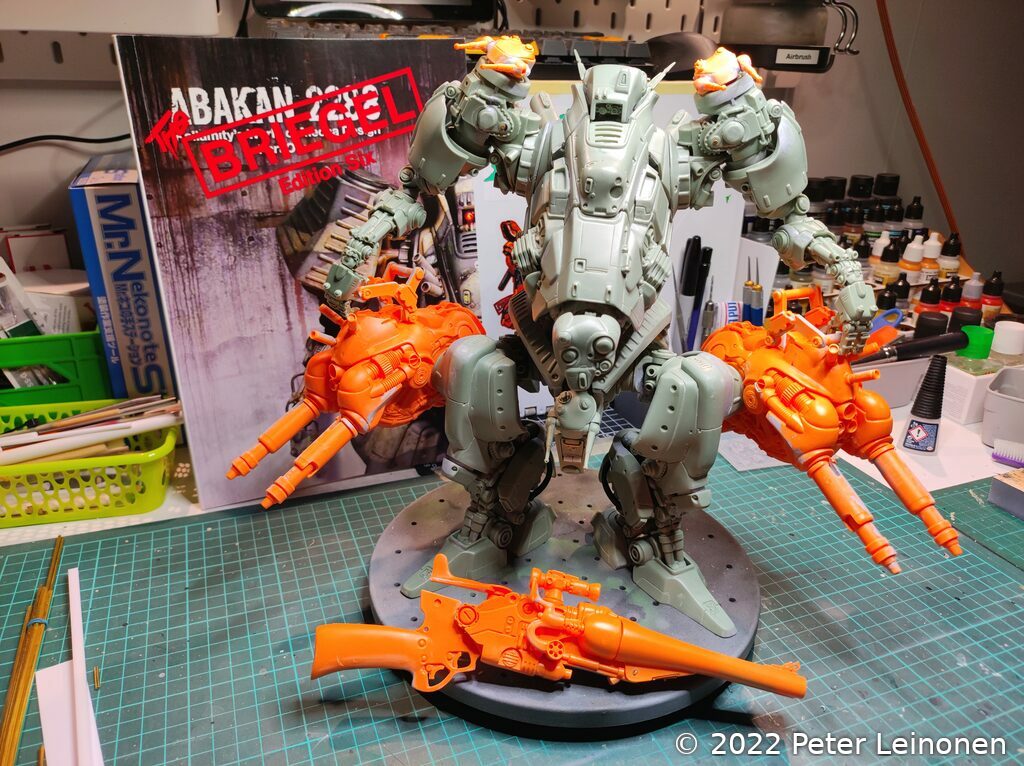
Kallamity HDM-07 Briegel
Since I am a huge fan of Luca Zampirolo and his amazing models, I have always wanted one for myself. I decided to order a copy of the Briegel.
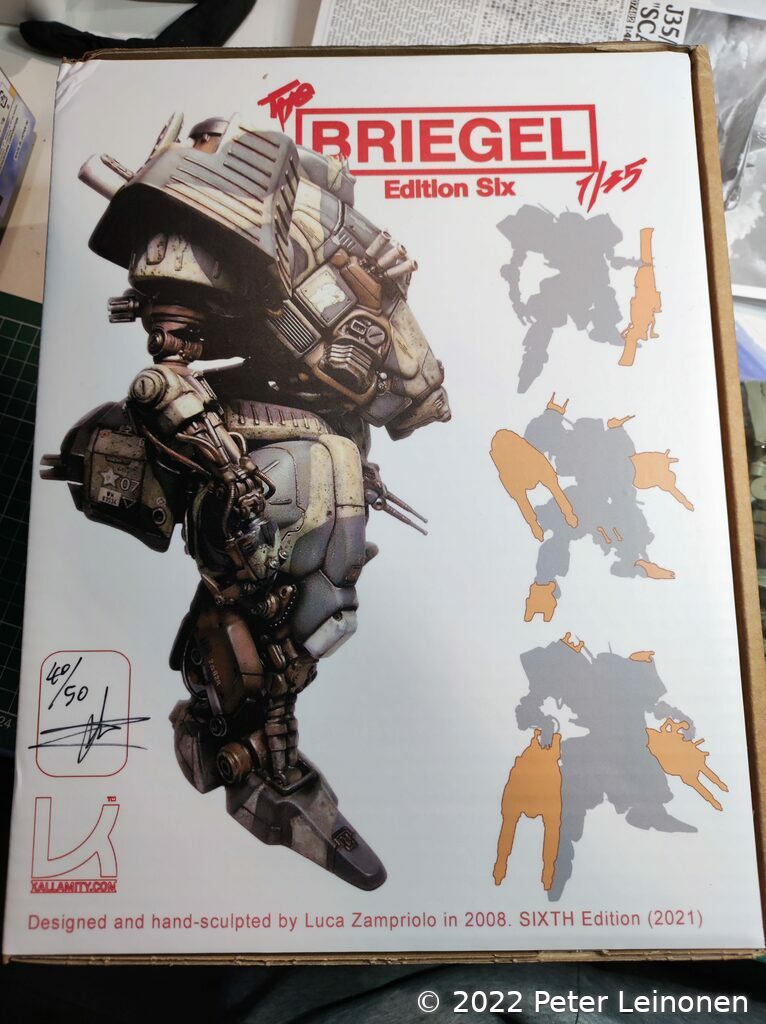
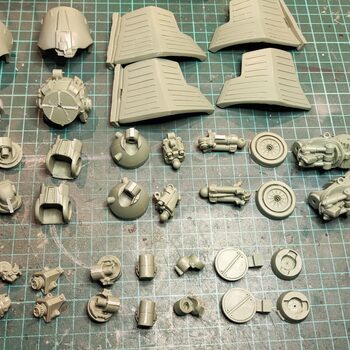
It's a heavy piece of kit, the box weighs about 2.5kg. The box includes resin parts, waterslide decals and a book that includes the manual, and information about the Briegel and lots of nice pictures and drawings for inspiration.
Tools
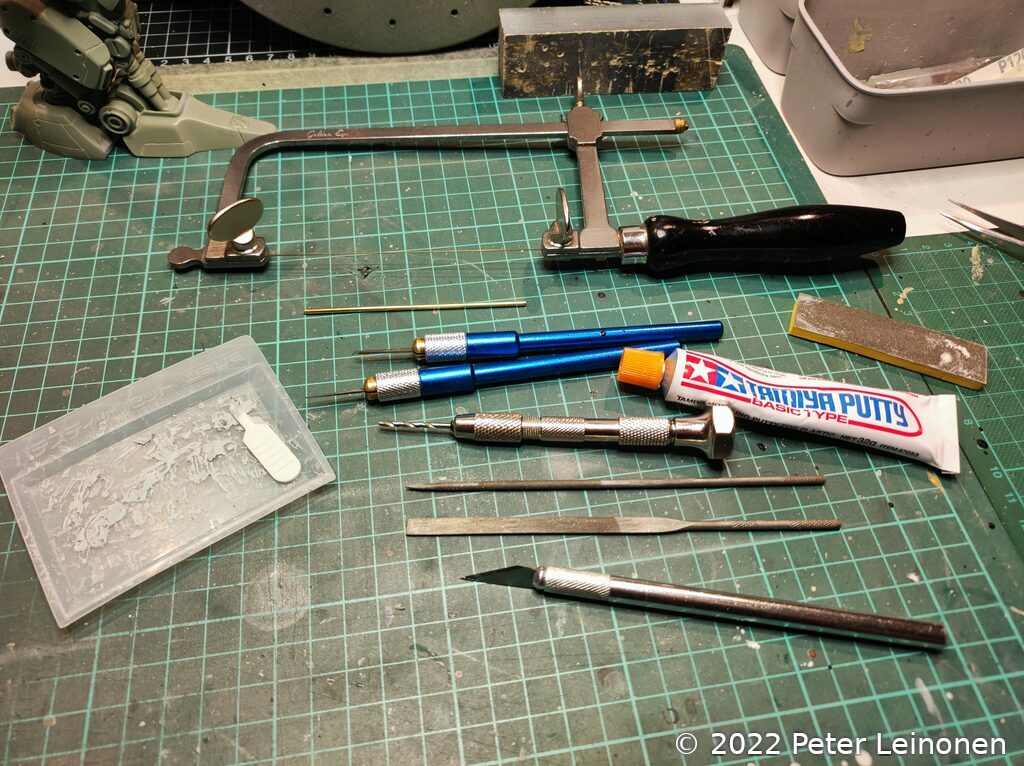
The tools used during this build includes:
- Metal saw, for cutting brass rods
- Hobby knife
- Scribing tools
- Files and sanding sticks
- Putty
Build
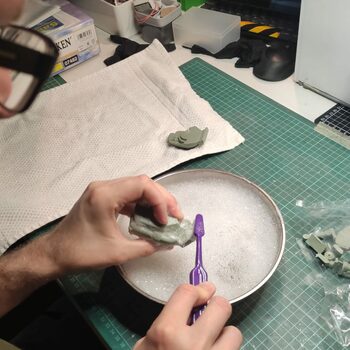
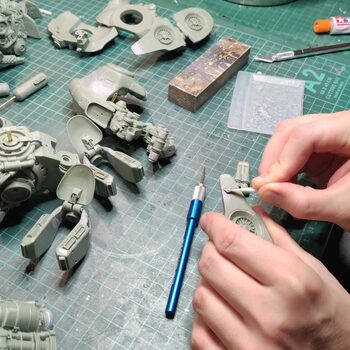
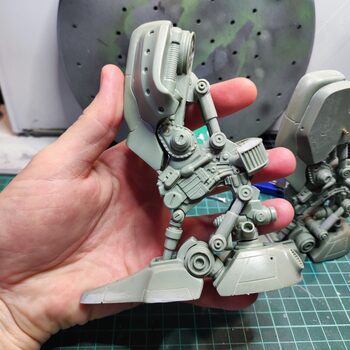
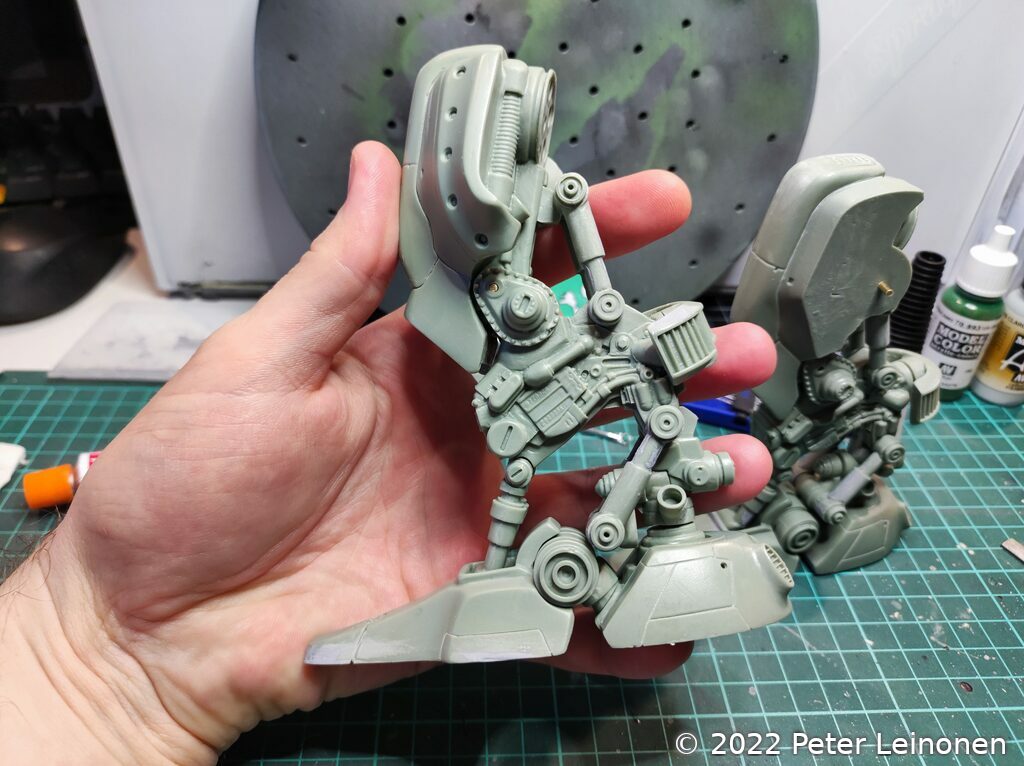
First order of business is inspecting all the parts, making sure no parts are missing. After that, the cleanup process.
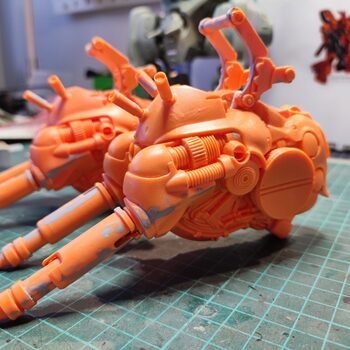
I did not do all the parts at once, but rather one bag of pieces at a time. The bags where conveniently labeled Legs, Waist, Chest, Arms and Weapons.
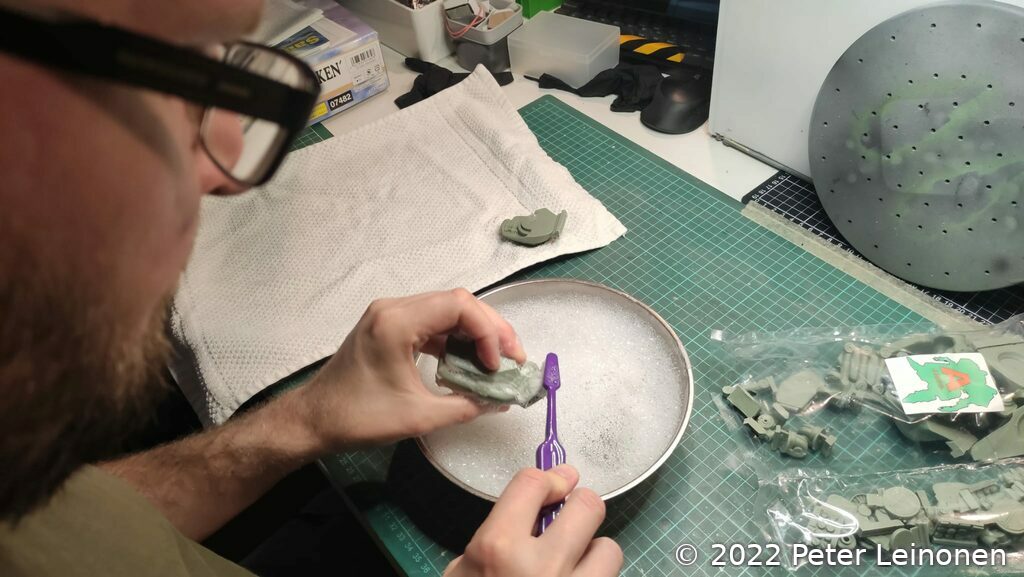
Cleaning the parts means soaking them in hot soapy water (dish soap), and scrubbing them with an old toothbrush to get rid of any release agents.
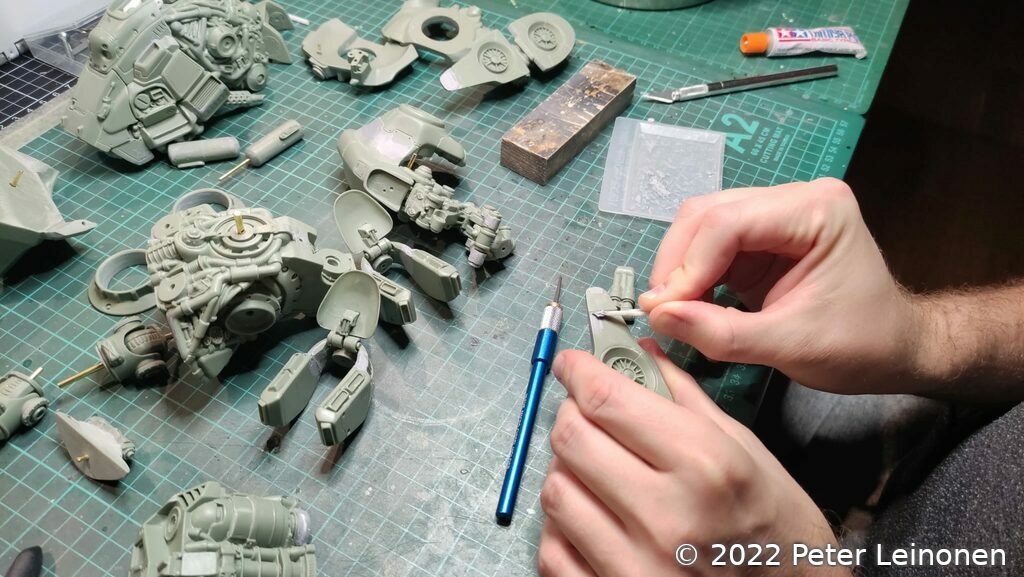
Assembly requires superglue and pinning with brass rods, so I had to order a bunch of those in different sizes: 1mm, 2mm and 3mm.
To fix defects (bubbles, mould lines and seams), I used my trusty Tamiya Putty and different grit sandpaper.

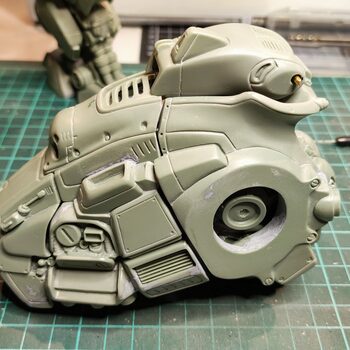
Painting
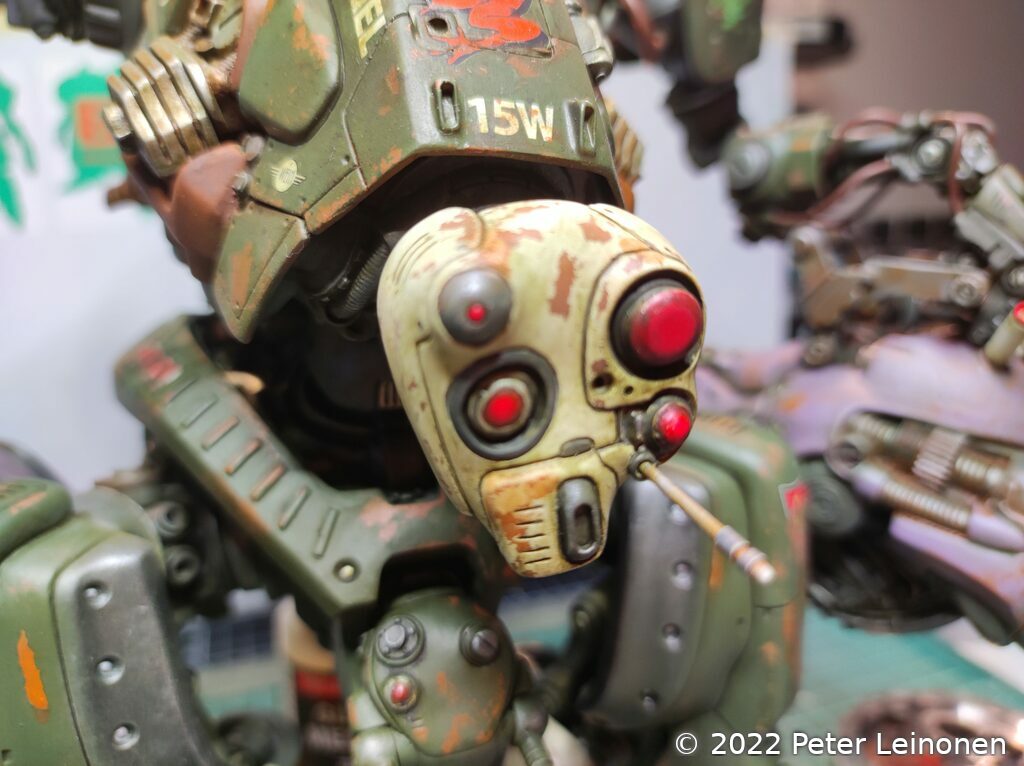
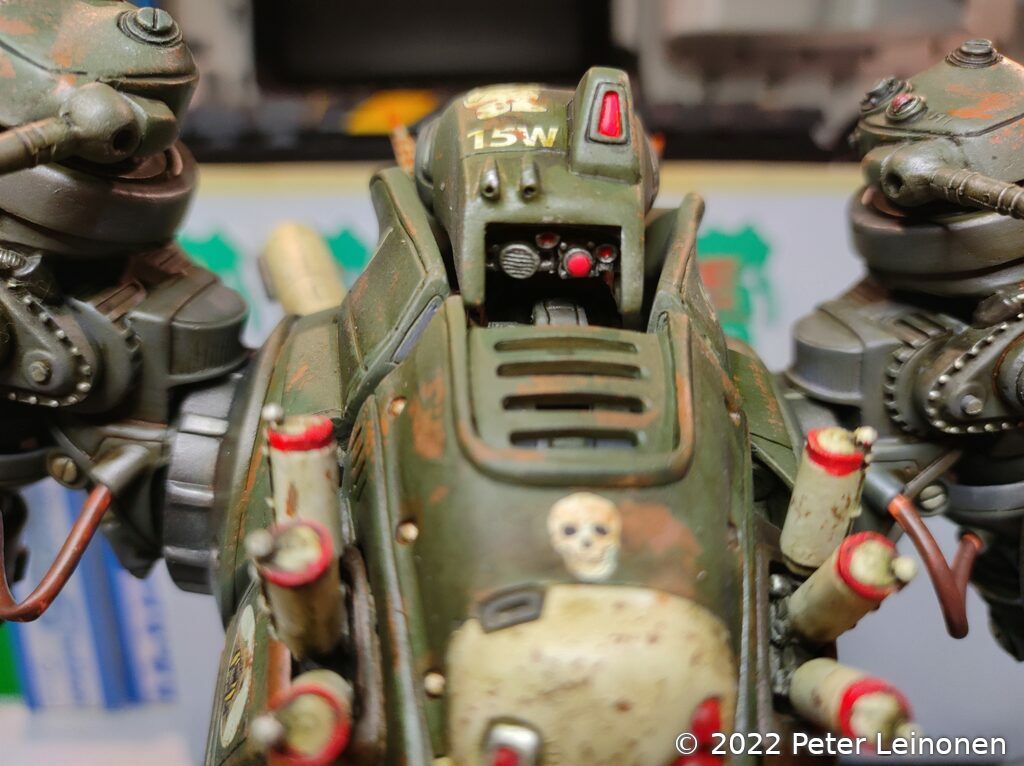
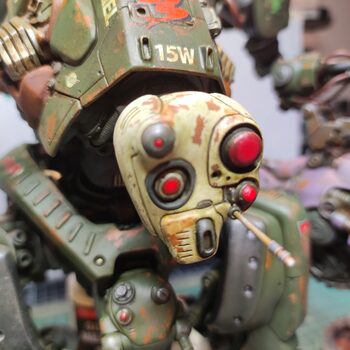
I wanted to give the Briegel a grim & dark look (grimdark), a style that is popular in the Warhammer community. I wanted the Briegel to look evil.
For this I used "Streaking grime" products from Ammo:
- Dark Streaking Grime
- Streaking Grime
- Streaking Rust Effects.
- Odourless Enamel Thinner
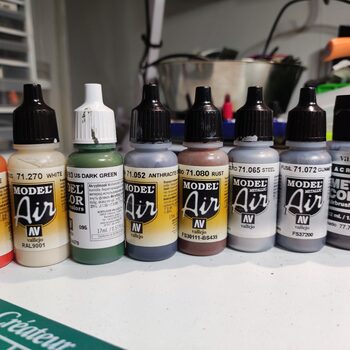
The actual paints are acrylic paints from Vallejo:
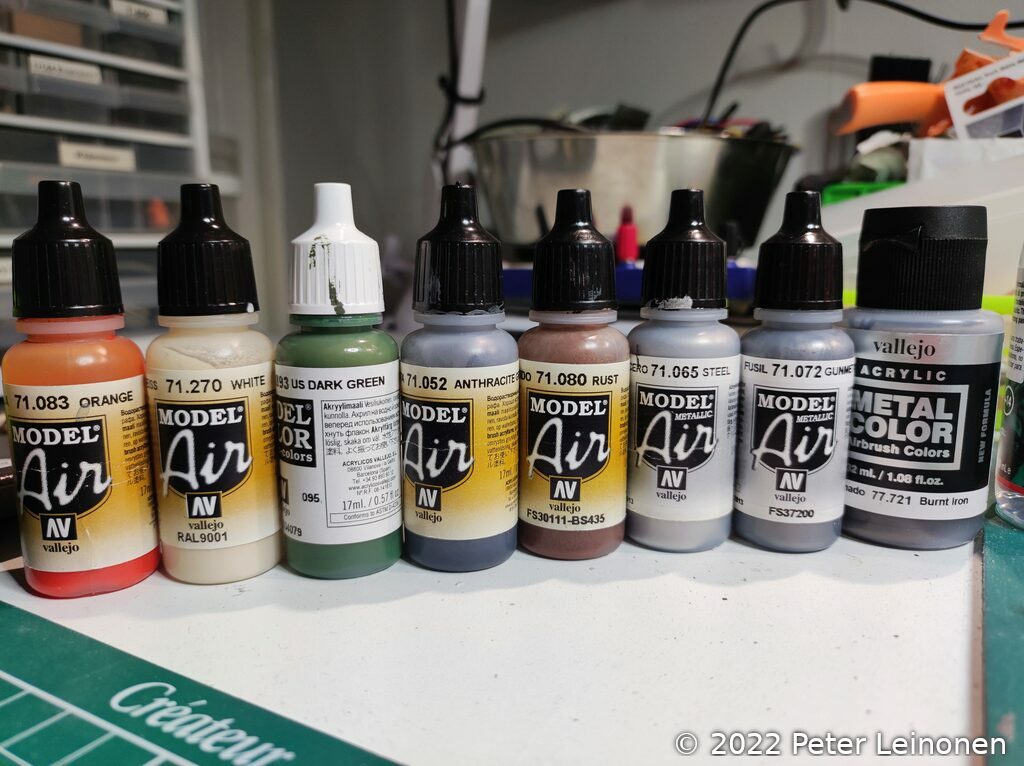
- Grey surface primer (74.601)
- US Dark Green (70.893)
- Rust (71.080)
- White (71.270)
- Anthracite Grey (71.052)
- Red (71.003)
- French Blue (71.088)
- Orange (71.083)
- Gunmetal (71.072)
- Steel (71.065)
- Burnt Iron (77.721)
- Chipping Medium (73.214)
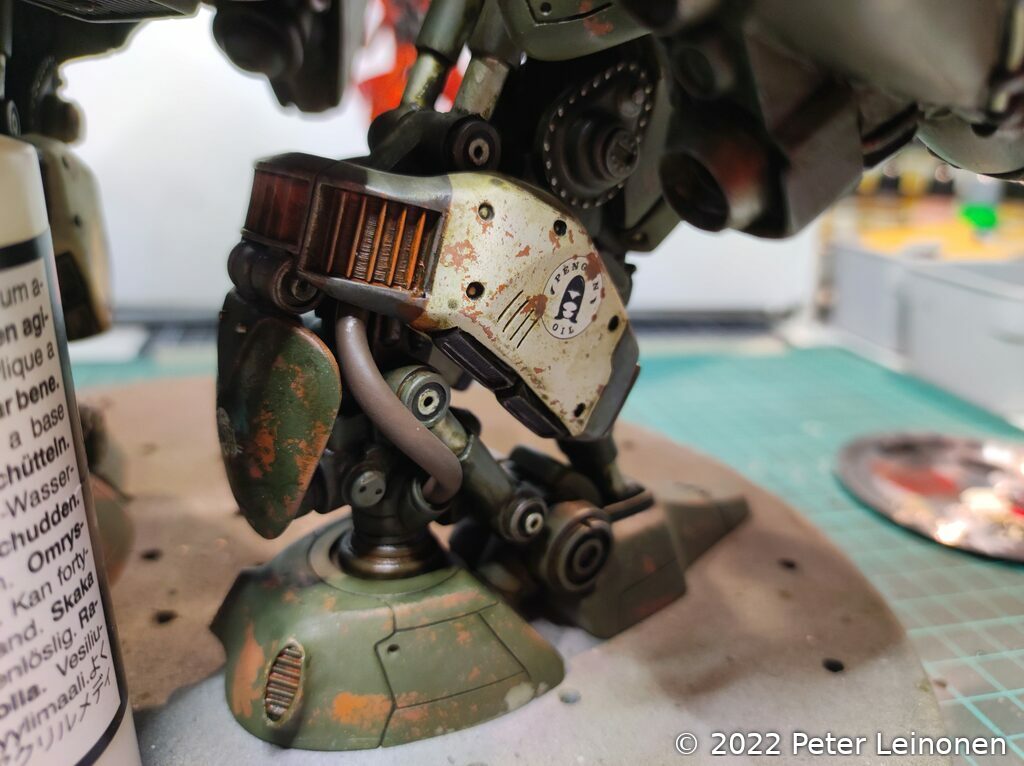
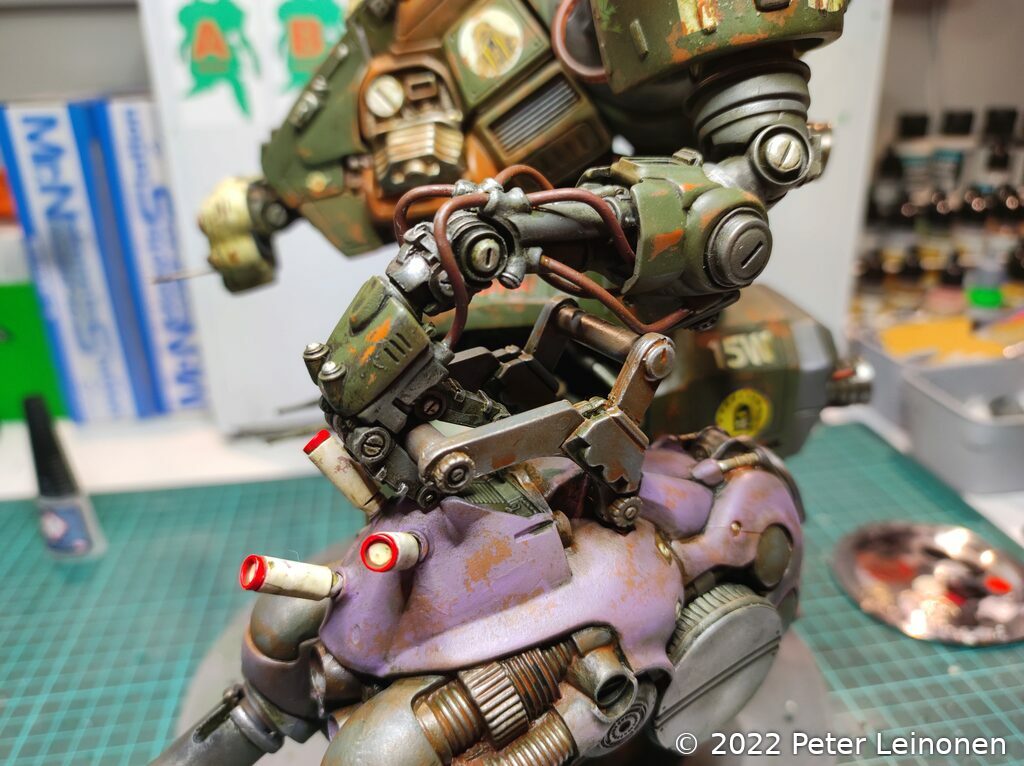
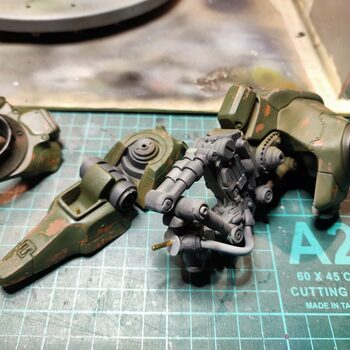
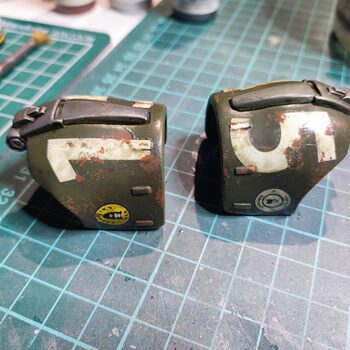
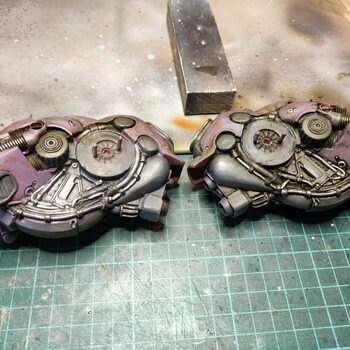
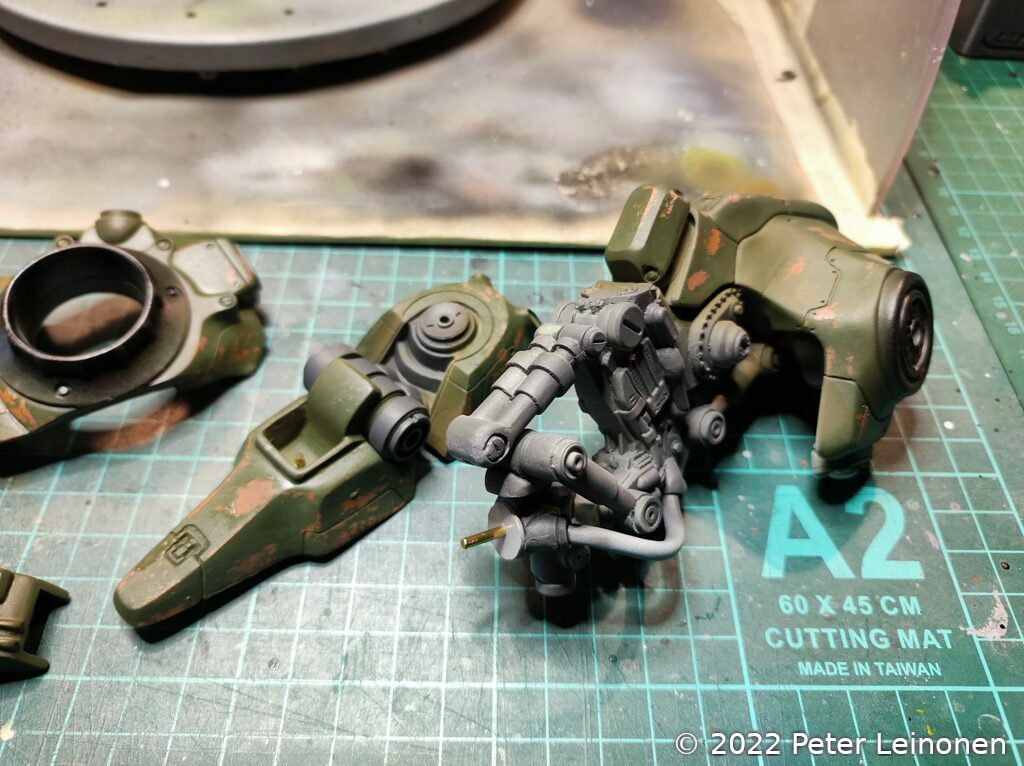
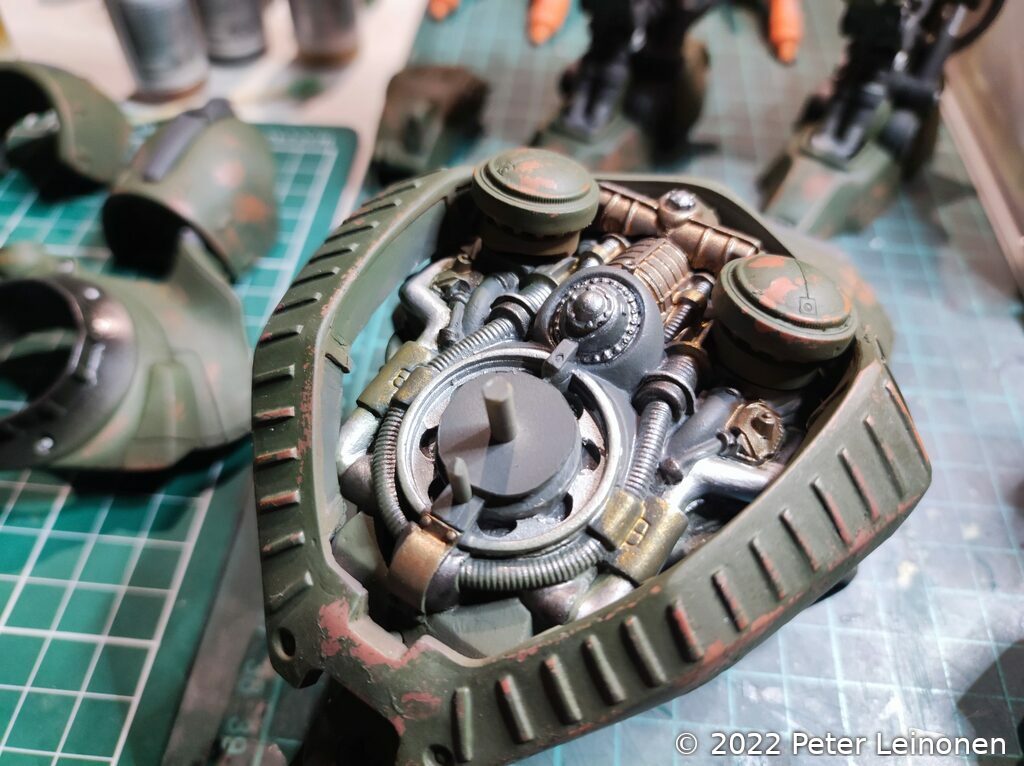
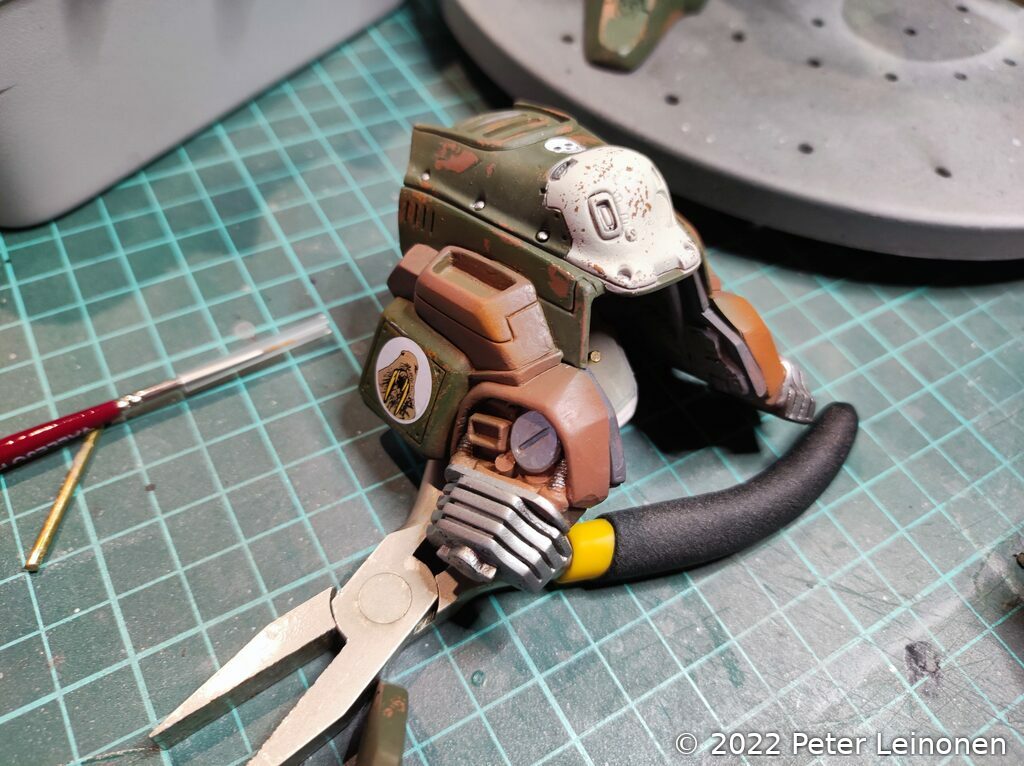
Rust effects are created with a Rust/Orange base coat, topped off with chipping fluid and the primary color (US Dark Green).
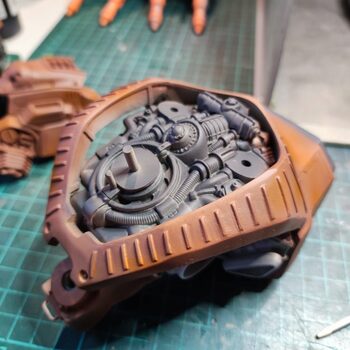
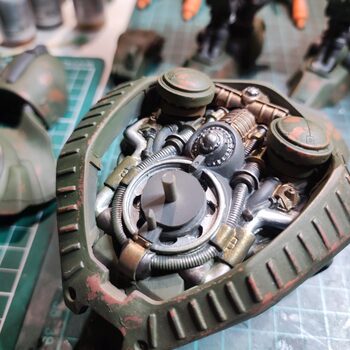
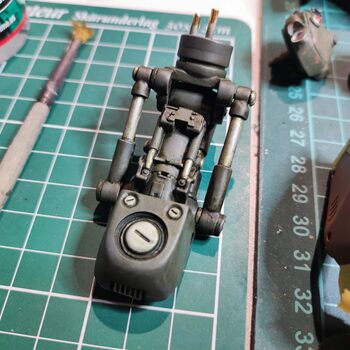
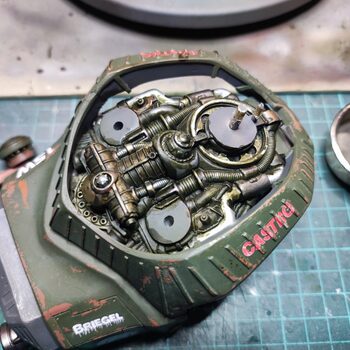
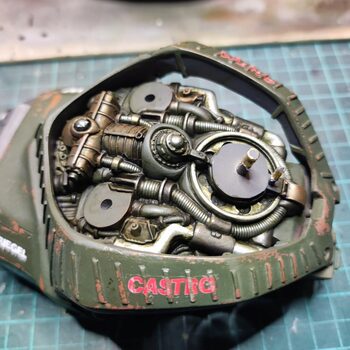
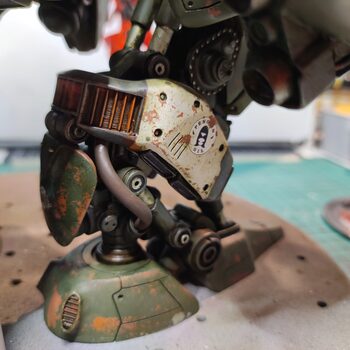
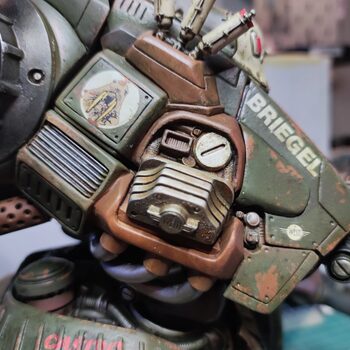
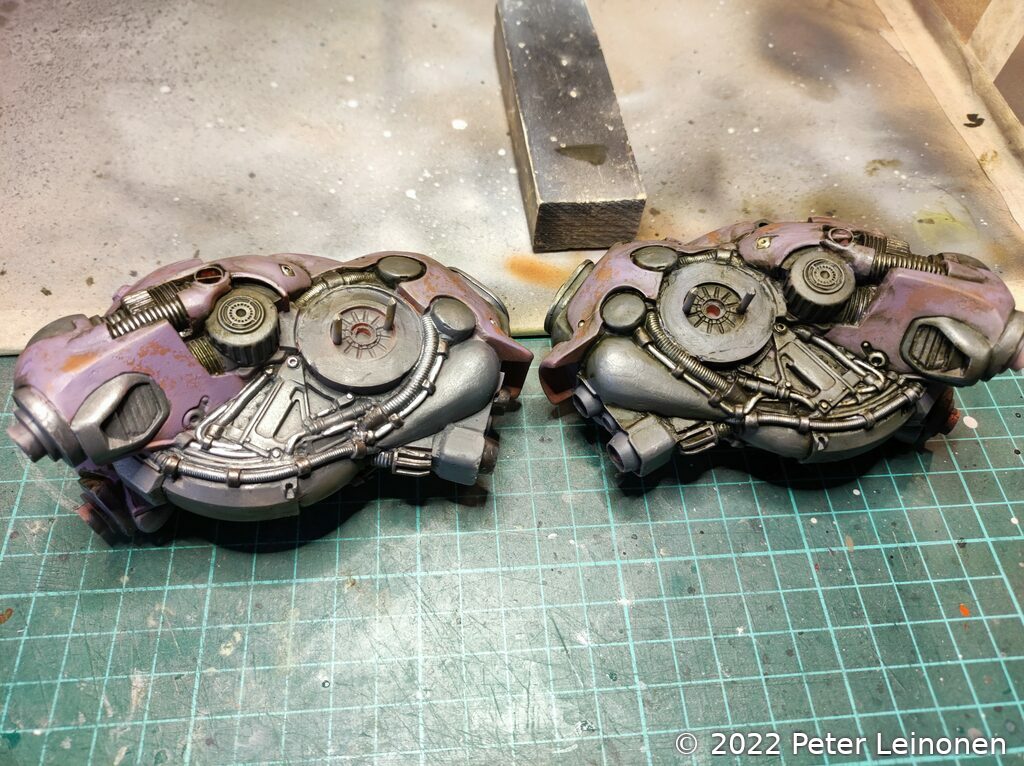
The mechanical parts have an Anthracite Grey base coat, and dry brushed with Steel to give it a more metallic feel. Screws, bolts and rivets are painted with Steel to make them pop.
Pipes and tubing are given Steel or Gunmetal color, and exhaust nozzles and piping detals are painted with Burnt Iron.
Painting process
Here are some pictures of the painting process.
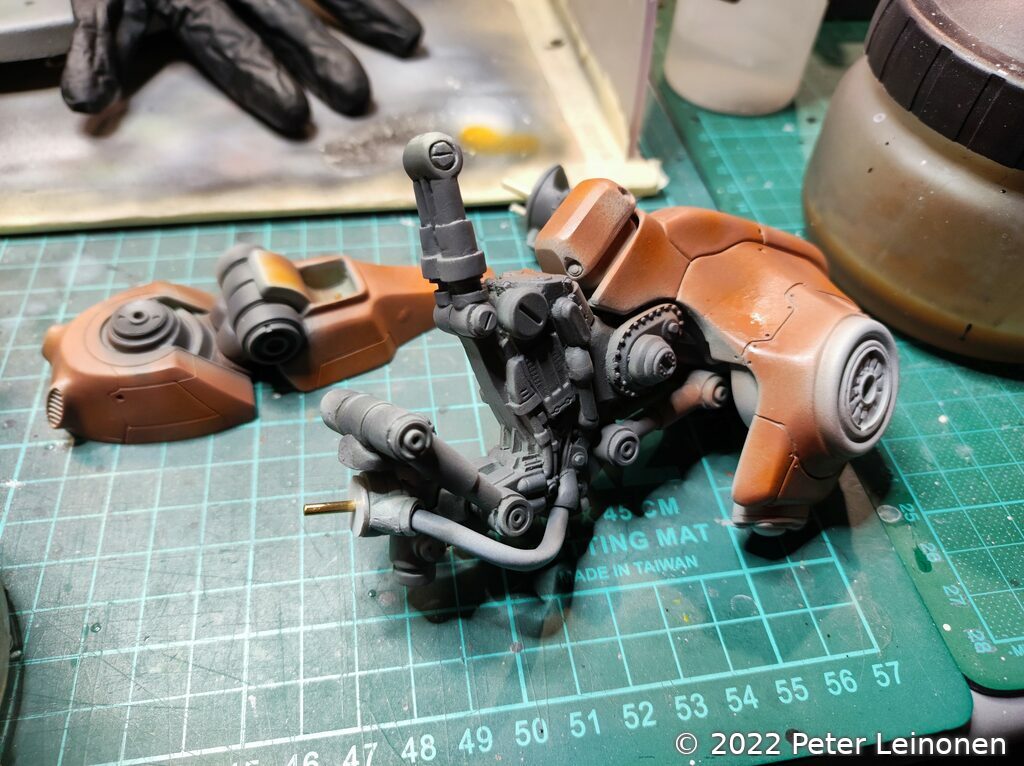
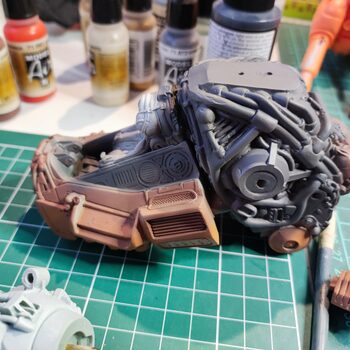
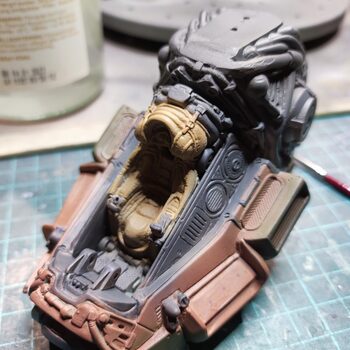
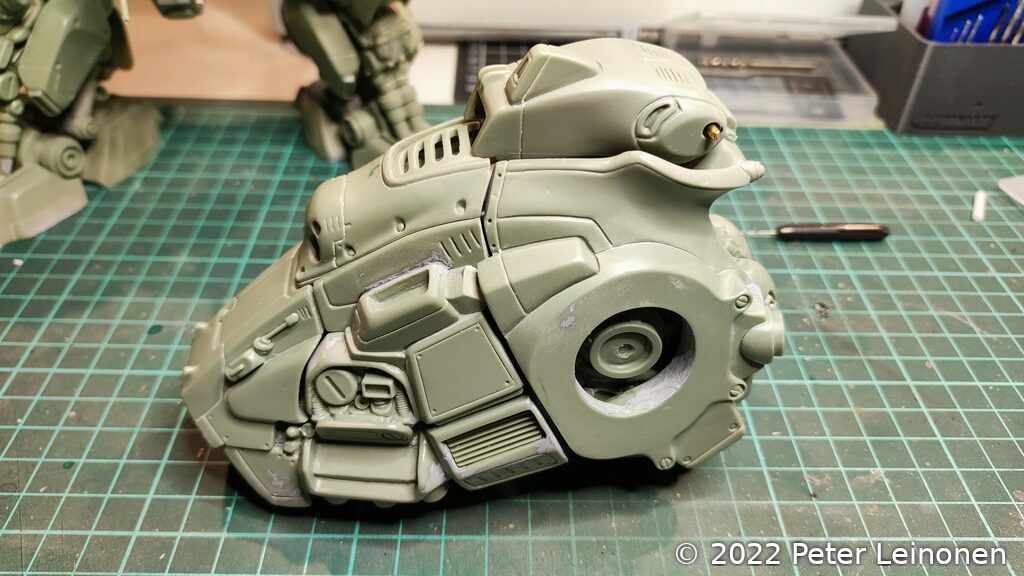
Waist unit
Start off by priming and applying a base coat of Rust/Orange and Anthracite Grey.
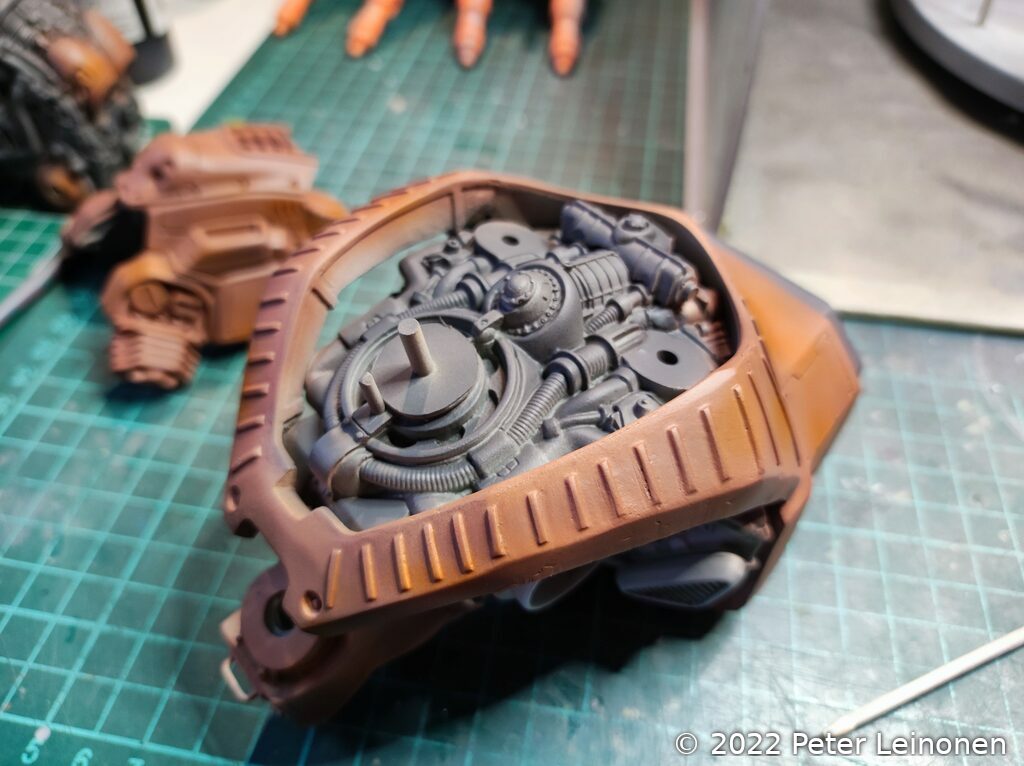
I used a hairdryer to dry off the enamel paint faster.
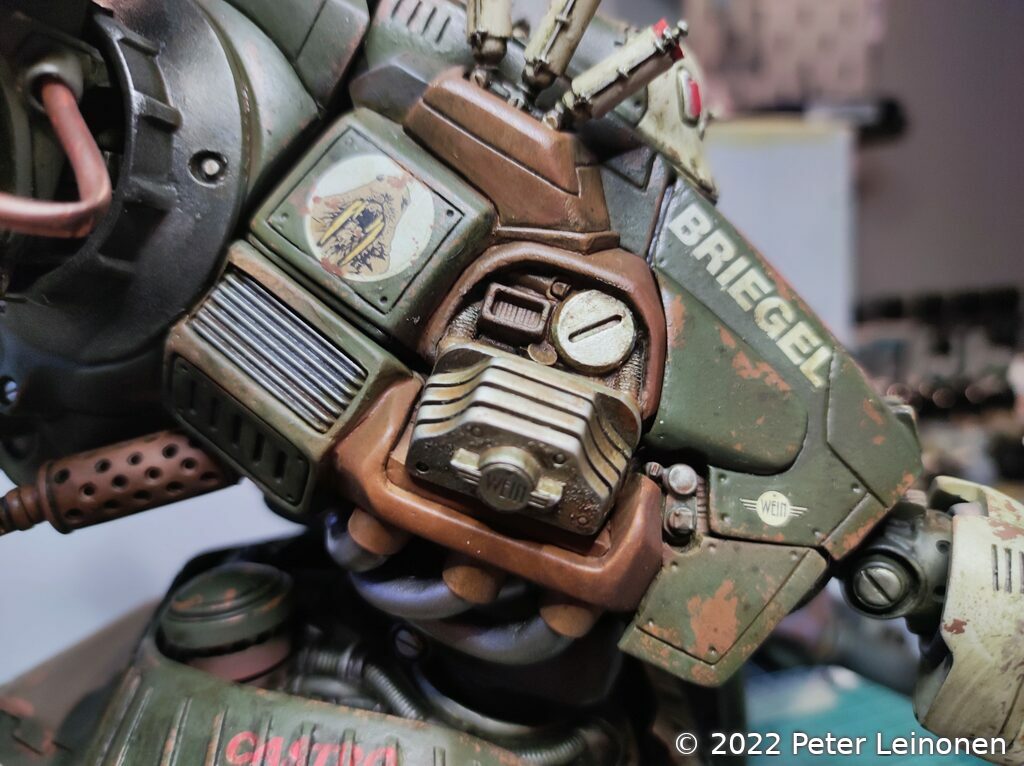
I decided to give some parts contrast by painting them white (off white)
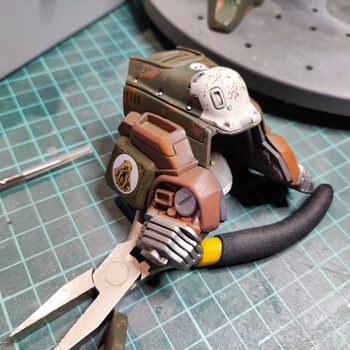
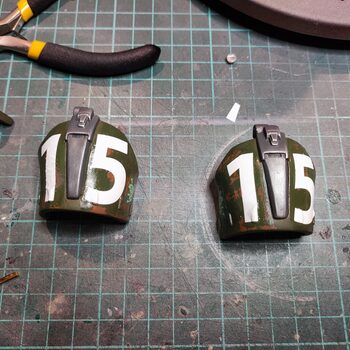
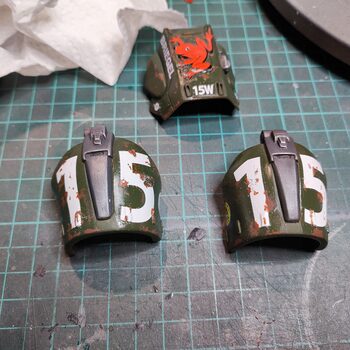
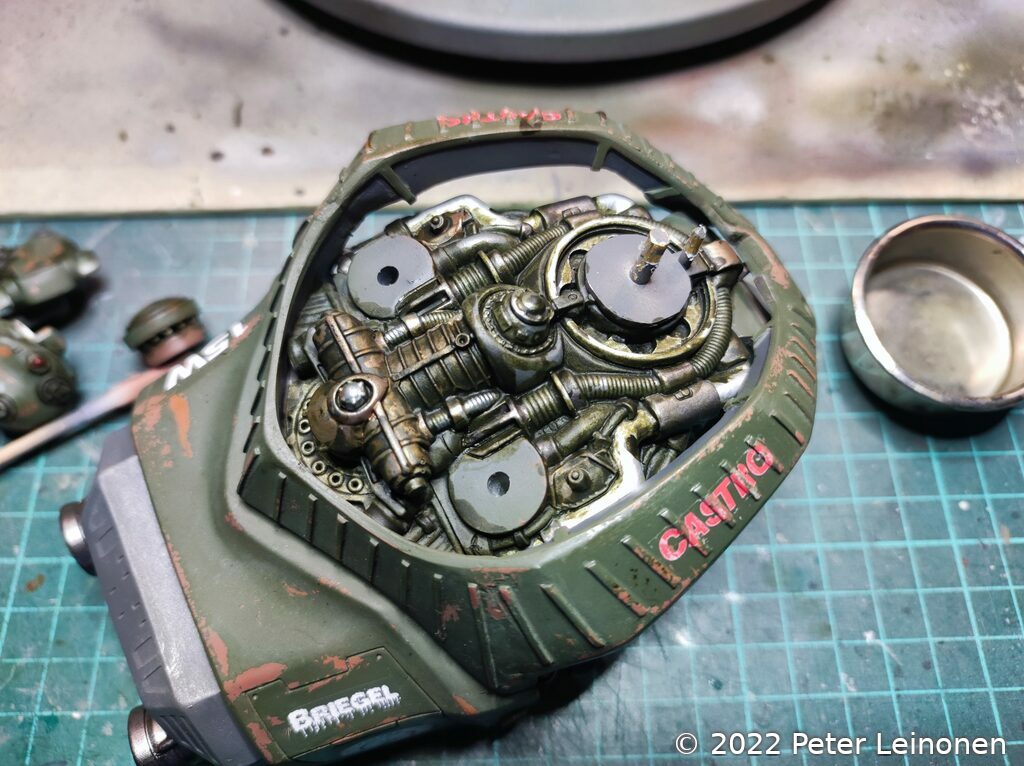
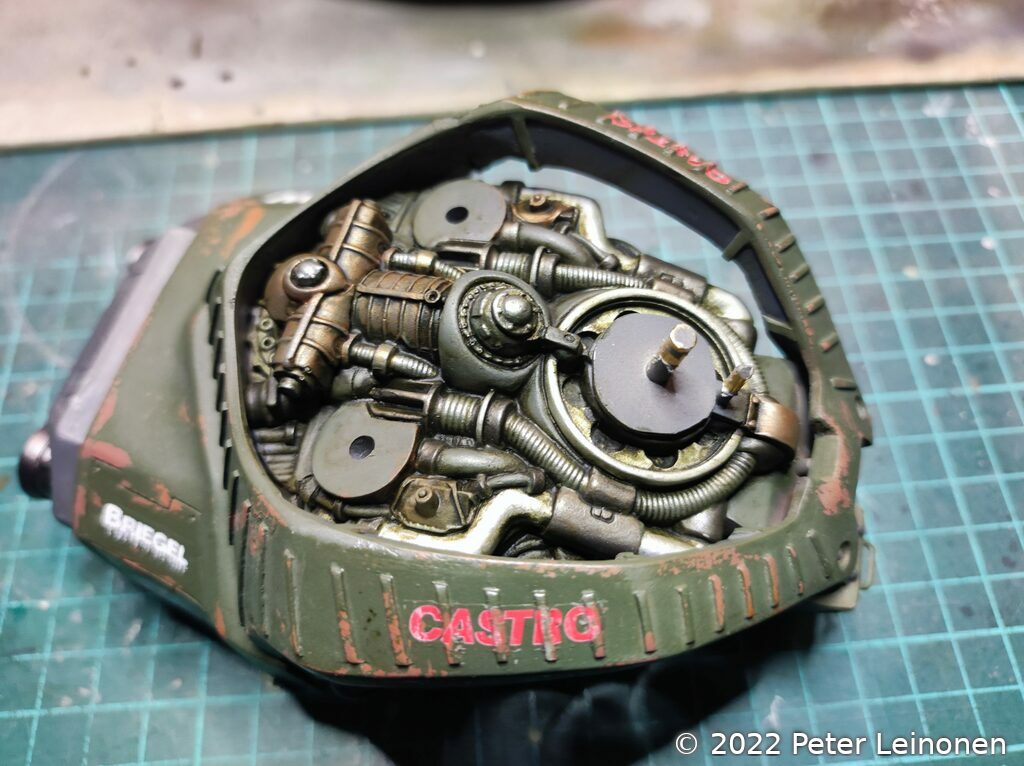
Decals
Dirty machines deserves dirty decals. Before applying the decals, I painted the areas that should have decals with gloss varnish, using a paintbrush instead of airbrush, because I was lazy.
I applied the waterslide decals as usual with Micro Set and Micro Sol, and when dried, rubbed them with sand paper and scraped some parts with a hobby knife. The decals where quite sturdy, and a bit tricky to wear down with the sand paper. I brushed off the decal bits that was sanded off.
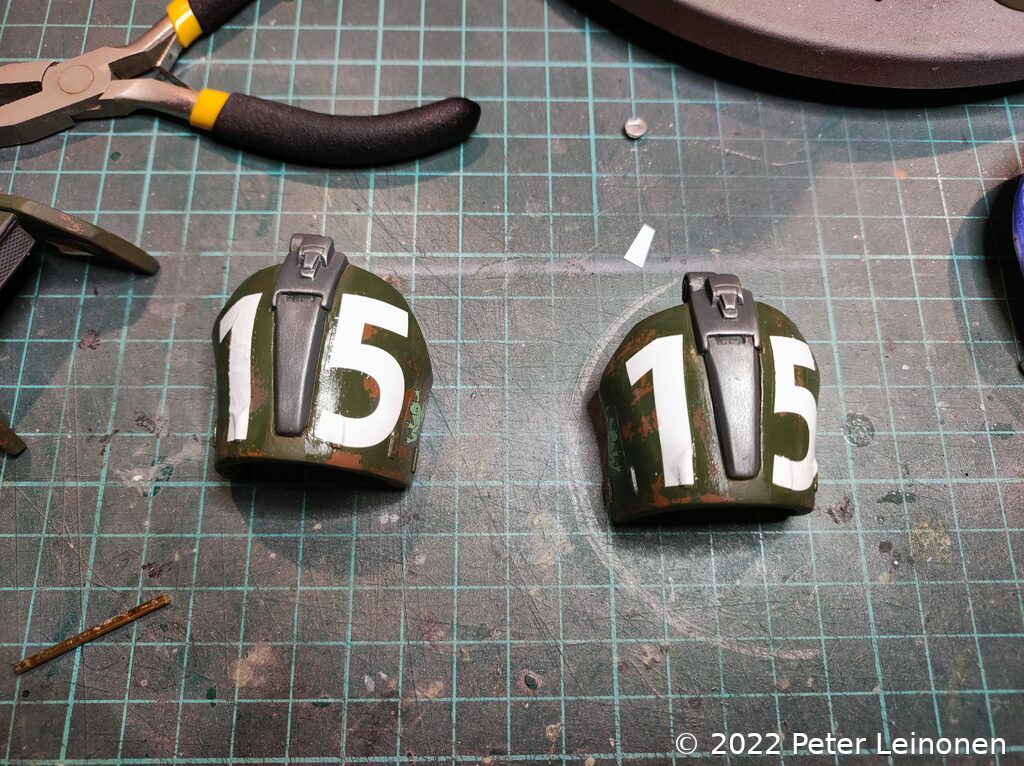
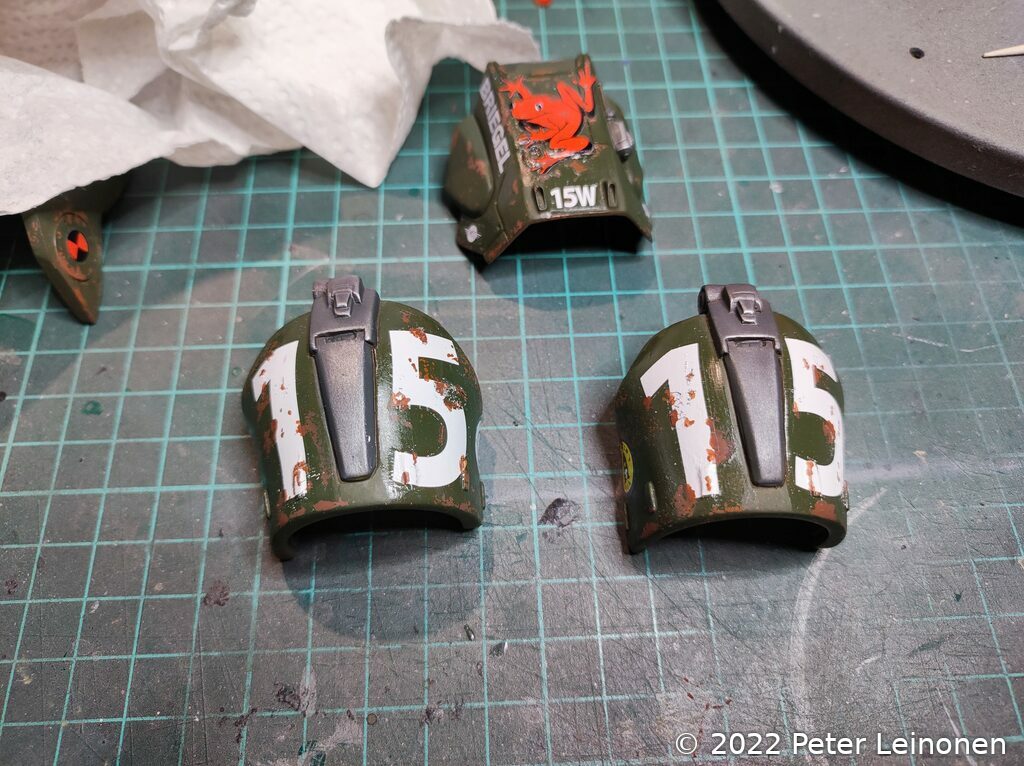
After destroying the decals, I painted some areas with Rust color using a fine brush. Then I applied Dark Streaking Grime to get the final effect.

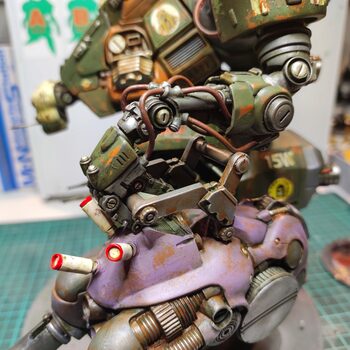
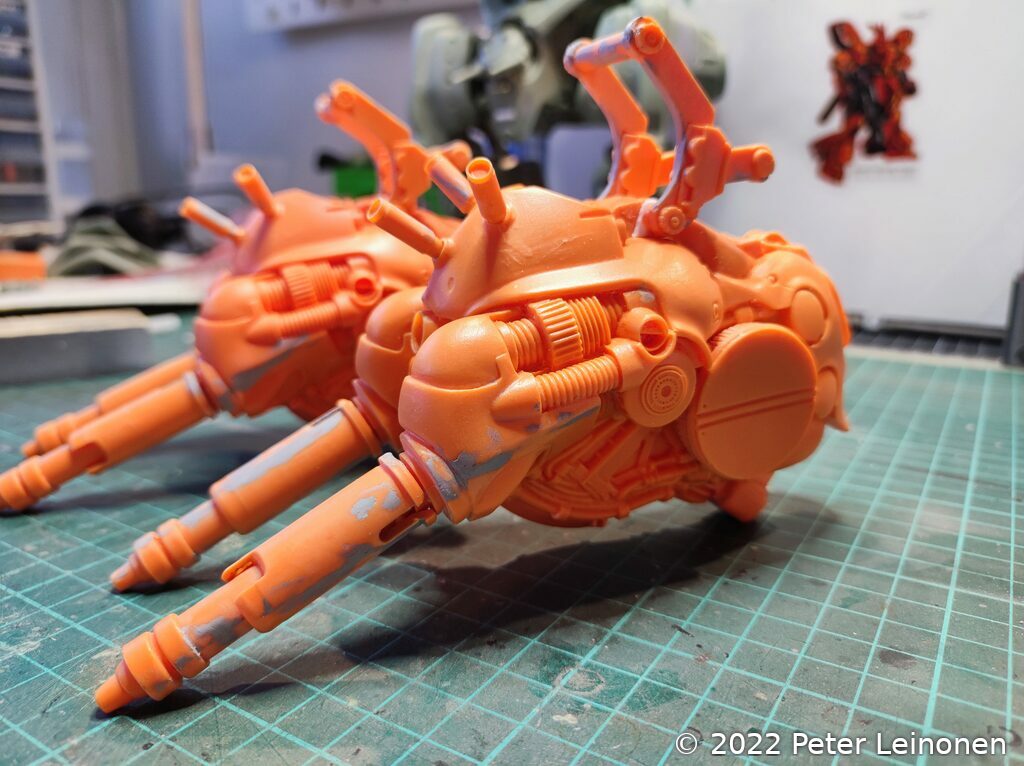
Weapons
I wanted the "Walrus units" to have a different color, so I chose purple. I did not have purple color so I mixed white, red and blue to get the correct shade of purple. I have not painted the included Hunter Rifle, because I chose not to use it for this build.
Final reveal