Geara Doga Part 3
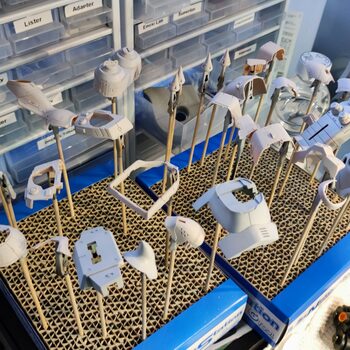
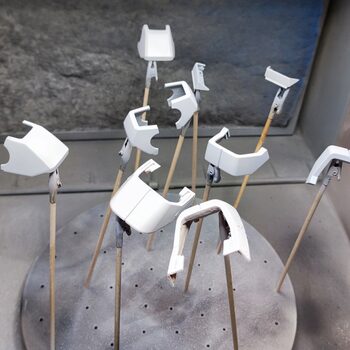
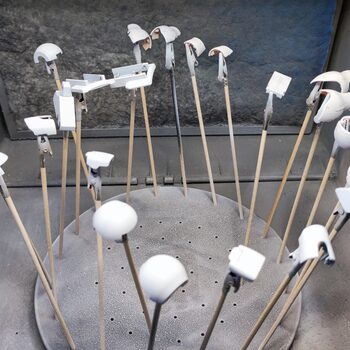
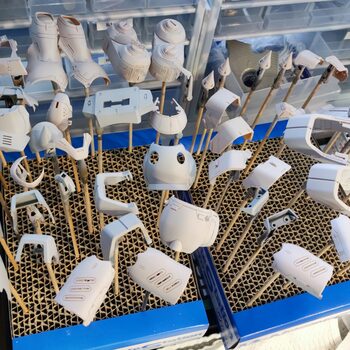
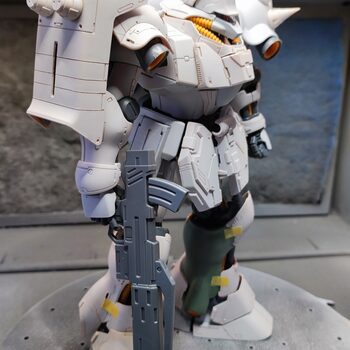
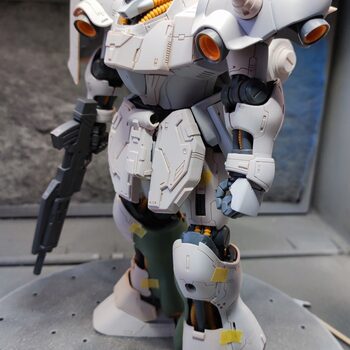
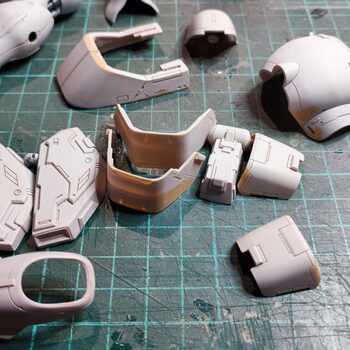
Priming
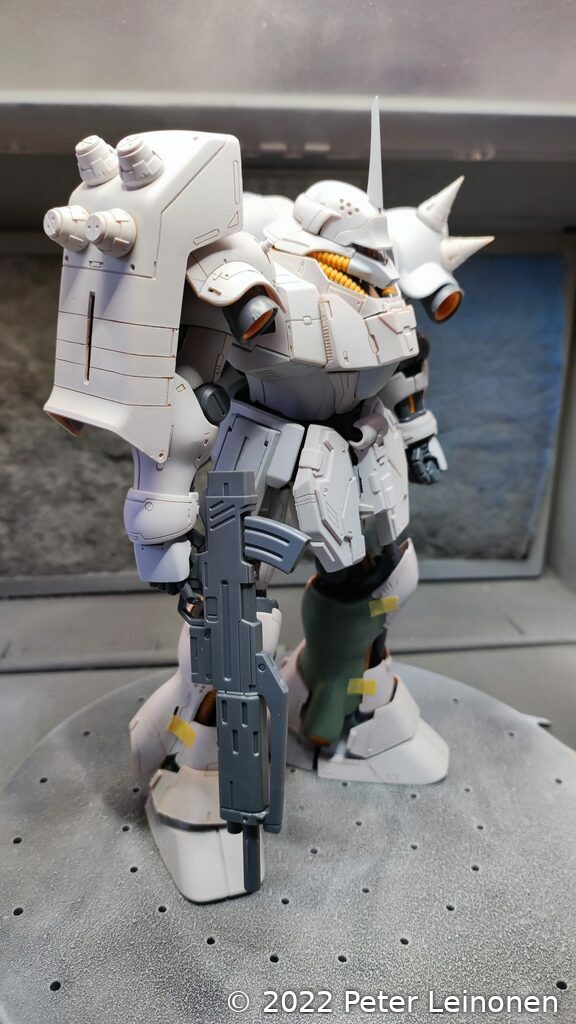
Time for some primer and part cleanup.
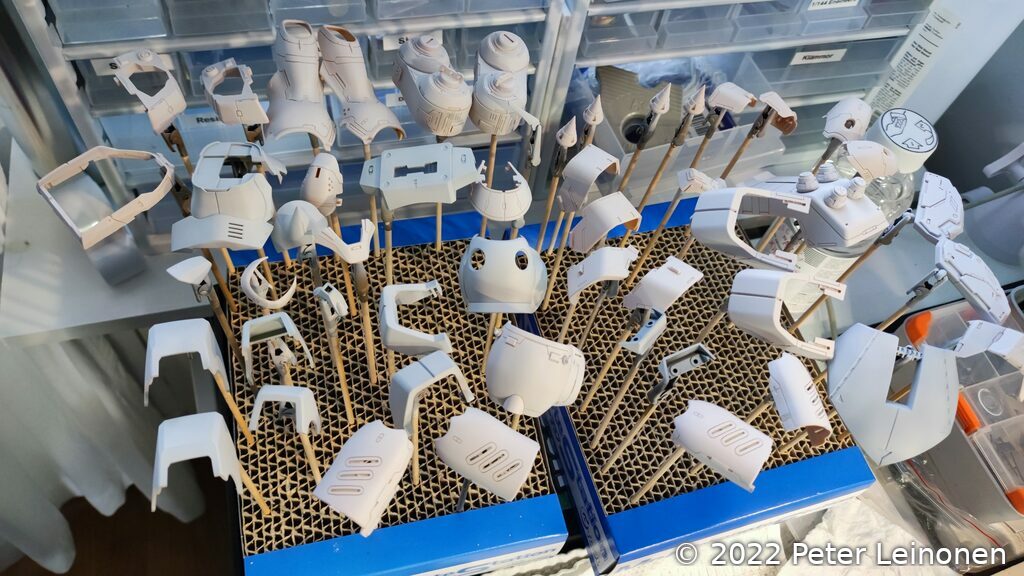
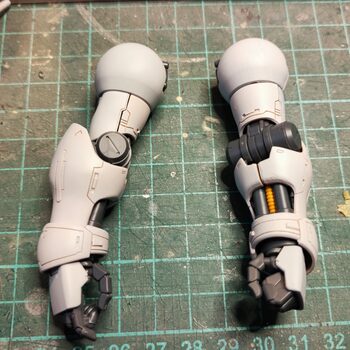
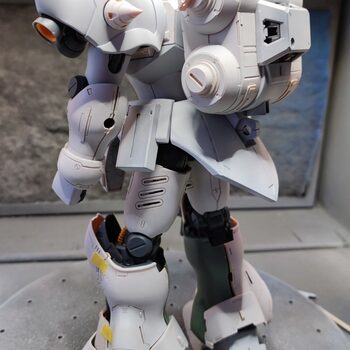
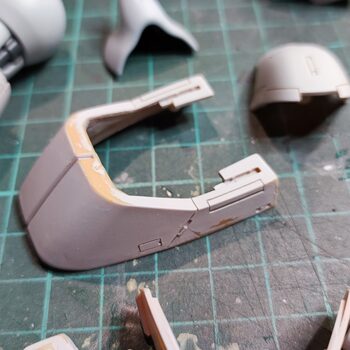
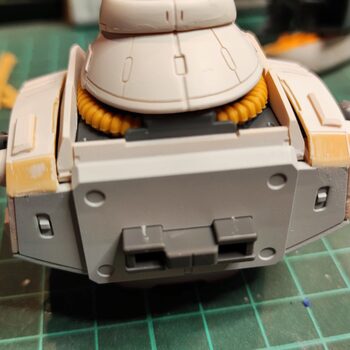
After priming I assembled the Geara Doga to see what it looks like with a more uniform color.
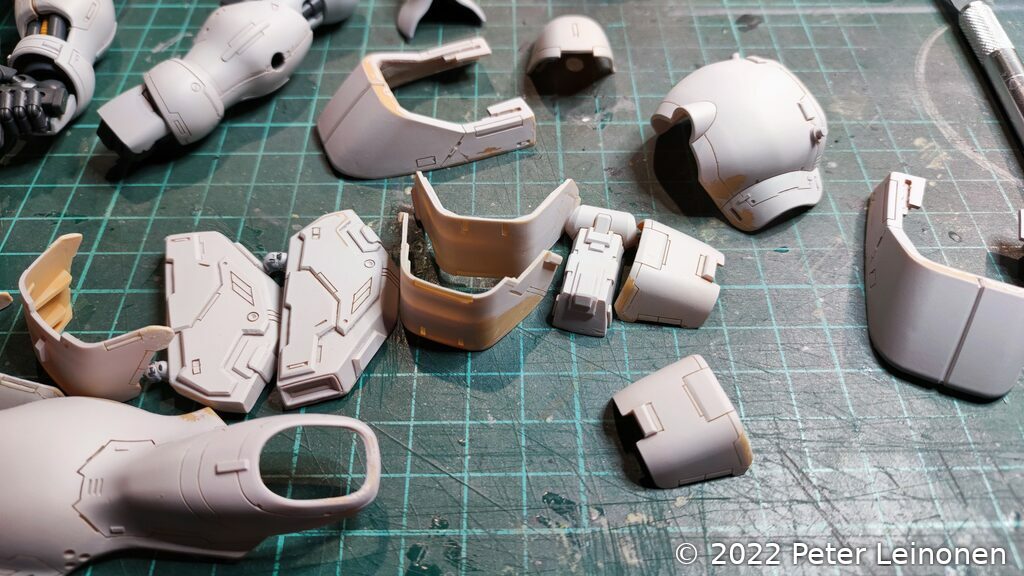
When I applied primer there where some imperfections showing up more clearly, so I had to do some sanding and filling.
Sanding & Filling
I used wet sanding in order to not expose myself to toxic resin dust.

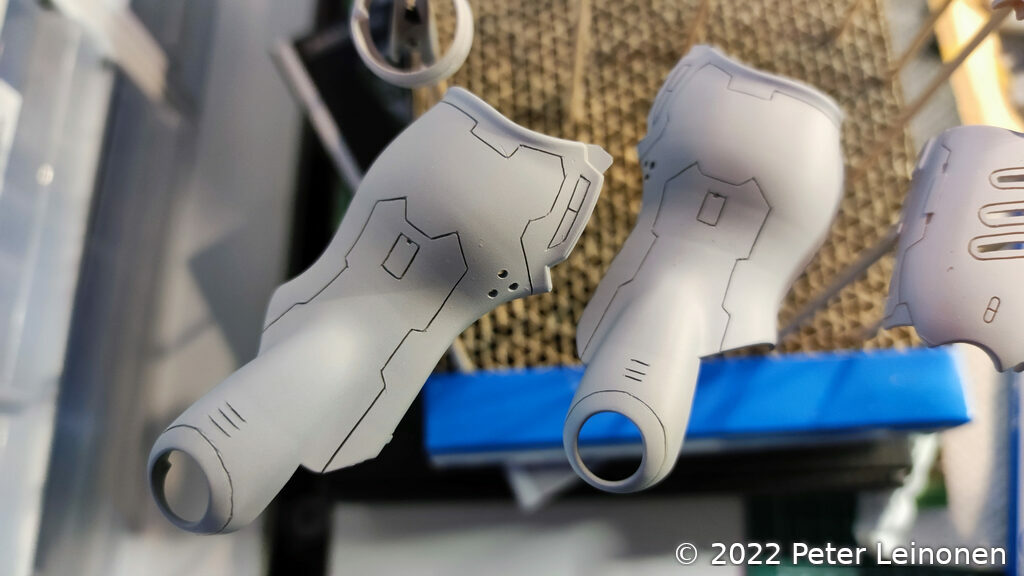
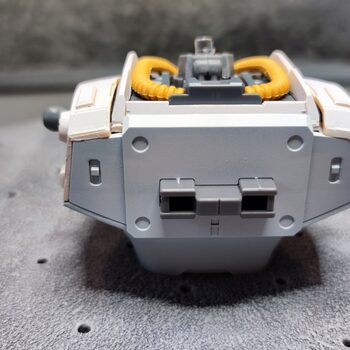
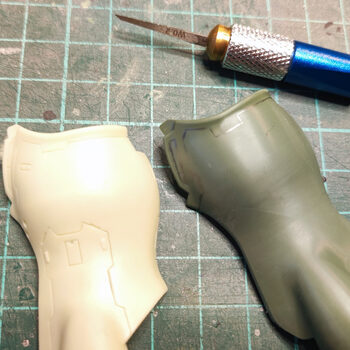
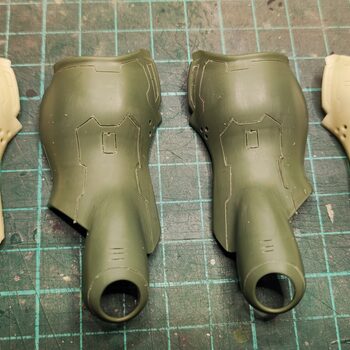
Scribing
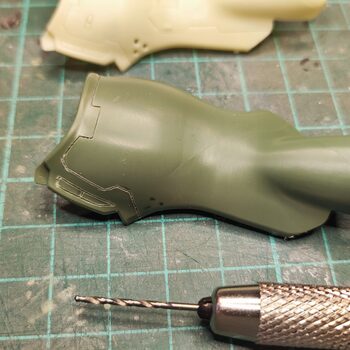
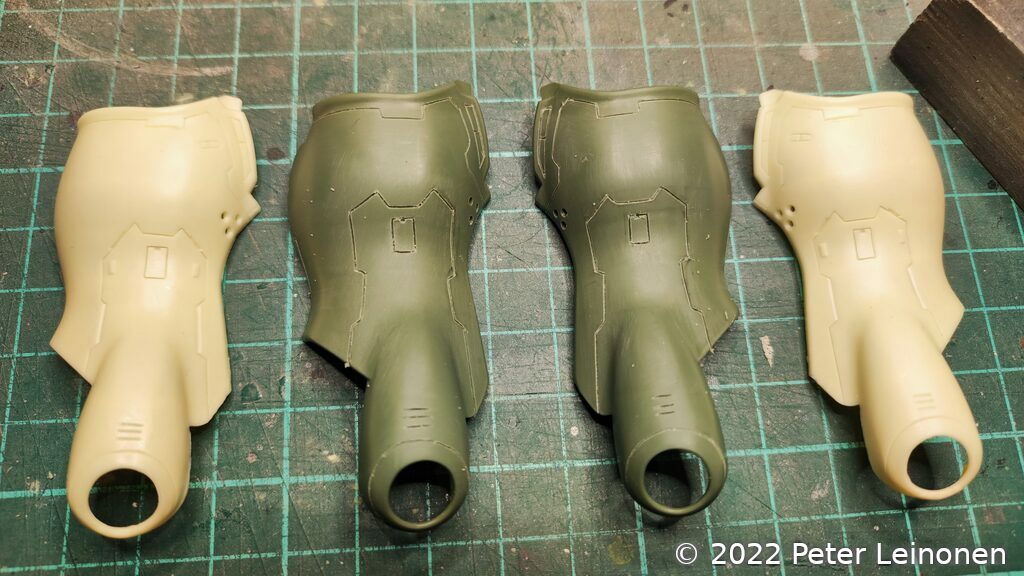
Because there where two parts that did not fit because of shrinkage I had to do the scribing of details myself.
Two parts is fine. Let's get to work.
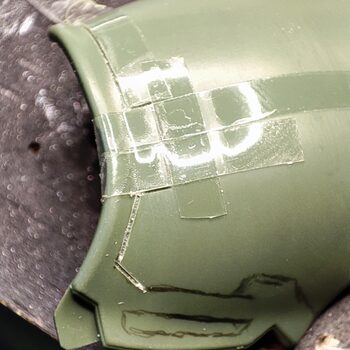
First, i copy the pattern using a pencil.
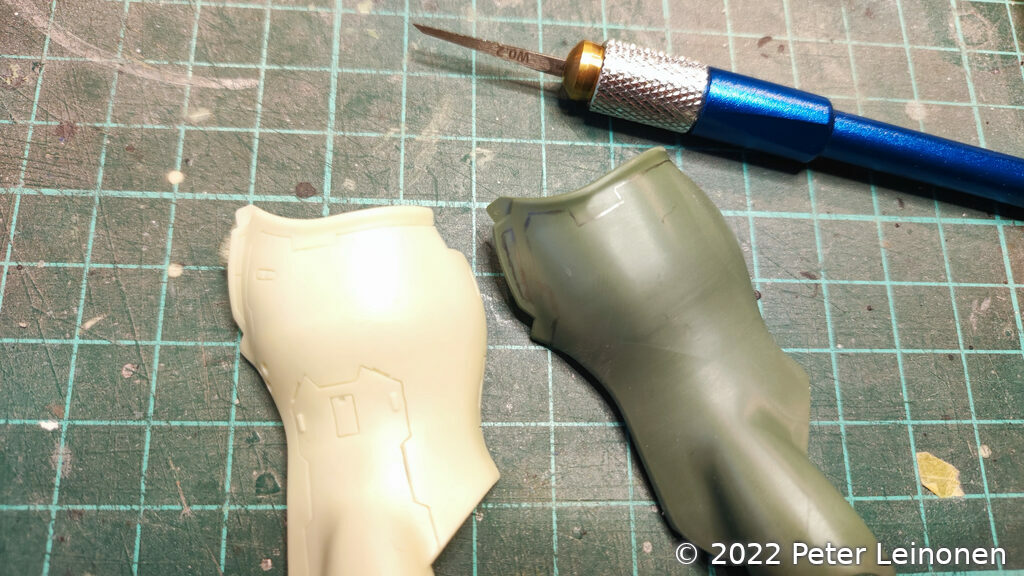
Then I apply scribing tape (thicker tape) to guide the scriber, and start scribing.
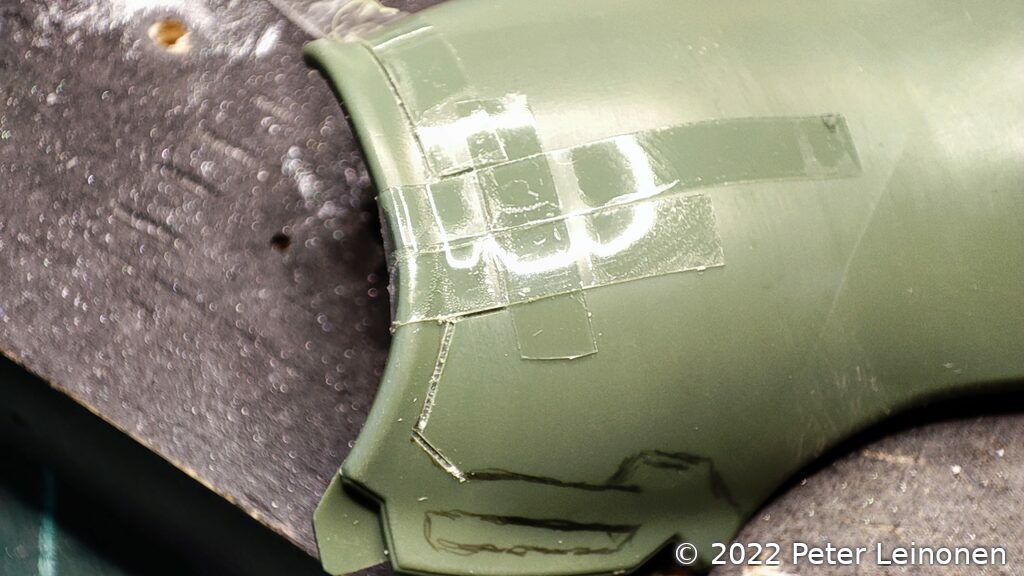
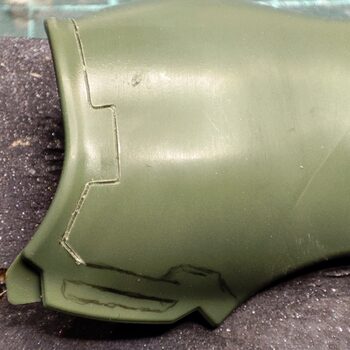
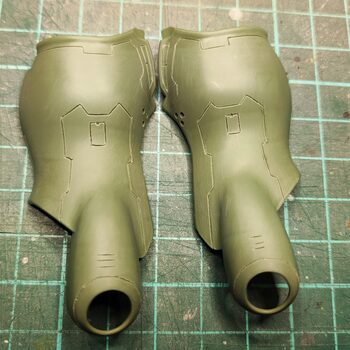
When scribing was completed, I sanded the parts to get rid of sharp edges from the scribing process.
I am glad I only had to scribe two parts, because it's a lot of work :) The result is not perfect, but good enough. I am happy with the result.
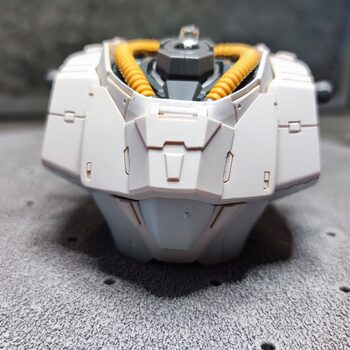
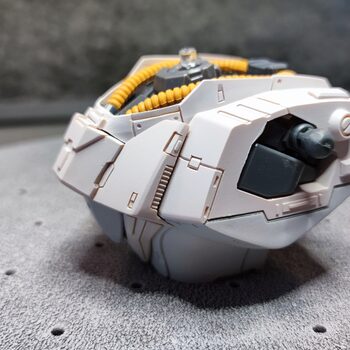
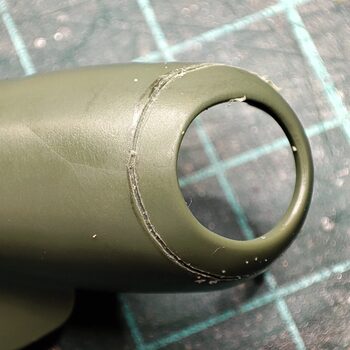
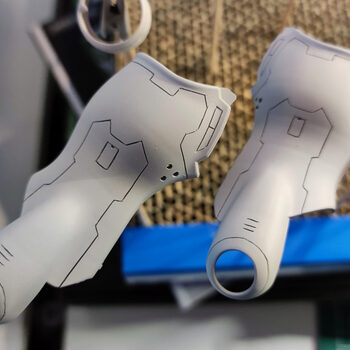
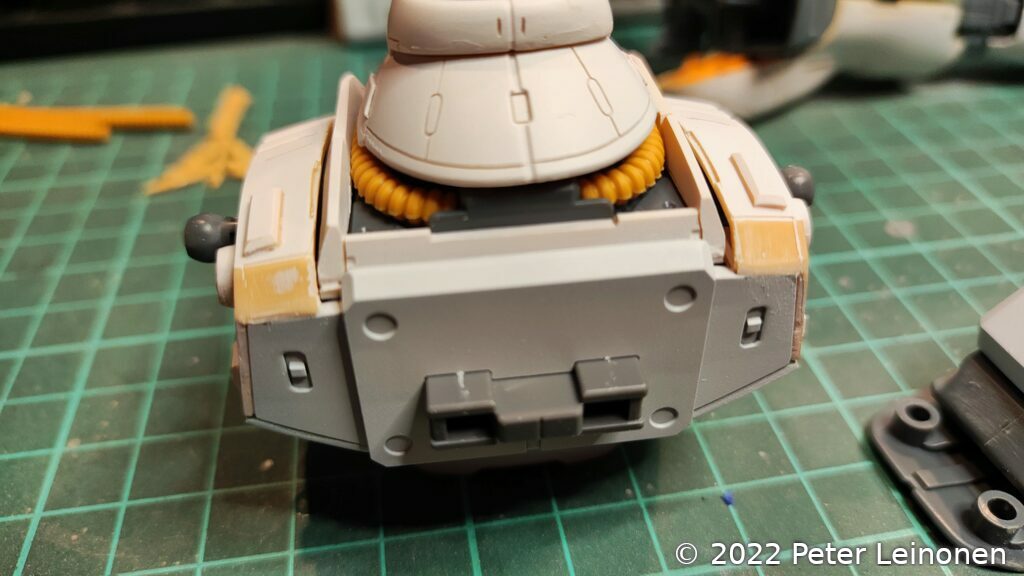
Finally, I primed the freshly scribed parts: