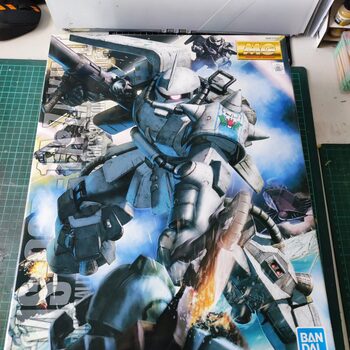
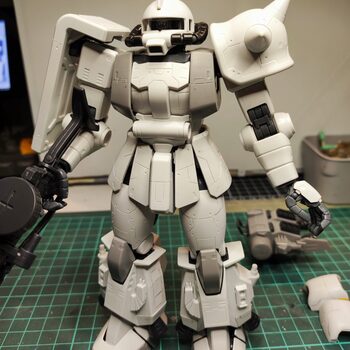
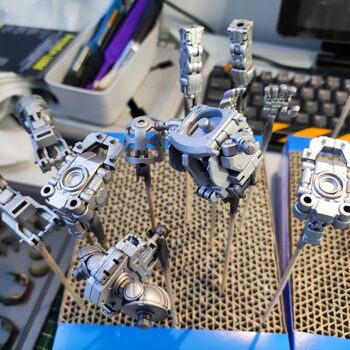
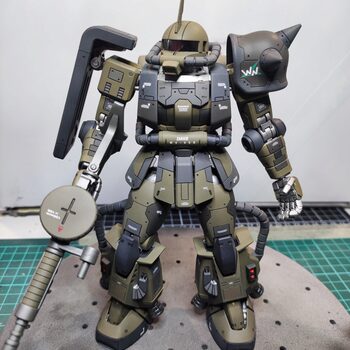
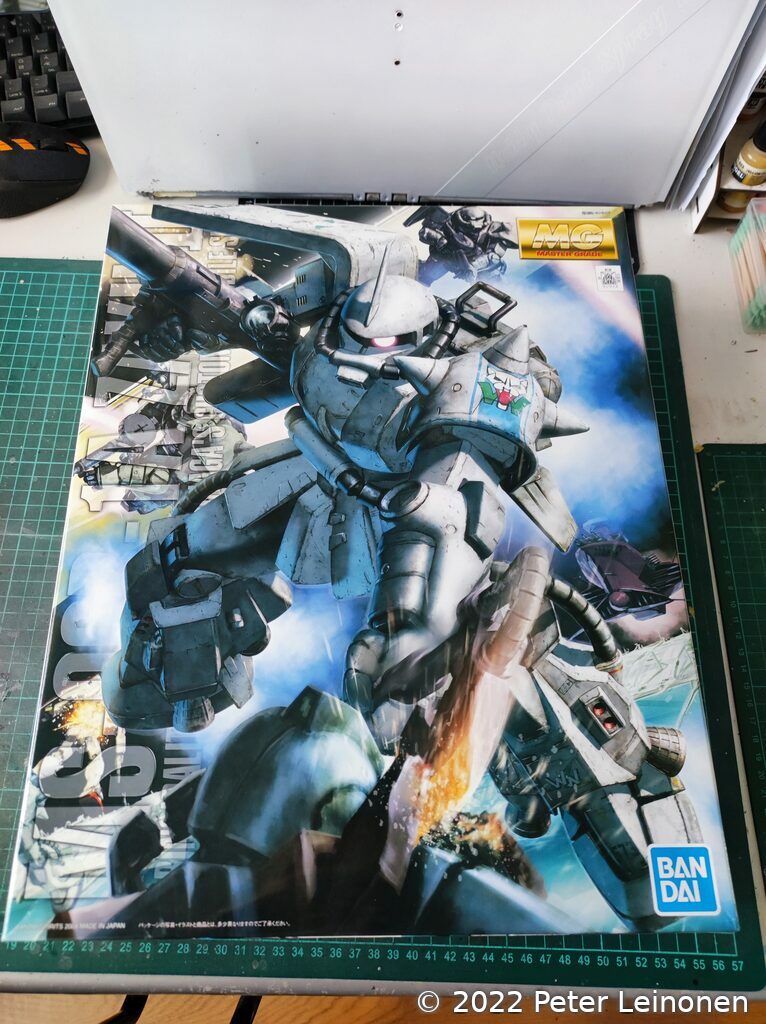
MS-06R-1A Zaku II
Since I work with my Gunpla kits whenever I have some free time, I feel it can be hard to make good blog posts, because I do not take pictures of all the steps, and sometimes I forget to take pictures. Sometimes it can go several weeks between different steps in a build.
This is a build I did recently, during a couple of weeks. I did not take pictures of all the steps.
Build
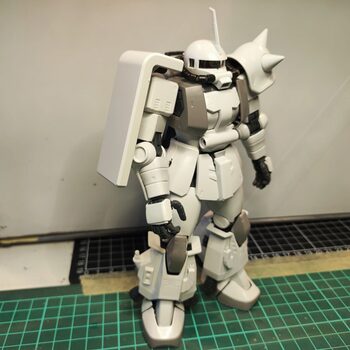
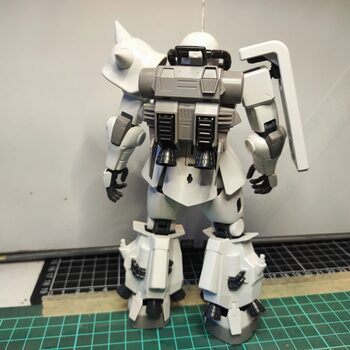
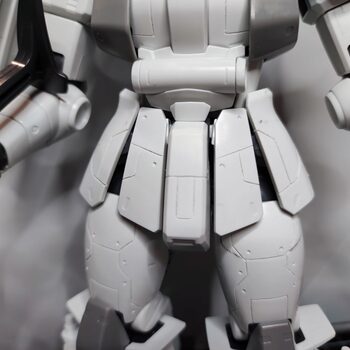
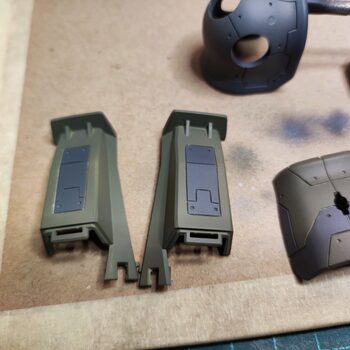
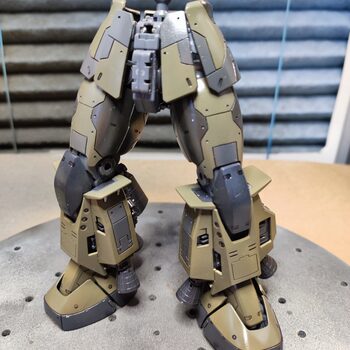
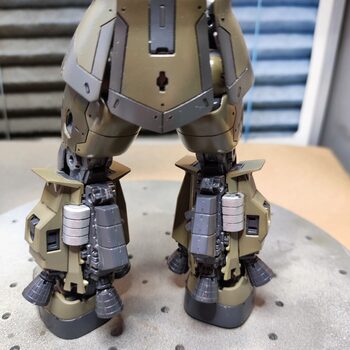
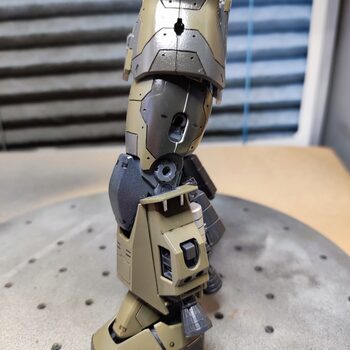
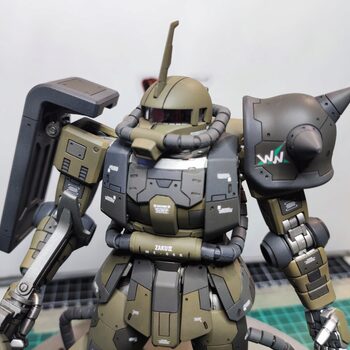
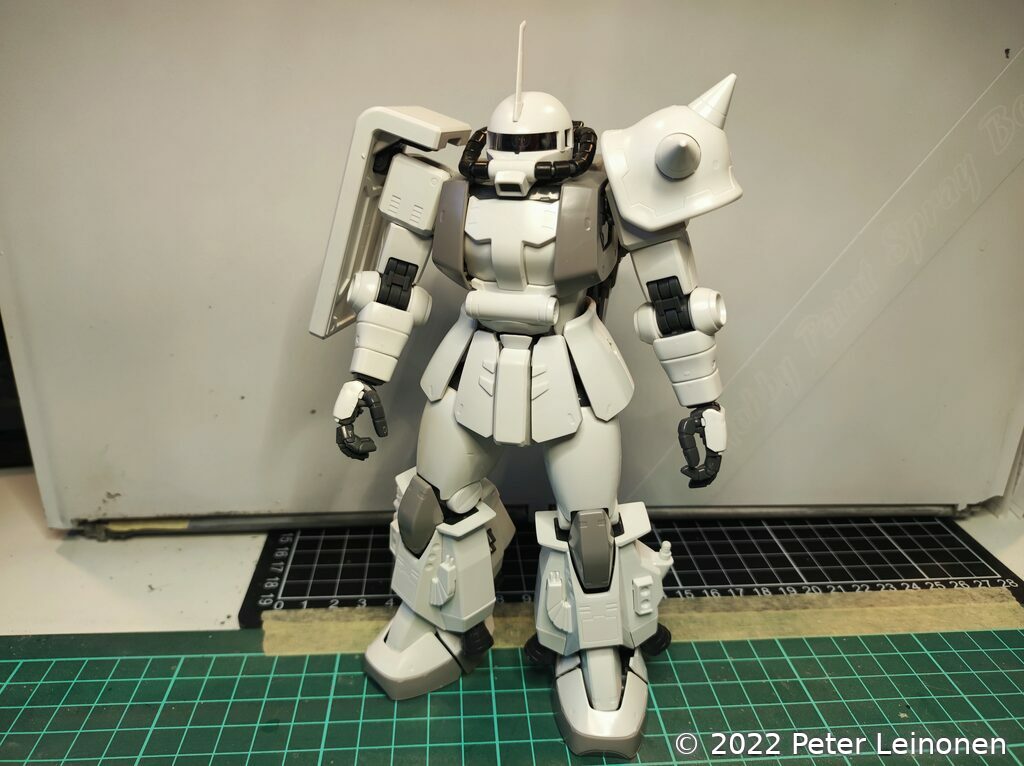
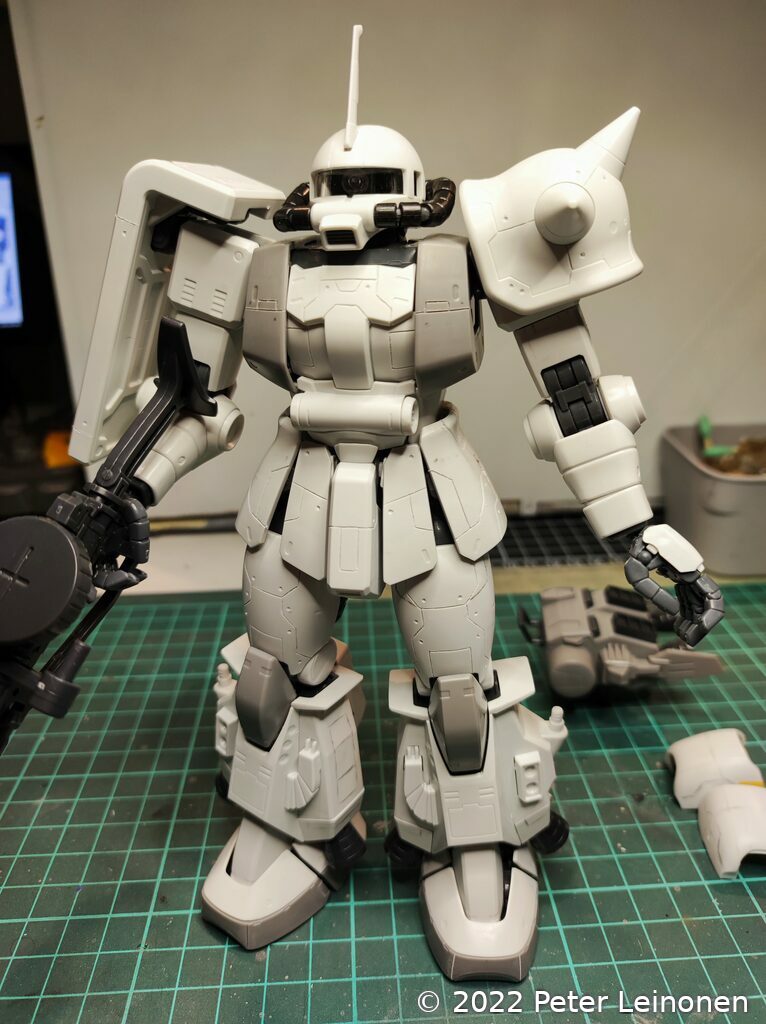
This is a master grade 1/100 scale kit. This version of the Zaku has a different design on the legs that look pretty cool.
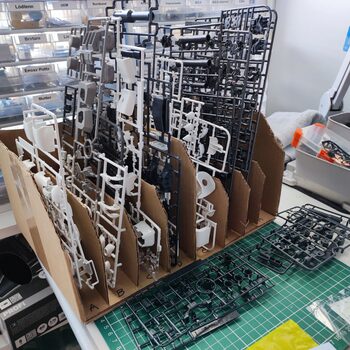
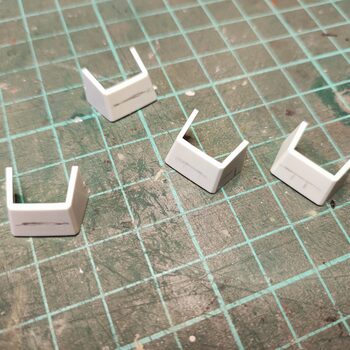
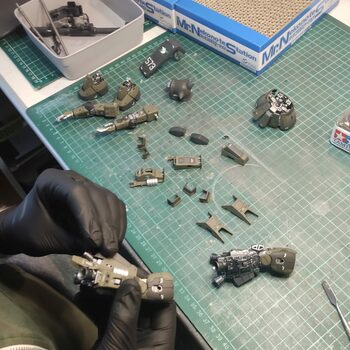
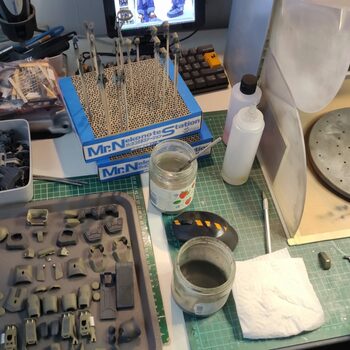
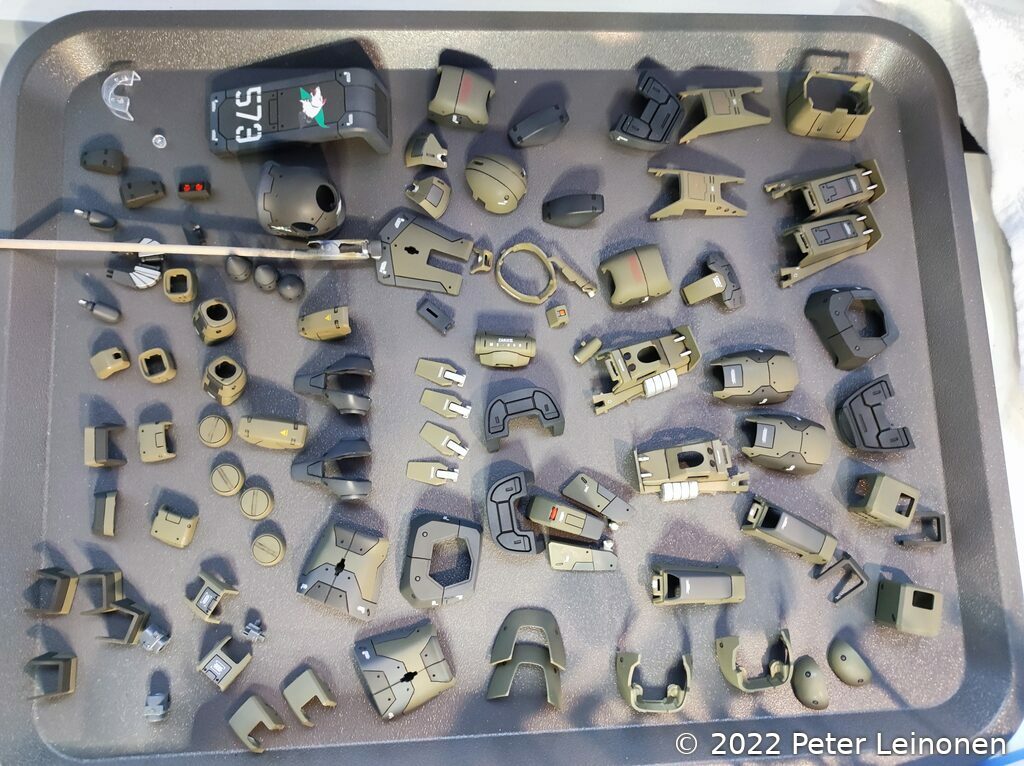
I like to keep my runners organized, makes the build much easier.
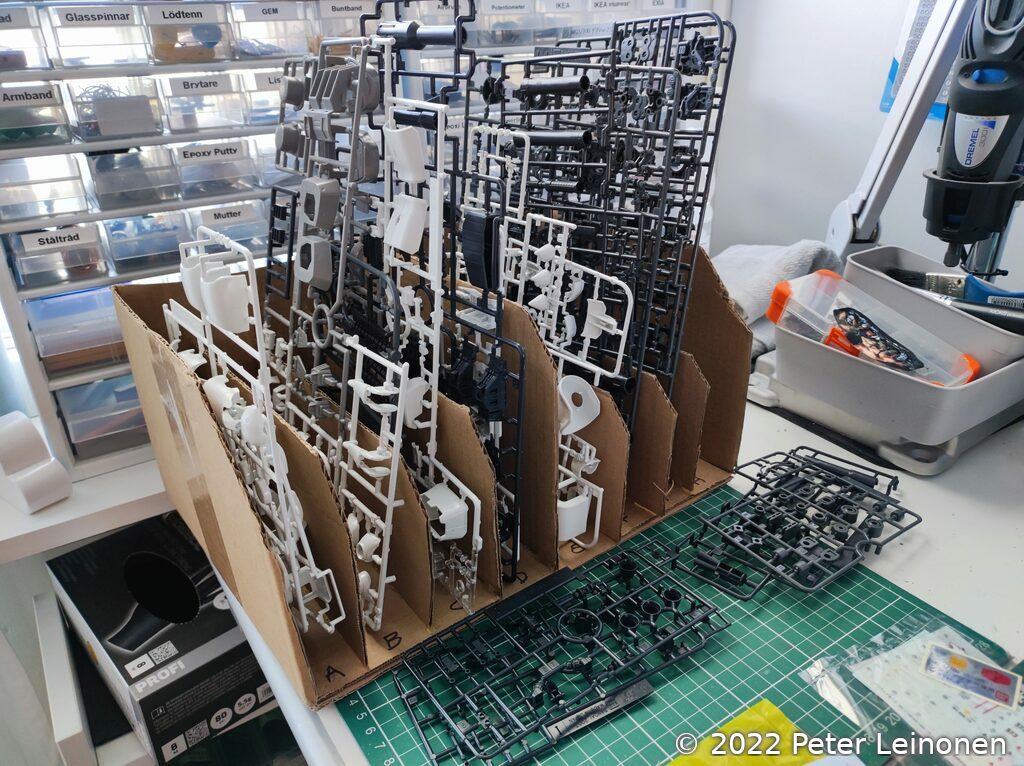
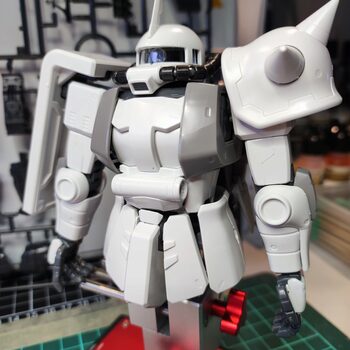
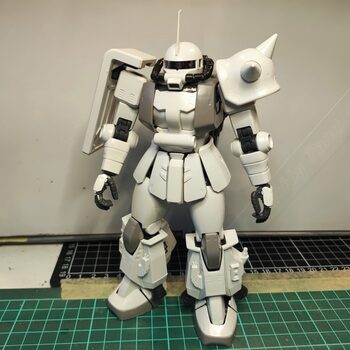
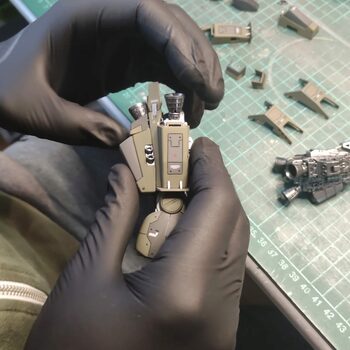
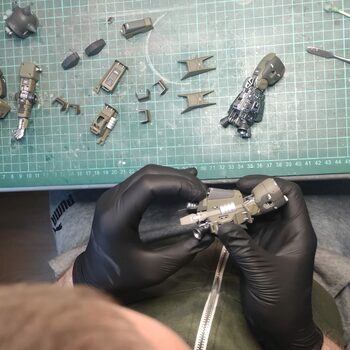
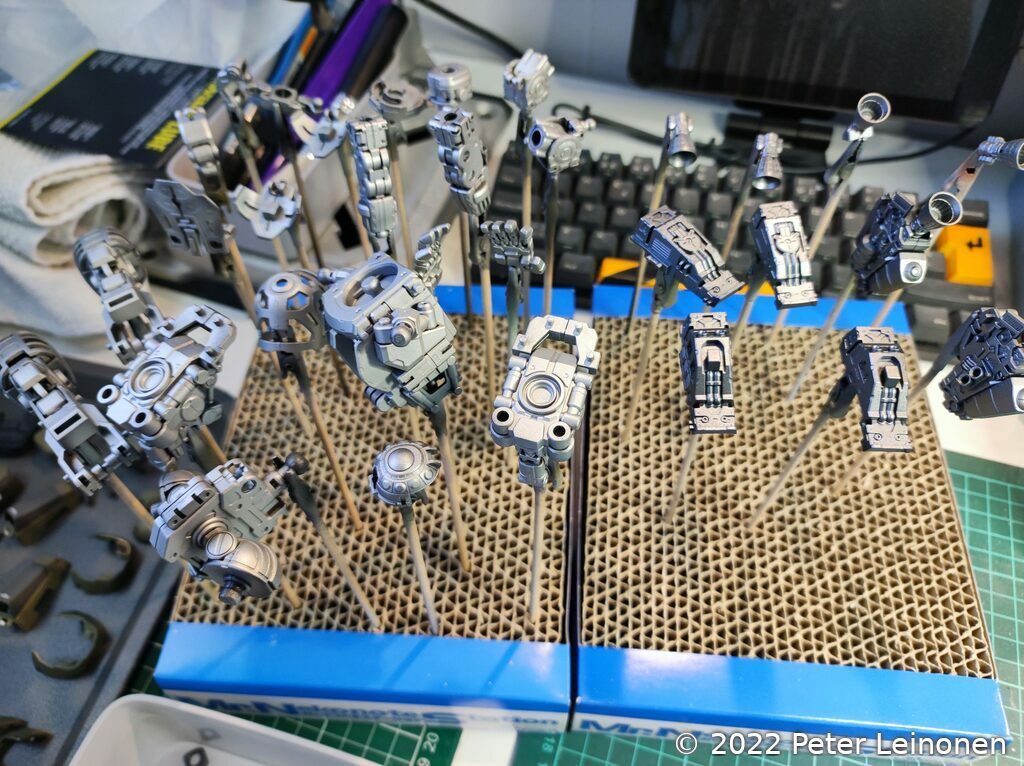
Assembly is straight forward. Building this kit took a couple of hours of uninterrupted nipping.
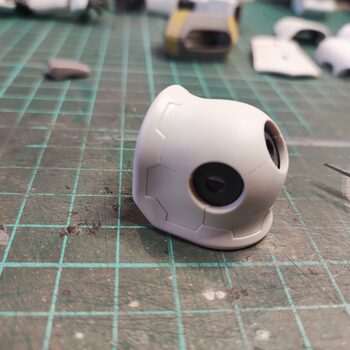
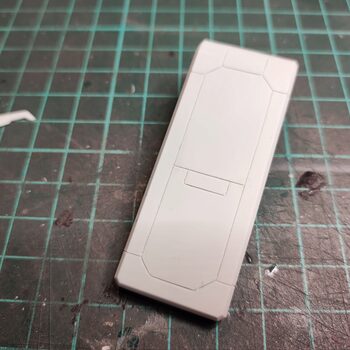
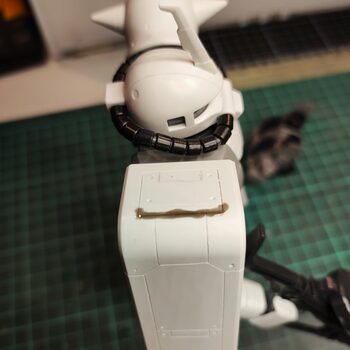
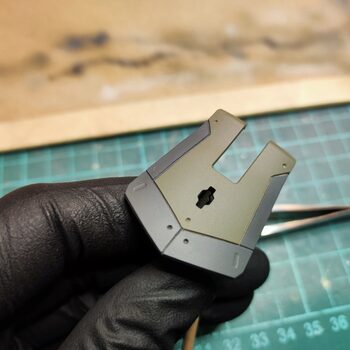
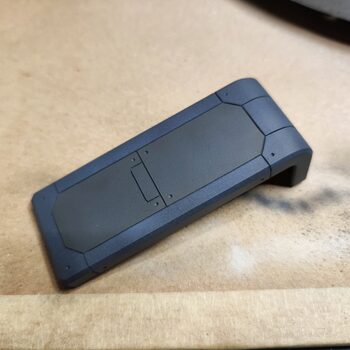
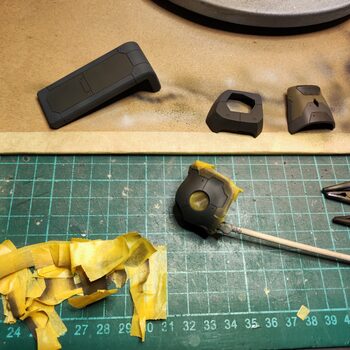
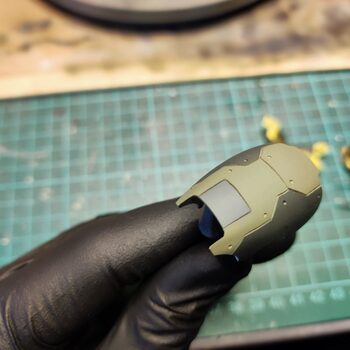
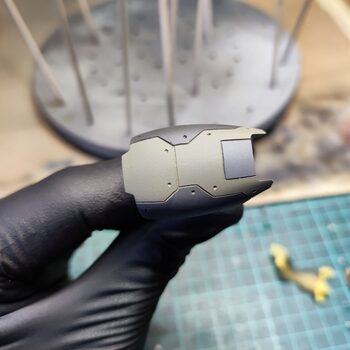
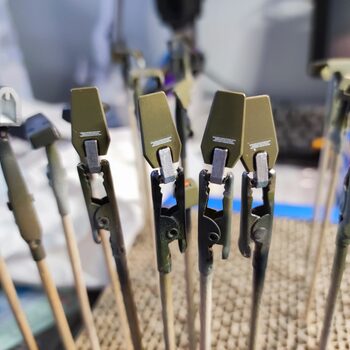
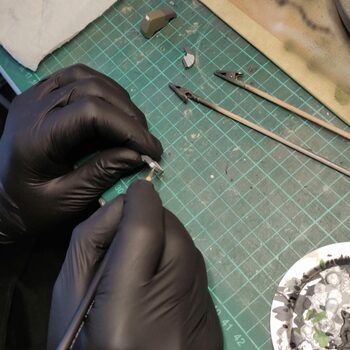
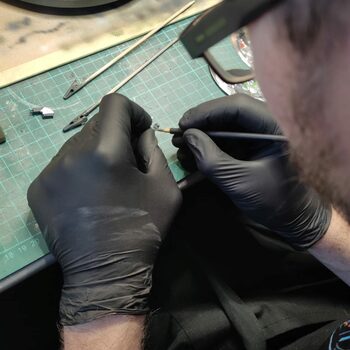
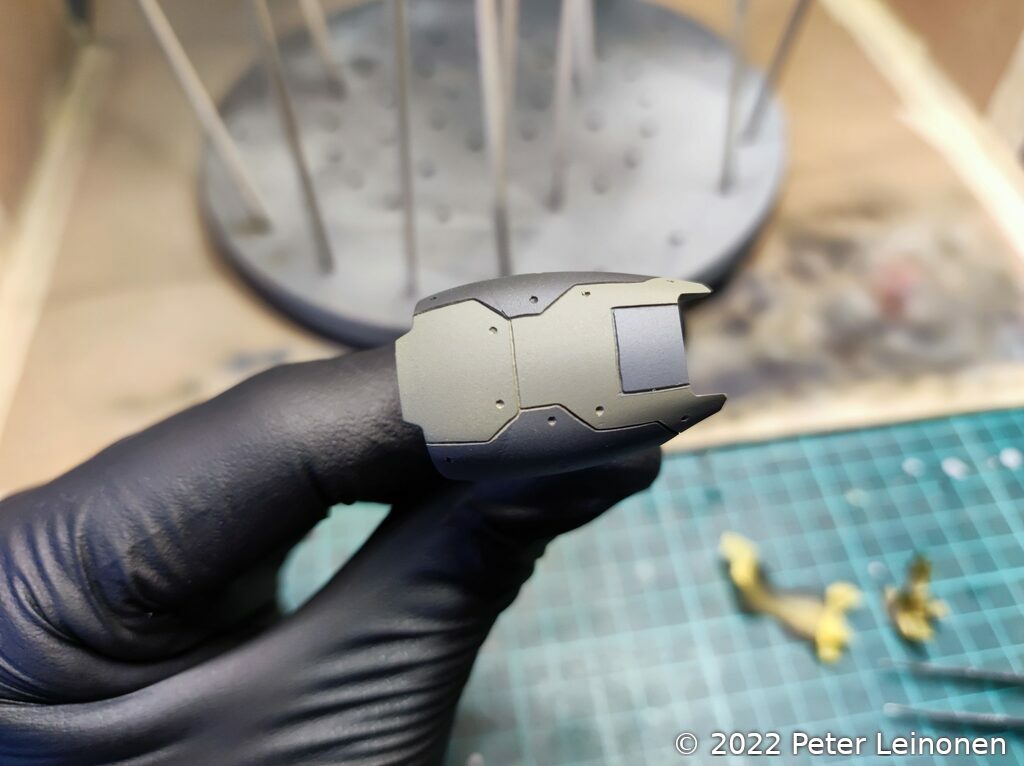
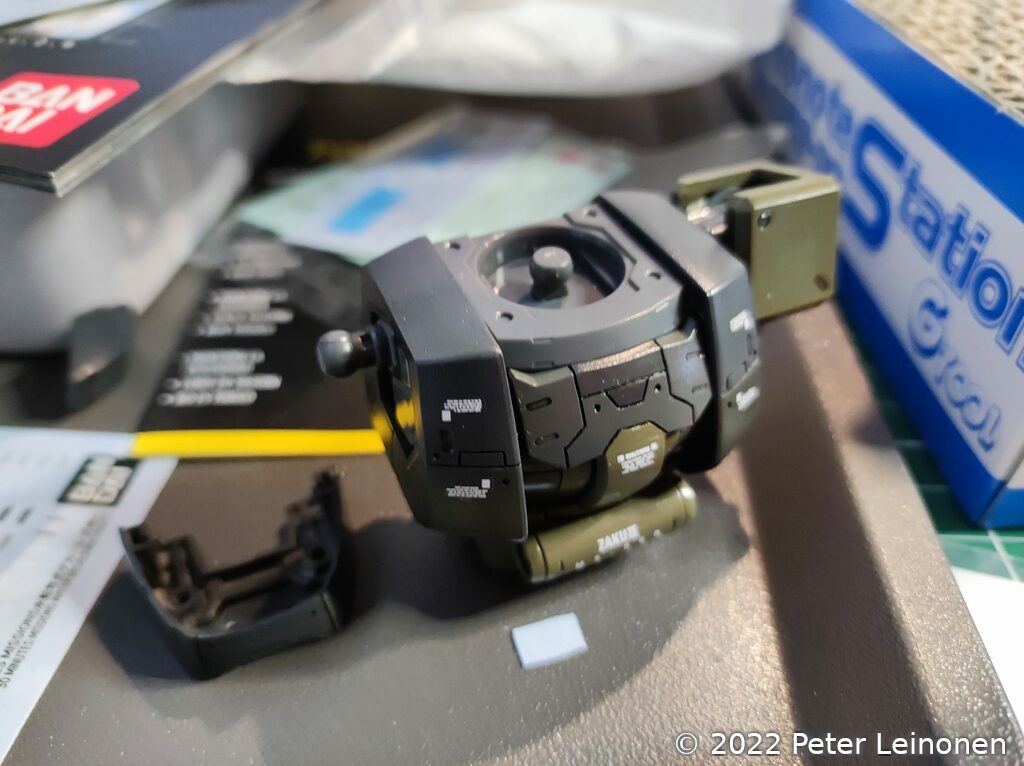
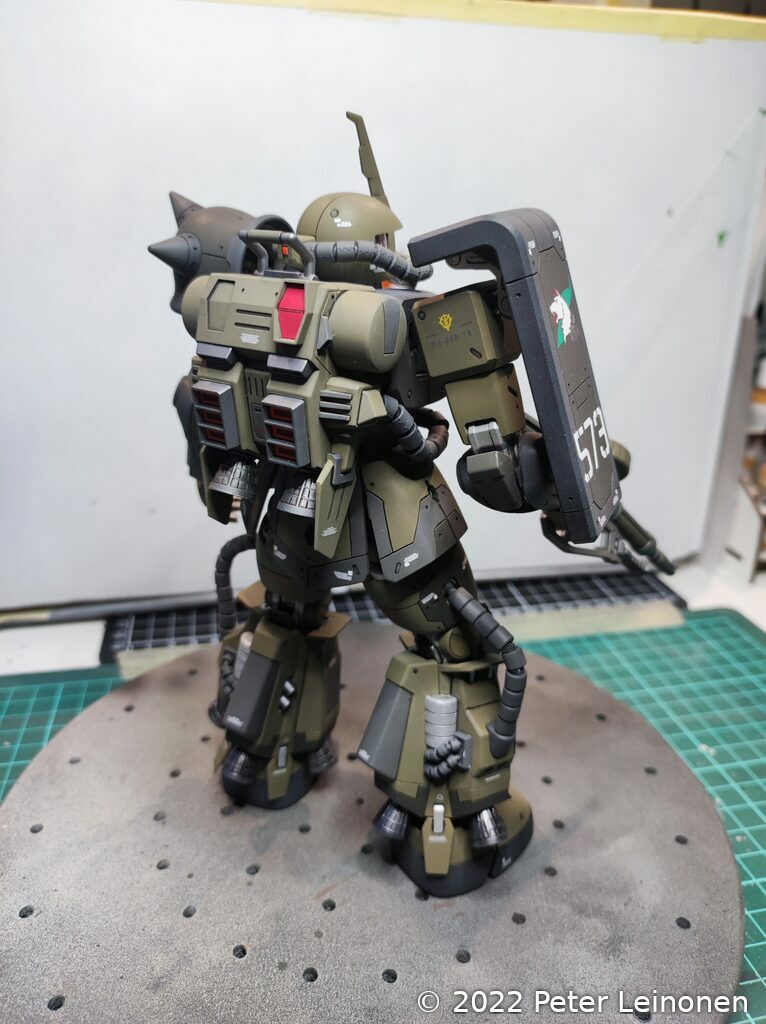
Scribing
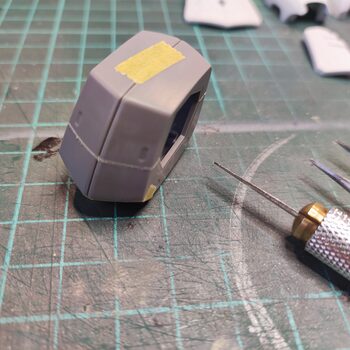
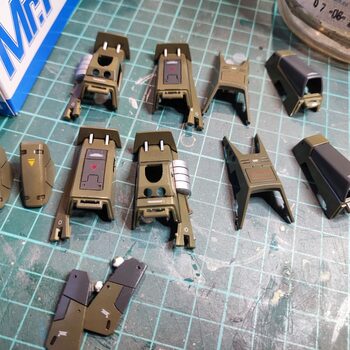
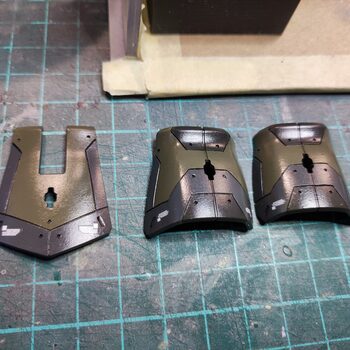
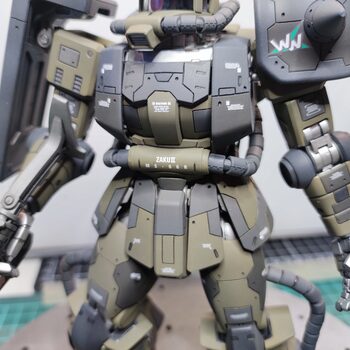
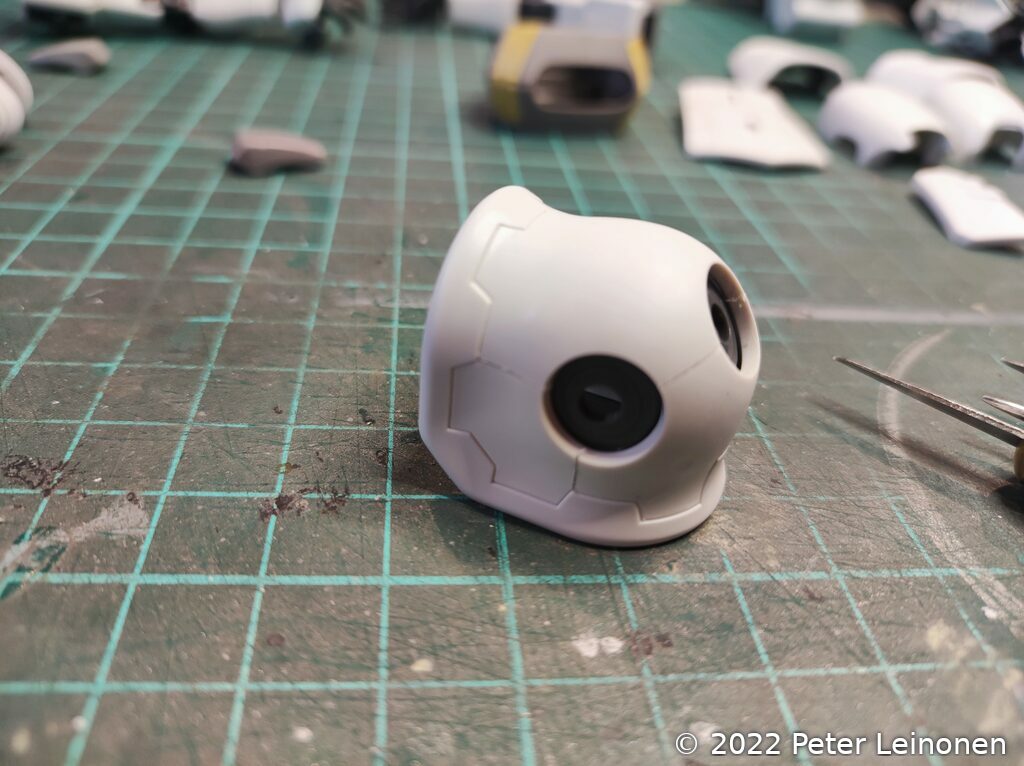
I wanted to add more details to this kit. It's a good looking kit but it will look even better with panel lines. I looked at several different builds online for inspiration. Most lines was scribed with a 0.2mm chisel.
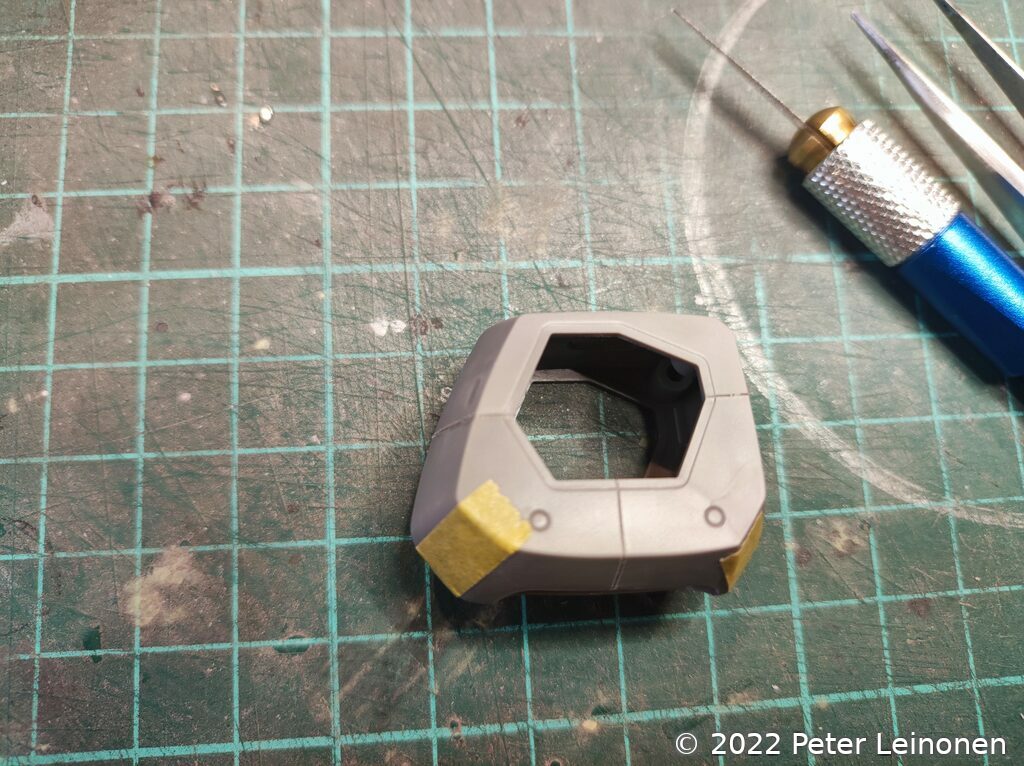
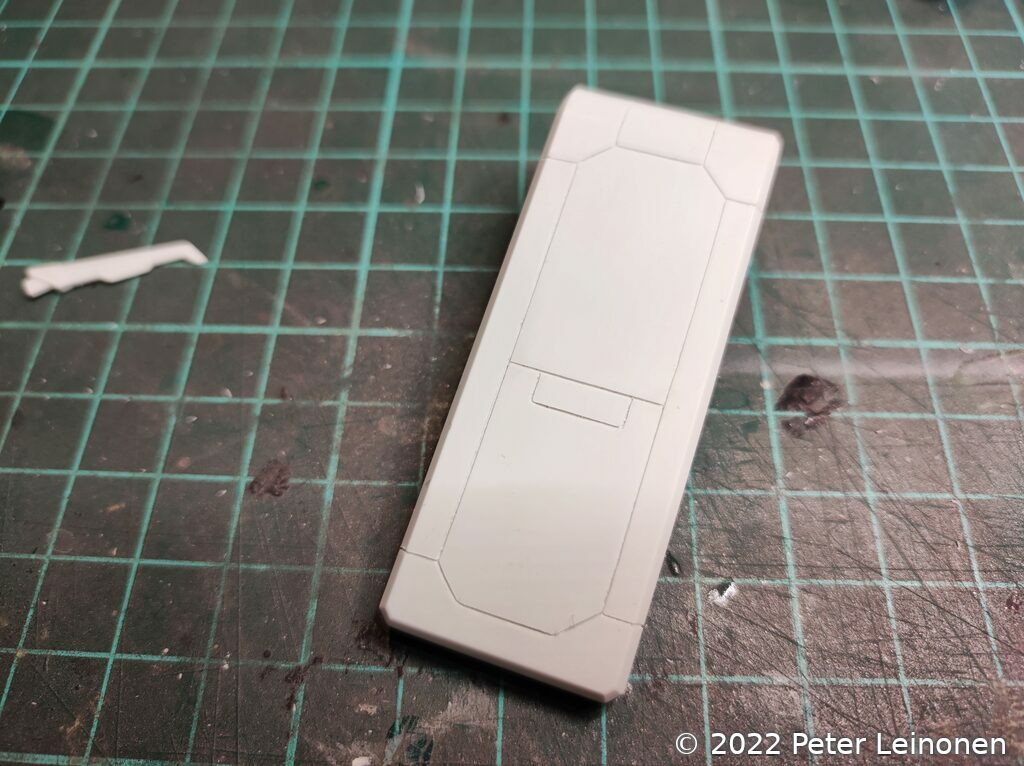
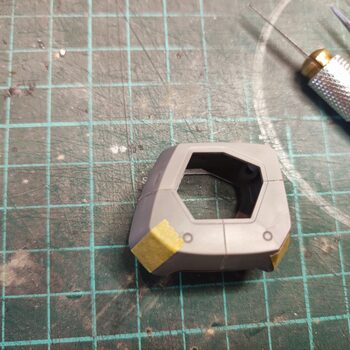
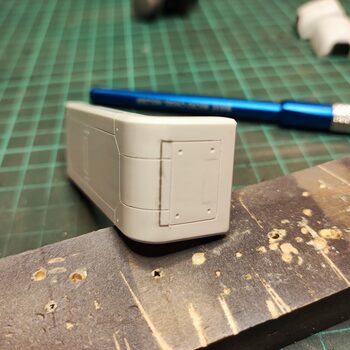
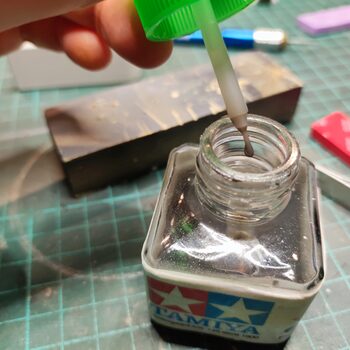
I made some mistakes when scribing (I was not happy with the results), so I had to fill with putty. For this I tried mixing left over sprues with Tamiya extra thin cement to create a plastic/glue slurry and used that to fill the bad panel lines.
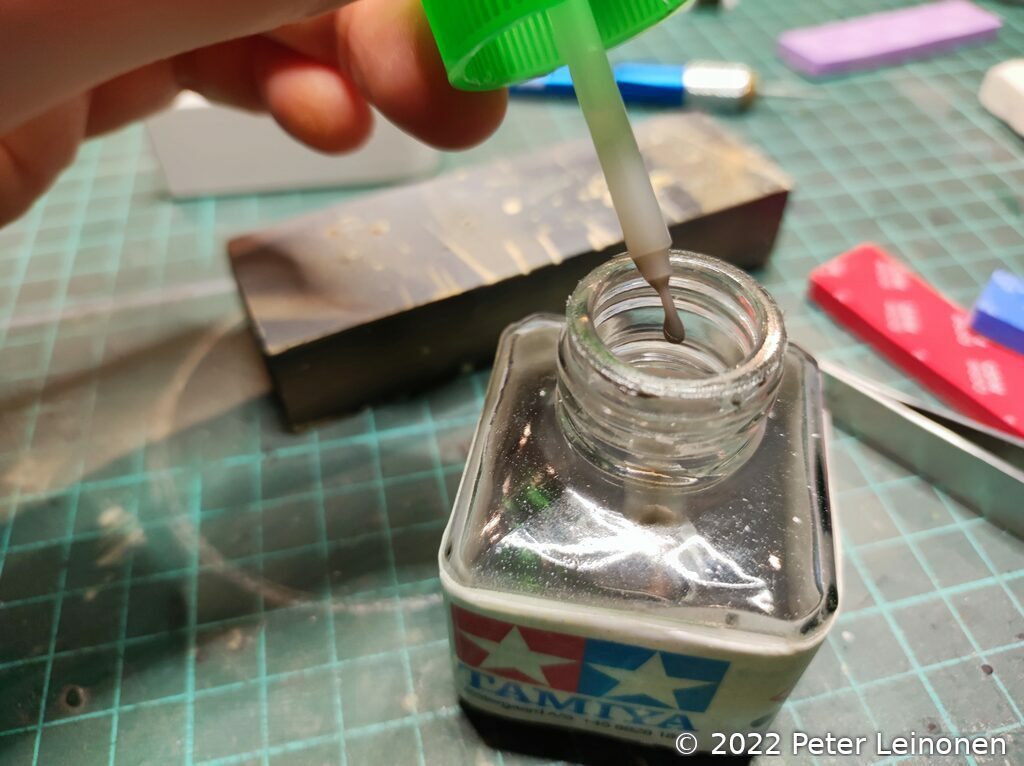
When that had dried I sanded the surface smooth and scribed new lines that looked better.
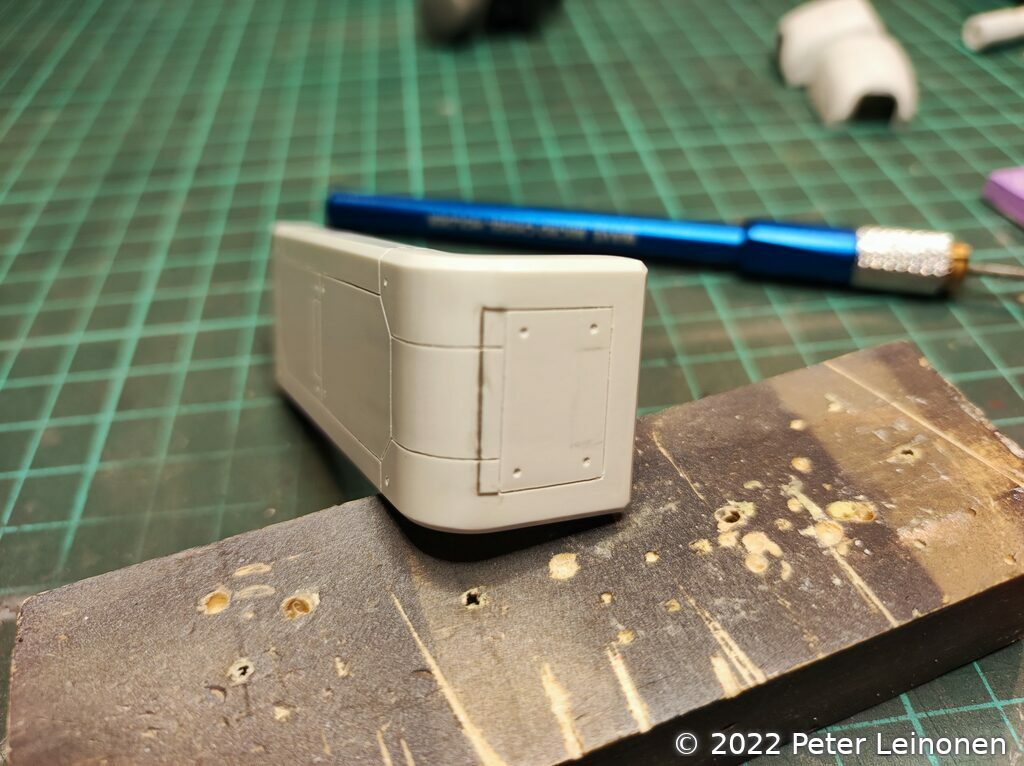
This process of failing and then fixing your mistakes makes you more confident, because it does not matter if you make mistakes, you can always fix them.
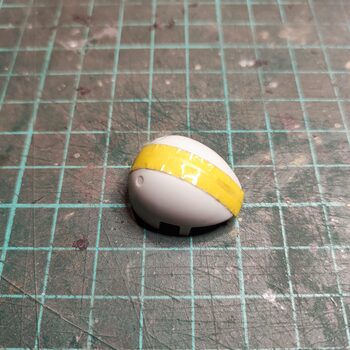
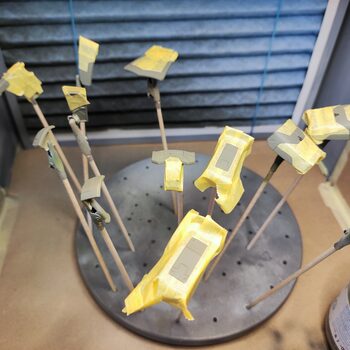
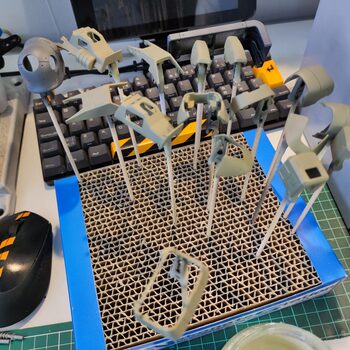
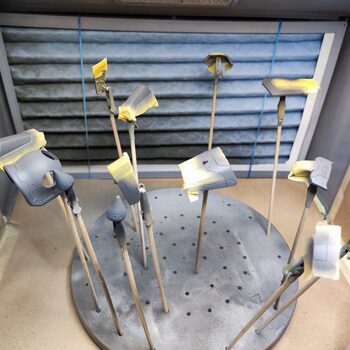
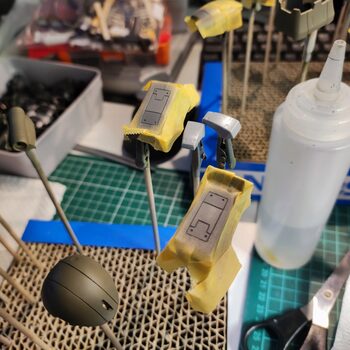
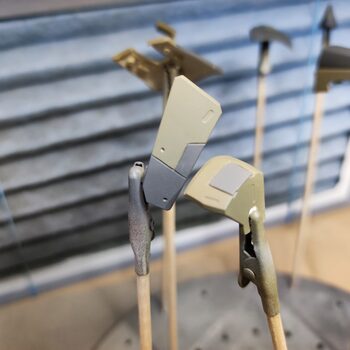
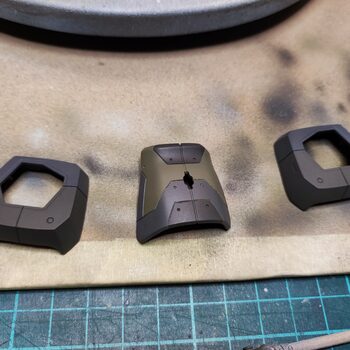
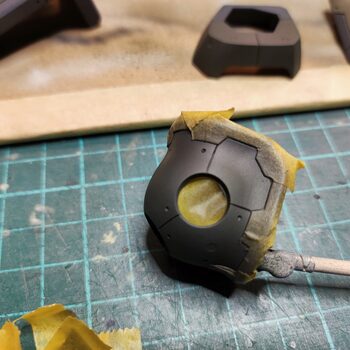
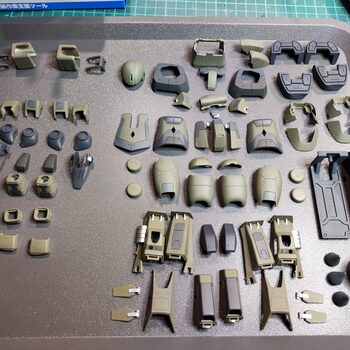
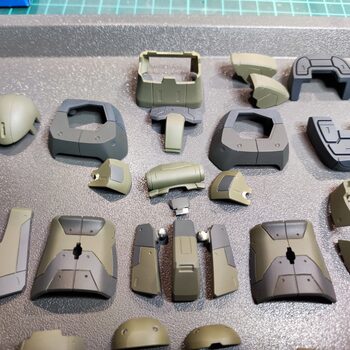
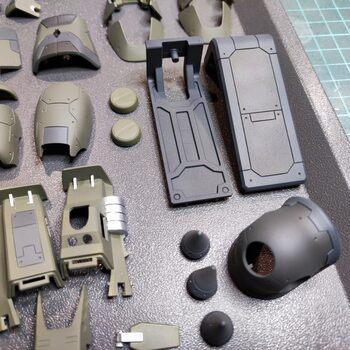
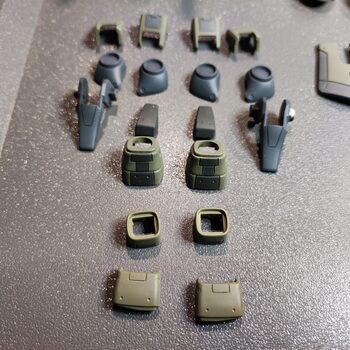
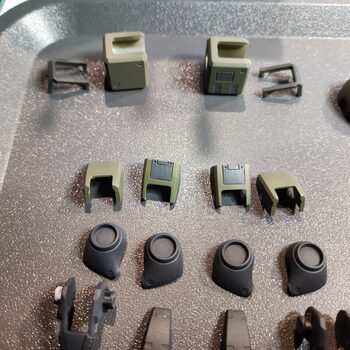
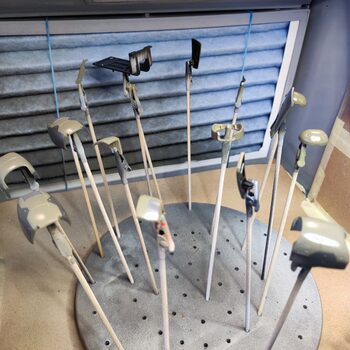
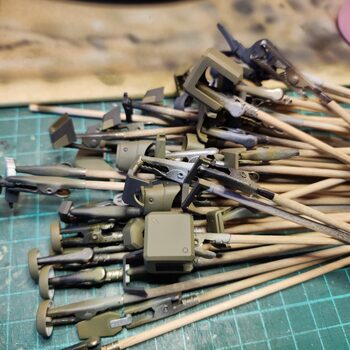
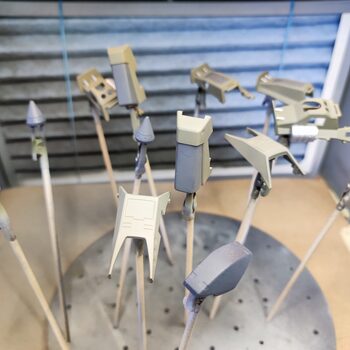
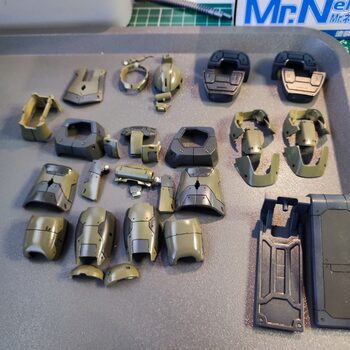
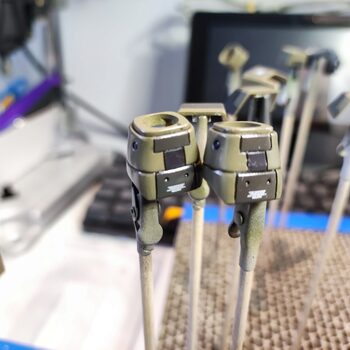
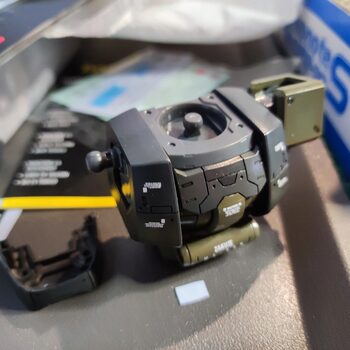
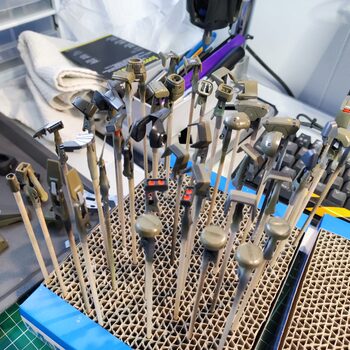
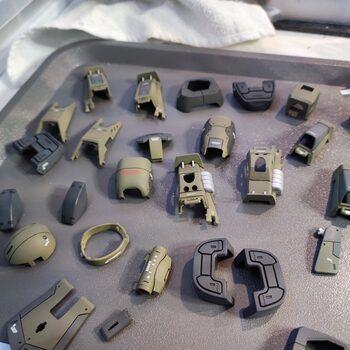
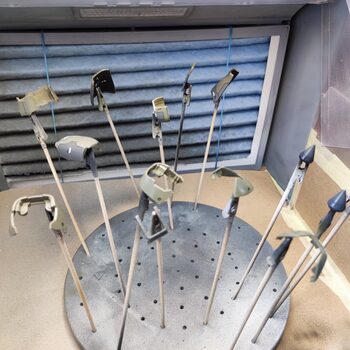
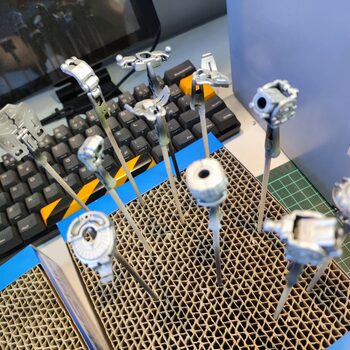
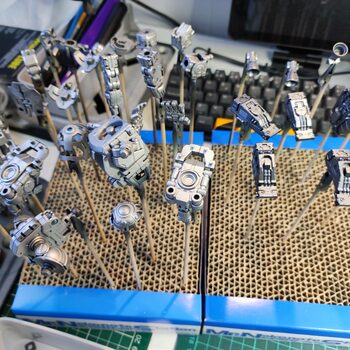
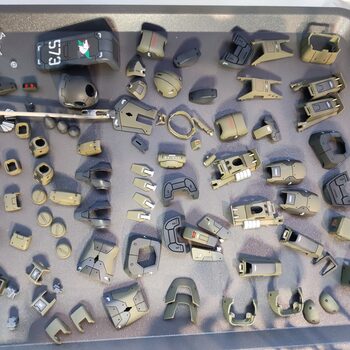
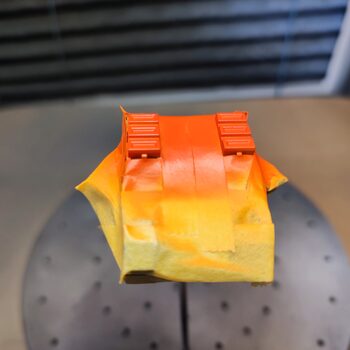
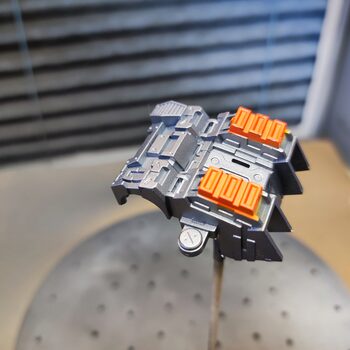
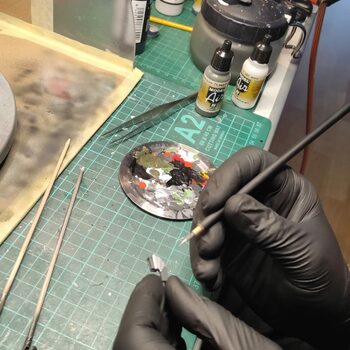
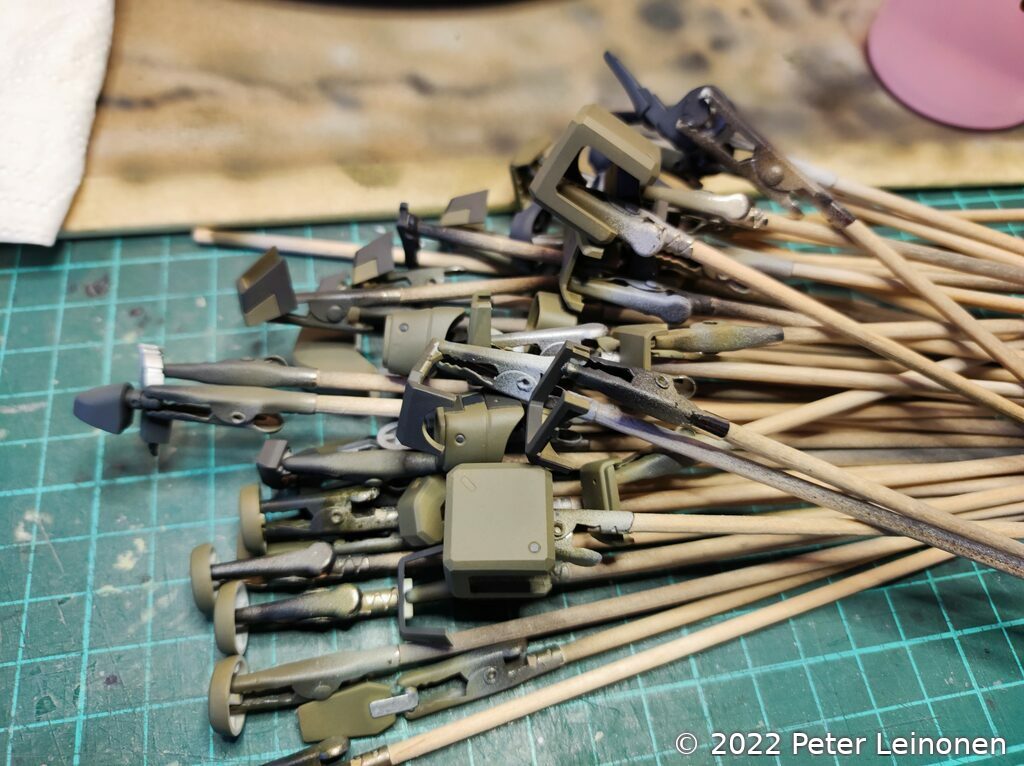
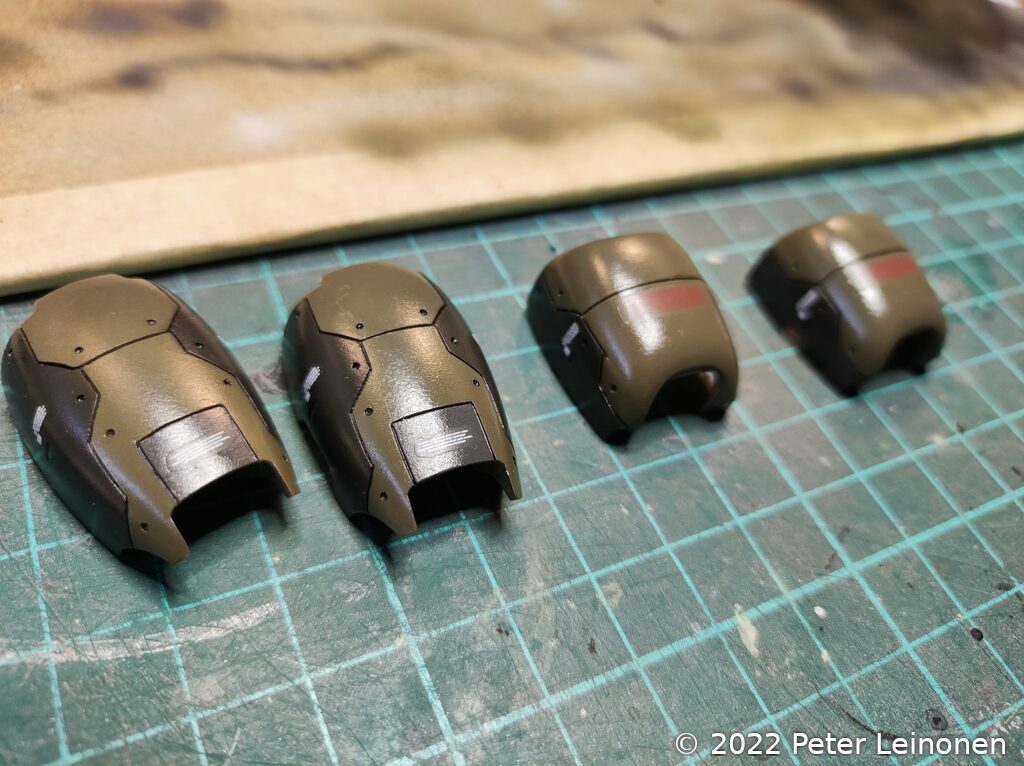
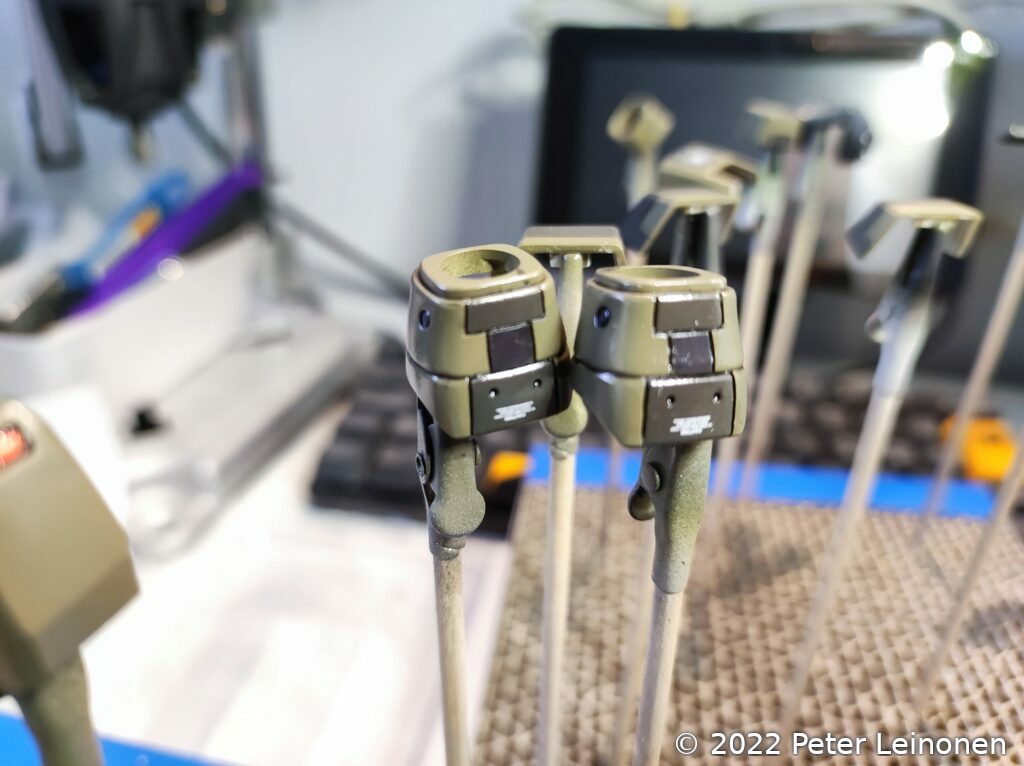
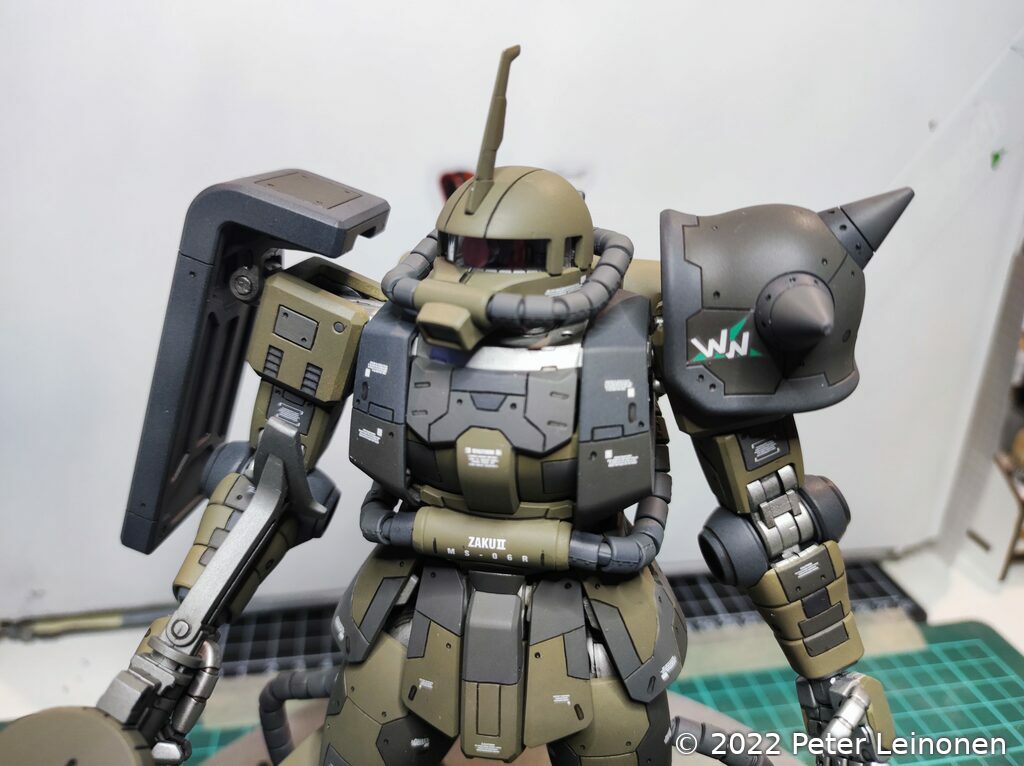
Paint job
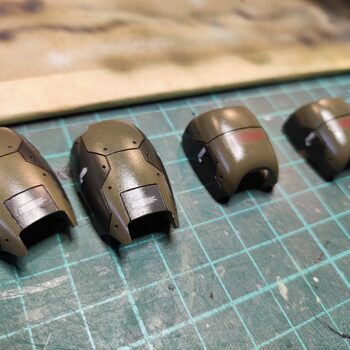
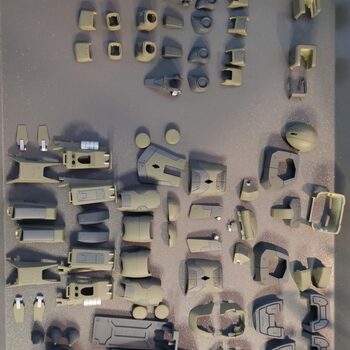
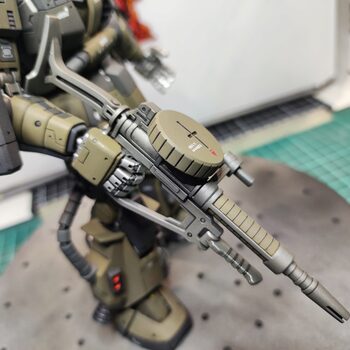
I like to give my models a military color scheme because I feel it fits them very nicely. I used black, antracite grey, olive drab, orange, steel and gunmetal. On the parts that are painted with olive drab I also added some antracite grey to make it more interesting.
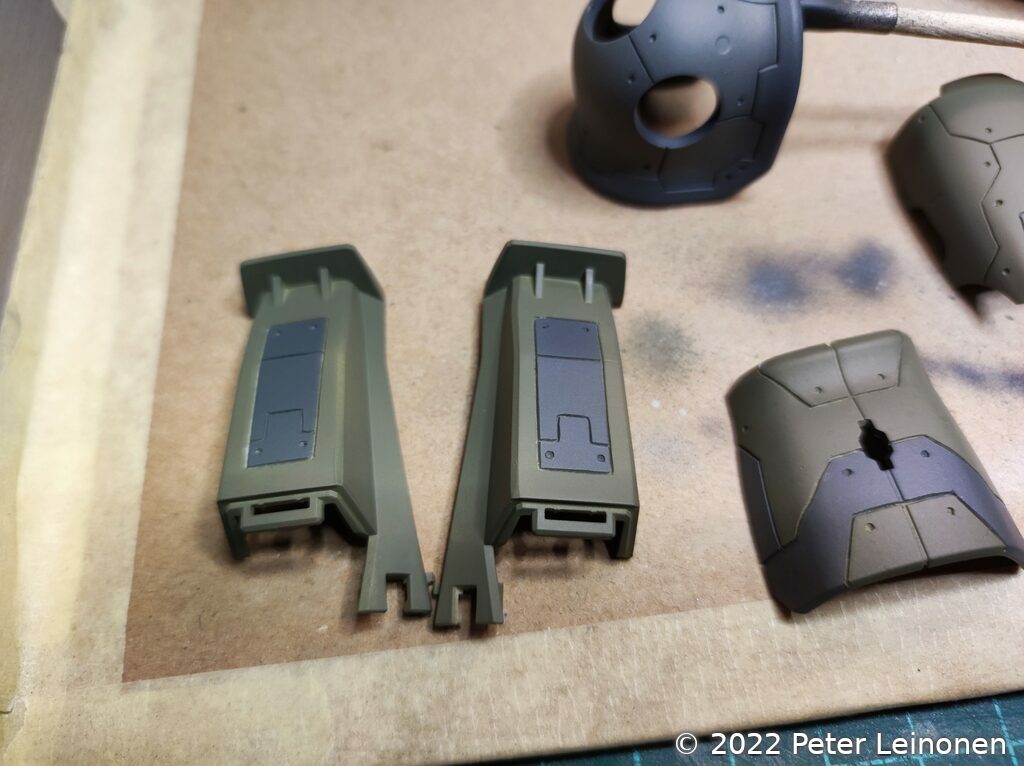

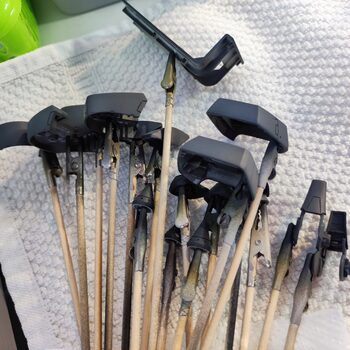
I did not do any weathering on this kit, so it looks pristine, fresh out of the factory.
After painting, I applied clear coat and panel lines.
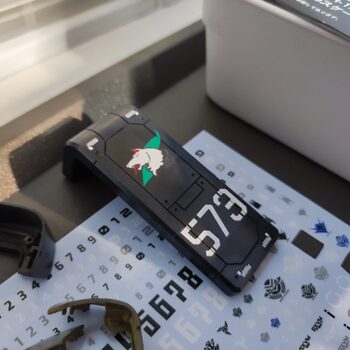
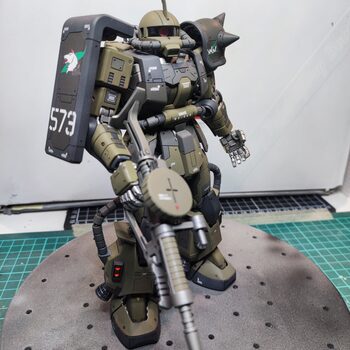
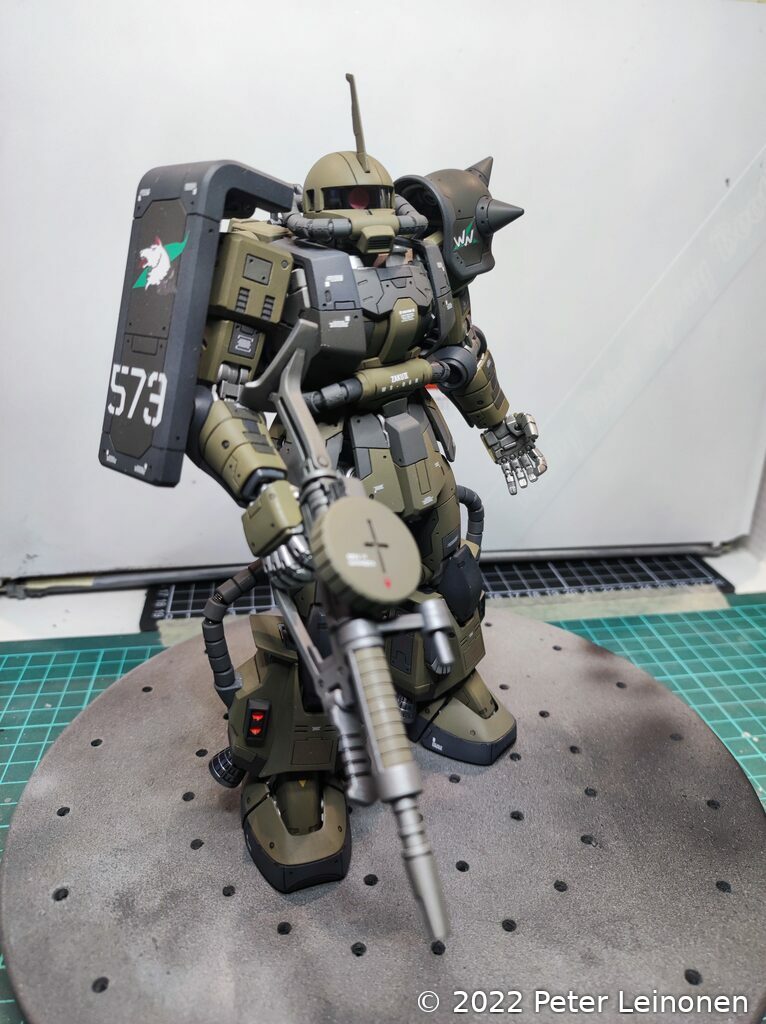
Decals
I used decals from several different decal sheets, including some of the original "rub on" stickers. I have never liked rub on stickers, but they where actually pretty easy to apply and look nice.
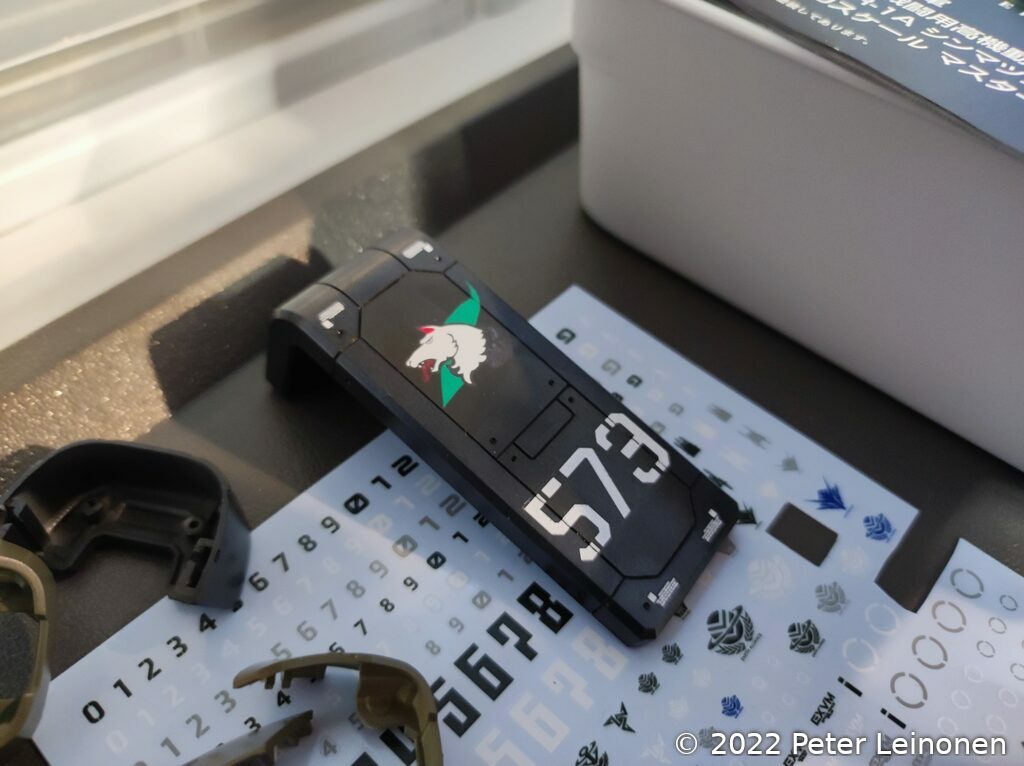
I had some waterslide decals over from my Geara Doga build so I used some of them as well. I also had some left over waterslide decals from the Sazabi and RX-78-2 builds so I used some of them as well.
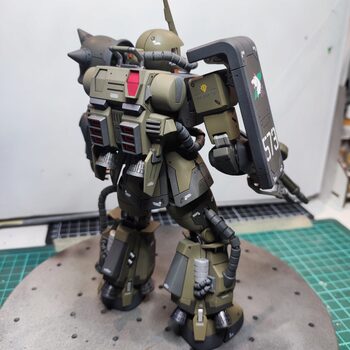
Matte coat
Once all the decals where in place, I sealed the decals and paint job with a matte coat.
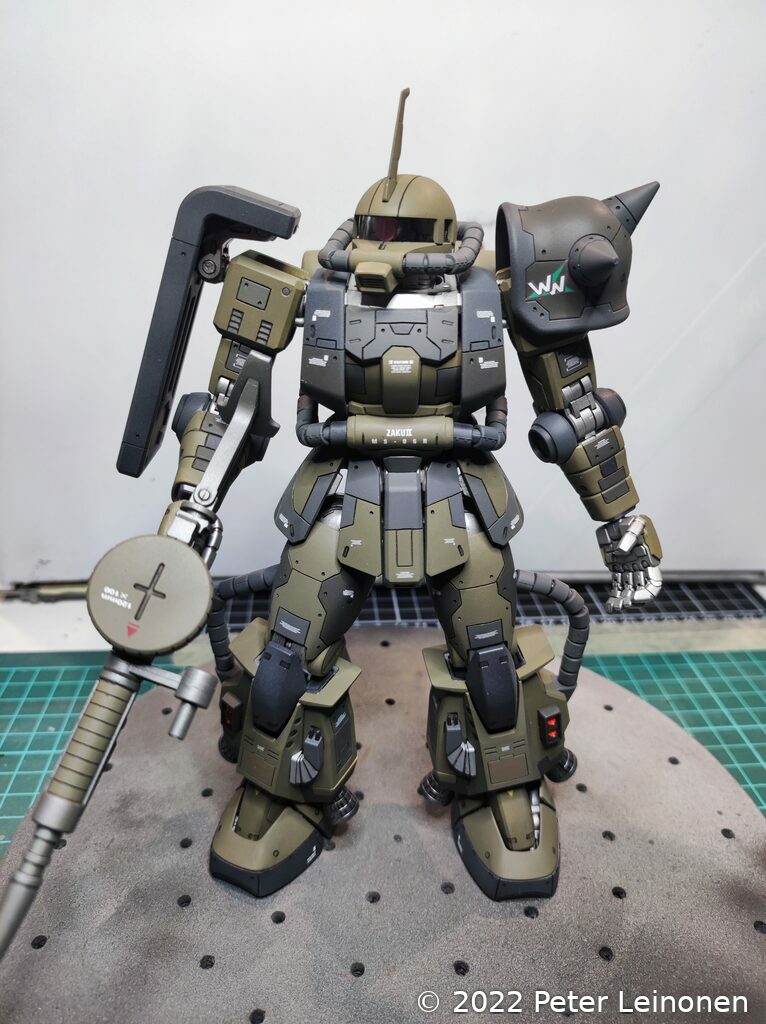

The result is very satisfying. It was a fun build!