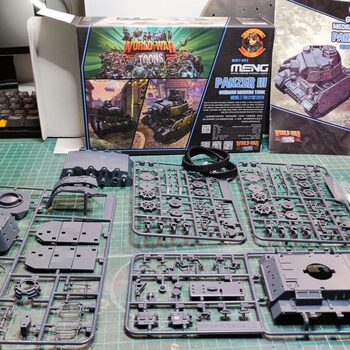
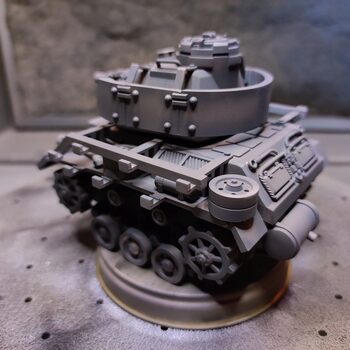
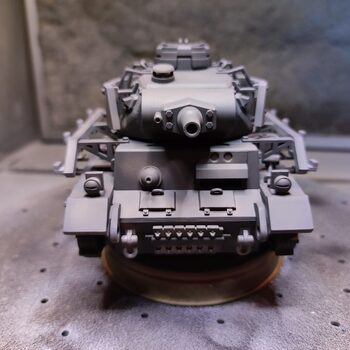
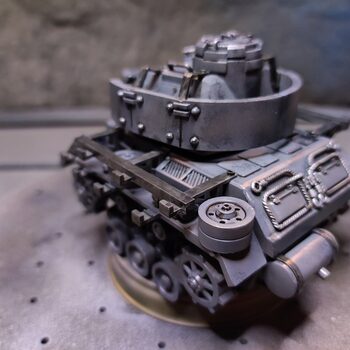
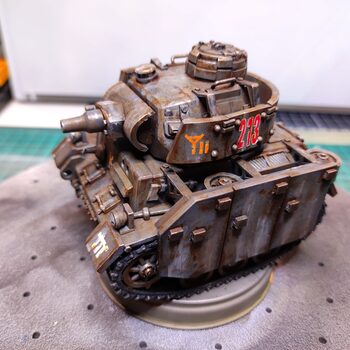
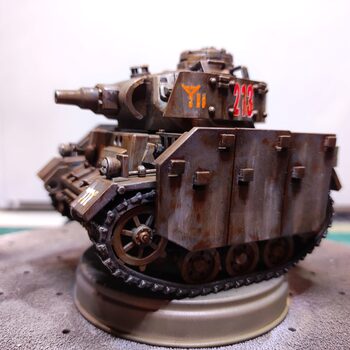
Panzer III (World War Toons)
Time for another World War Toons project, the last one for a while. I plan to start working on some other projects soon.
Pretty much the same process as for the T-34.
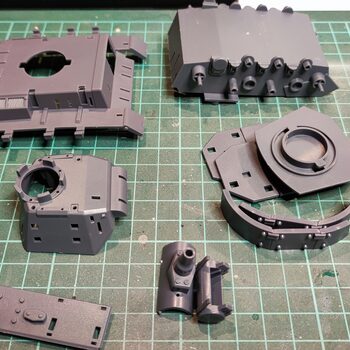
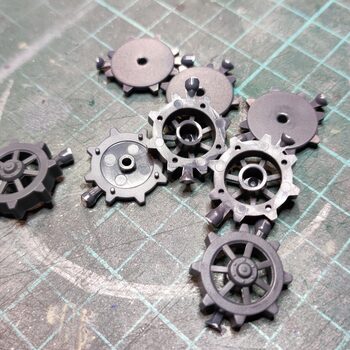
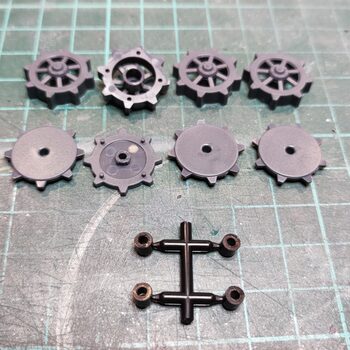
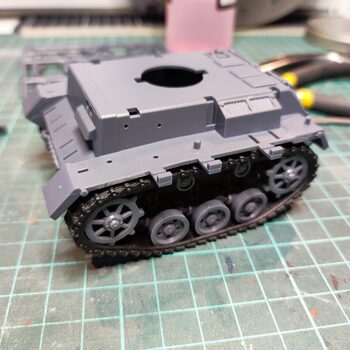
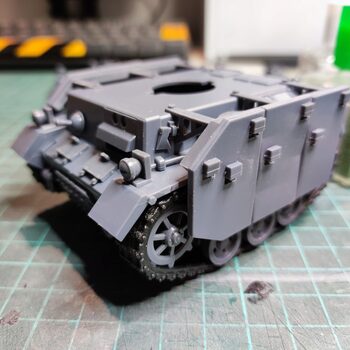
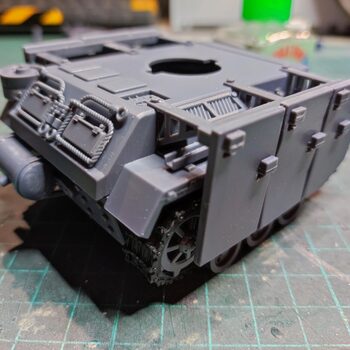
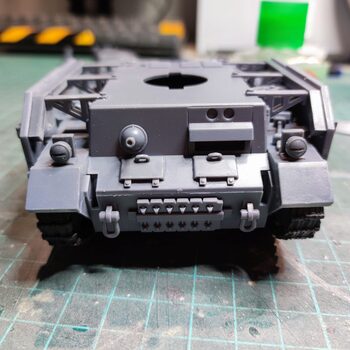
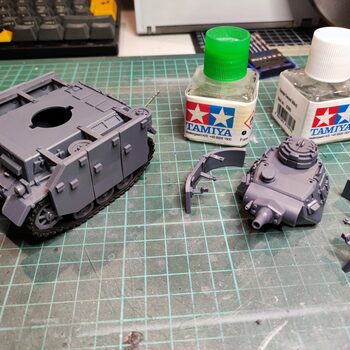
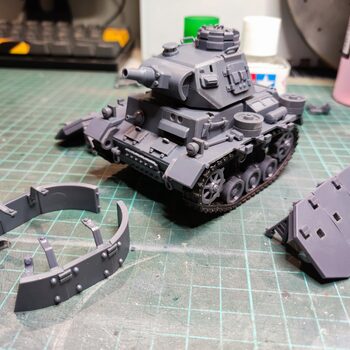
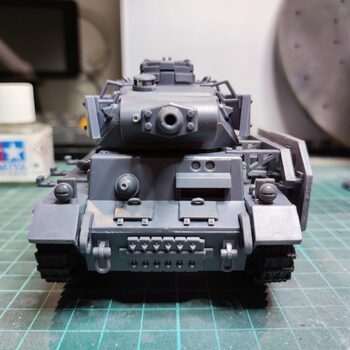
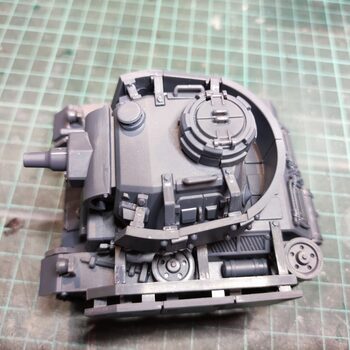
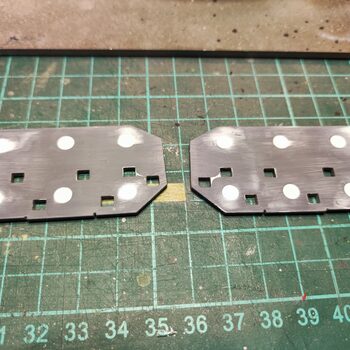
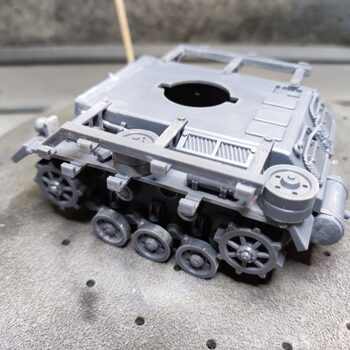
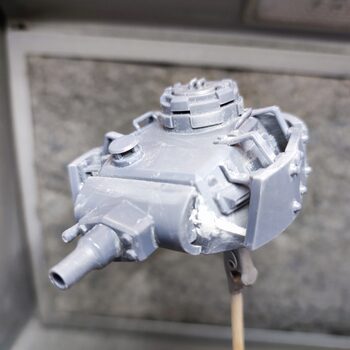
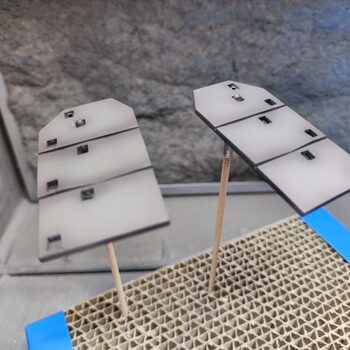
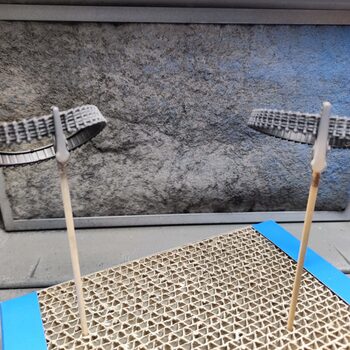
Assembly
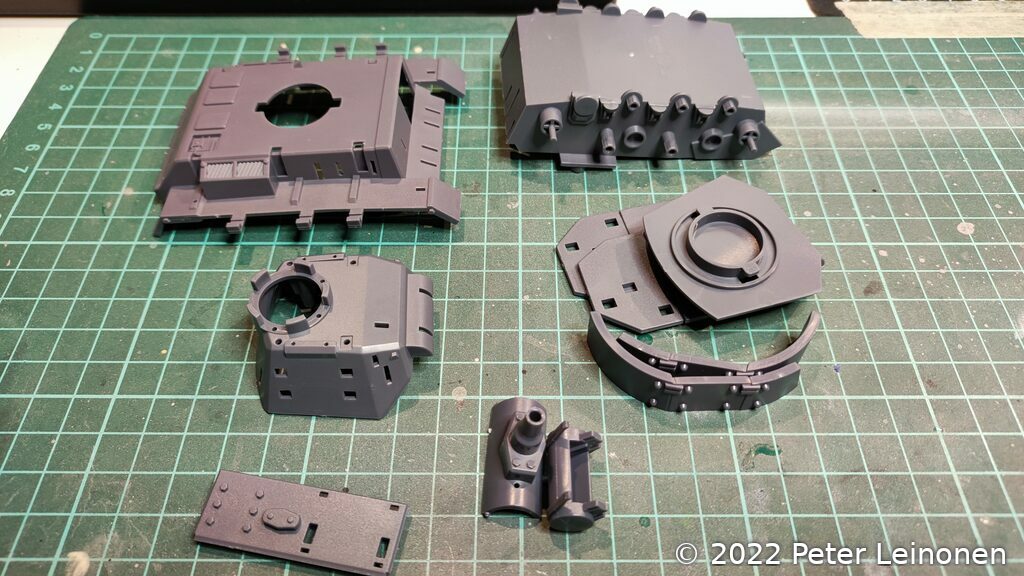
Assembly was straight forward. I tried to remove most of the seam lines and nub marks.
I also filled some parts with epoxy putty.
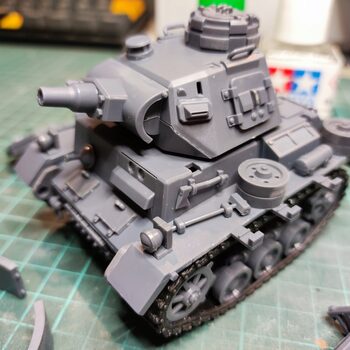
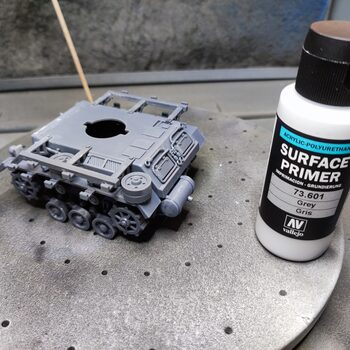
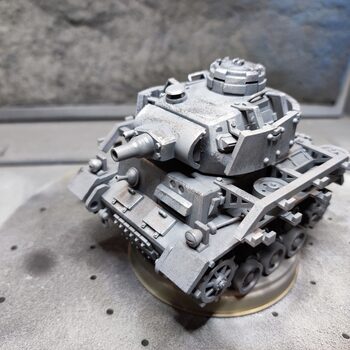
Priming & pre-shading
Forgot to take pictures of the pre-shading, sorry about that. After pre-shading I pained the model with a dark grey color.
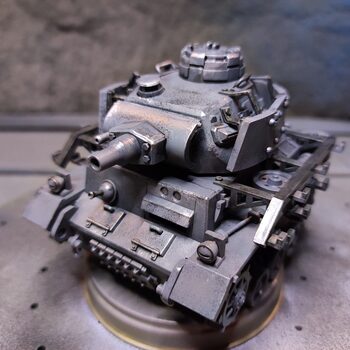
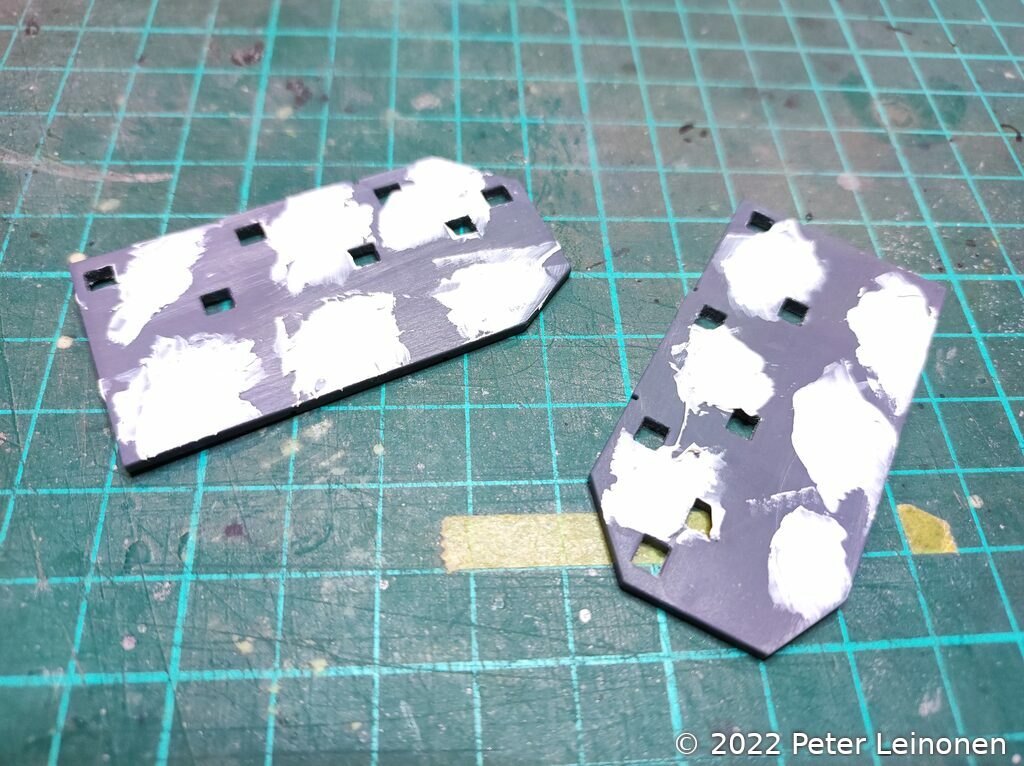
Chipping fluid
Before adding the main coat, I applied a thin layer of chipping fluid.
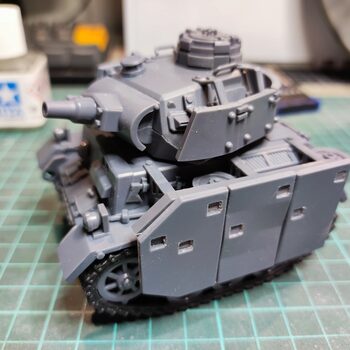
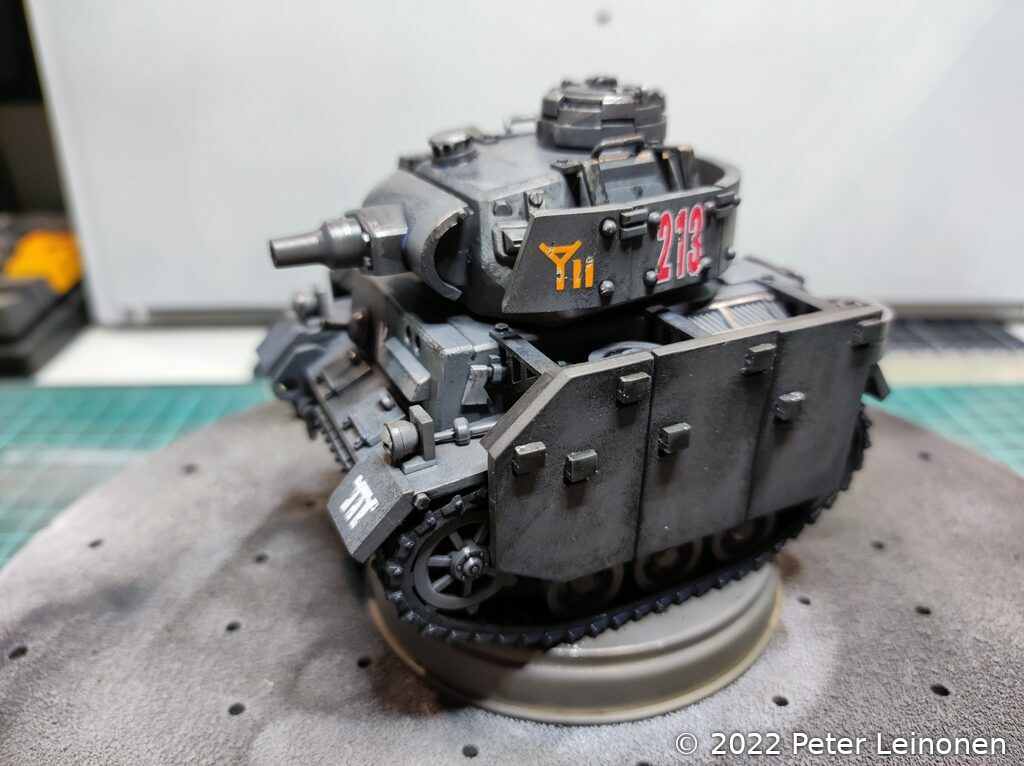
Main coat
I applied a coat of antracite grey mixed with light grey and a small amount of white, Vallejo brand.
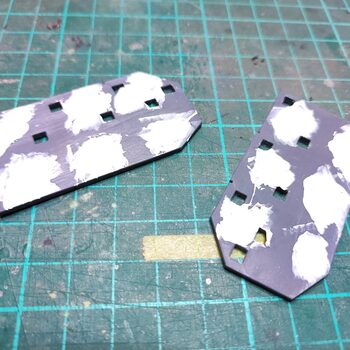
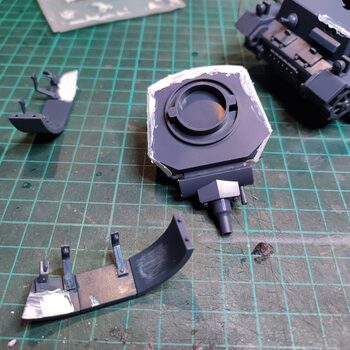
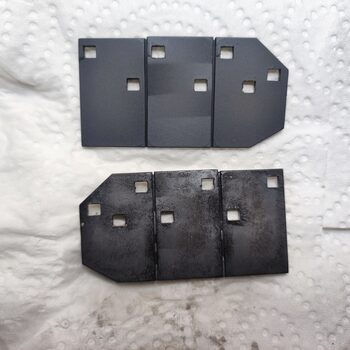
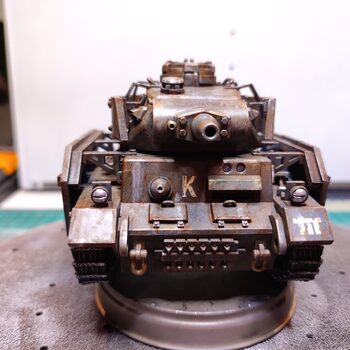
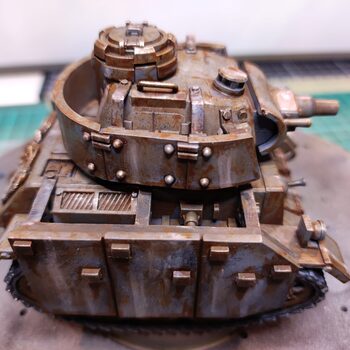
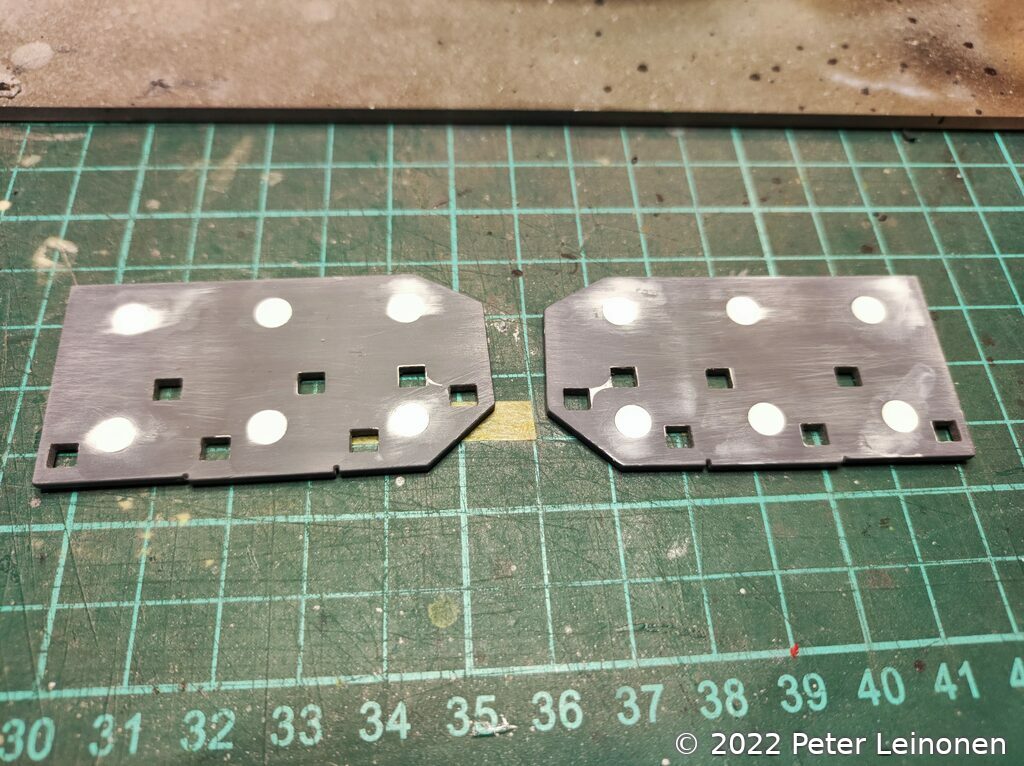
Chipping
I used a hard brush dipped in water to scratch off the top layer and expose the 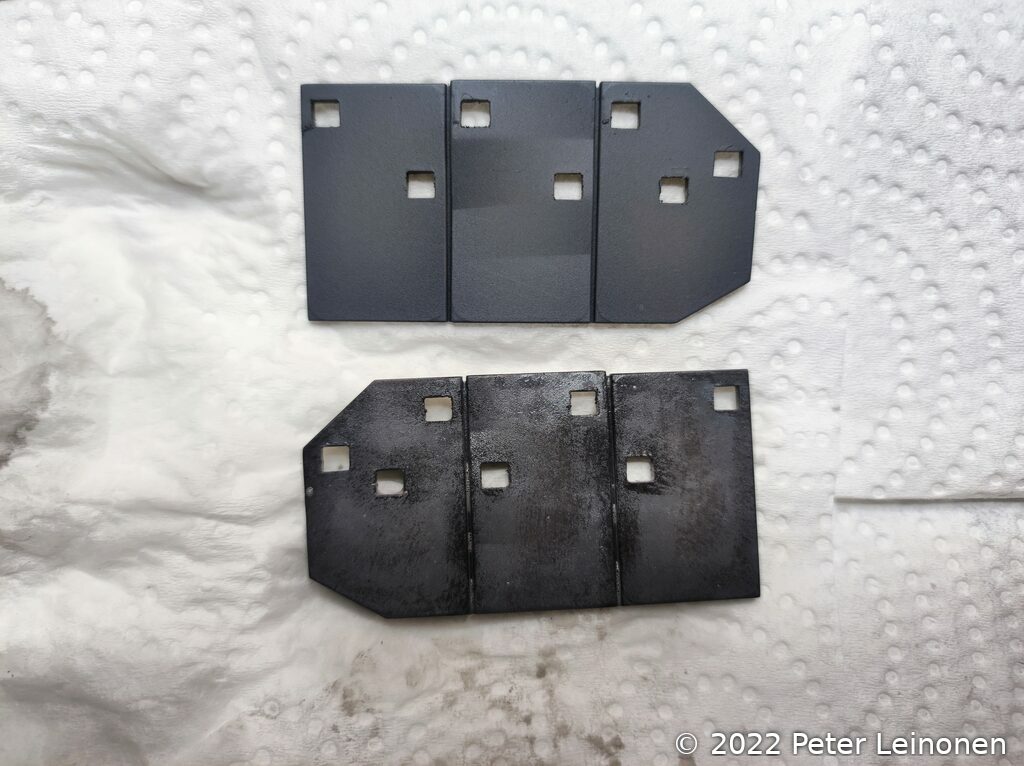
Decals
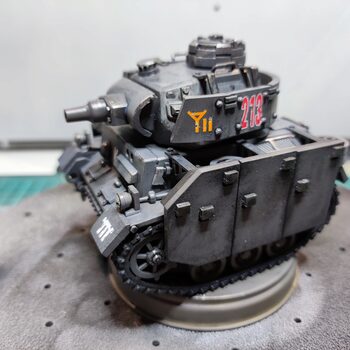
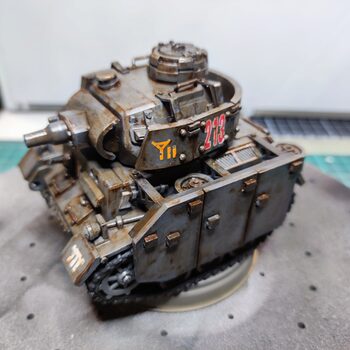
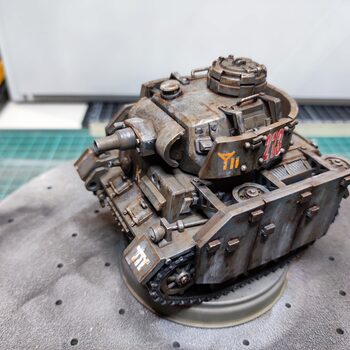
I applied the decals and when they had dried, i scratched off some of the decal with my hobby knife to create a weathered look.
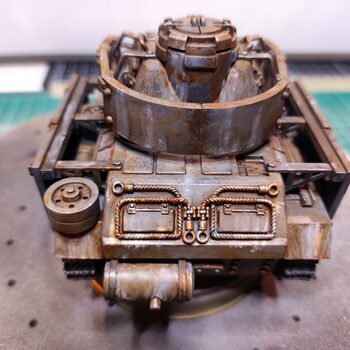
Weathering
I used oil paint to create some wheathering effects. I used burnt umber. And the final stage I added small white specks that I smeared out.
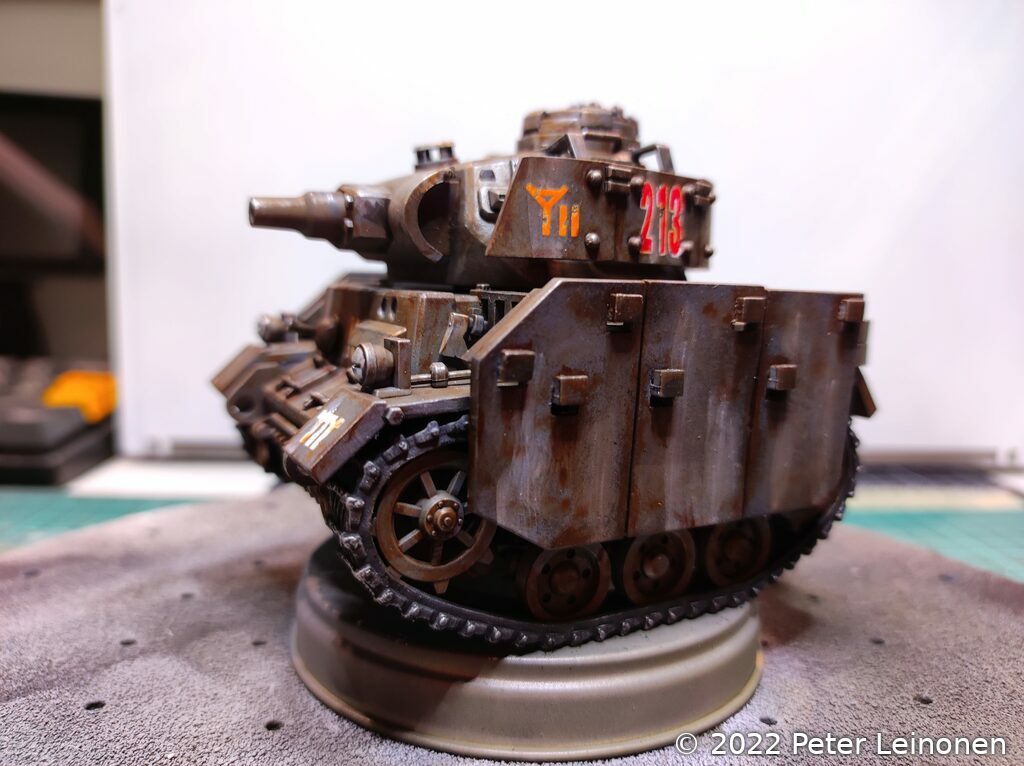
I am pretty happy with the result. Oil paints are very good for creating a weathered and dirty look.