Sazabi Formania Ver. Part 1
It's time for a new project. This time another resin conversion kit, I found on ebay. I like to challenge myself, and working with resin kits is quite a challenge.
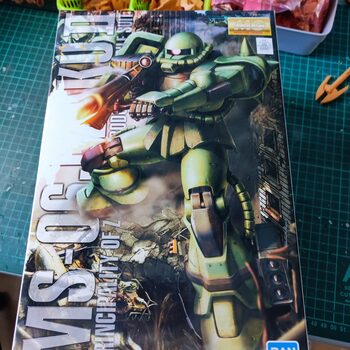
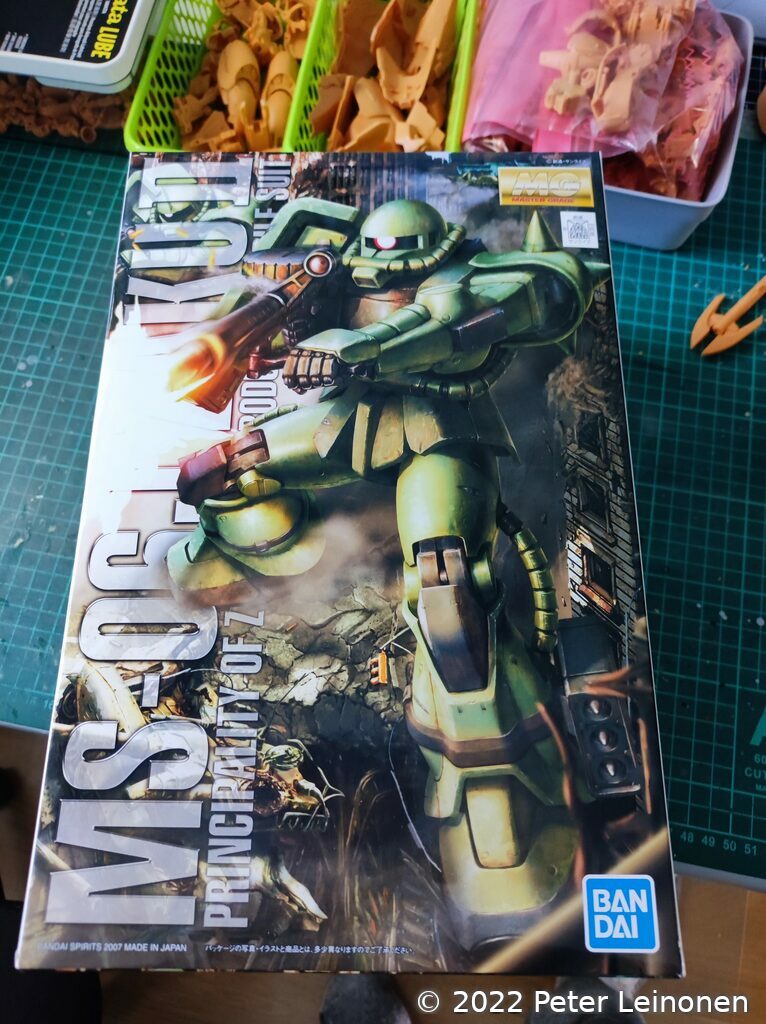
This 1/100 scale Sazabi kit based on the 1/100 Zaku II from Bandai, so you need that to successfully build this kit, unless you want to scratch build the frame parts yourself.
Resin is always a bit difficult to work with, for several reasons:
- Toxic dust, so I am going for water sanding.
- Parts does not always fit perfectly, so modifications are need.
- Fragile, parts break easily
- Must use cyanoacrylate glue
- Parts must be cleaned from release agents to prevent paint from comming off
Also, resin conversion kits SOMETIMES has missing pieces, and it can be problematic to obtain the missing parts, especially when ordering from ebay. You need to check that the kit contain all the parts.
In my case there is one missing part, I got a duplicate part instead. But I can fix that.
Anyway, I think this kit looks dope, so it's gonna be worth all the effort needed to put this together.
I will also put the kit together before painting it, unlike gunpla where I can paint each part individually. I will however keep some parts separate, like arms, legs, torso and accessories to make life easier.
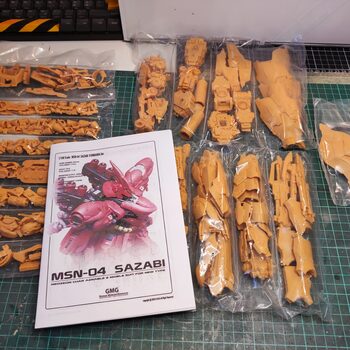
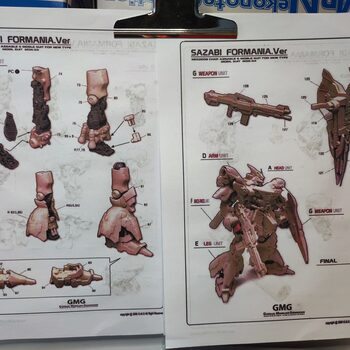
The kit
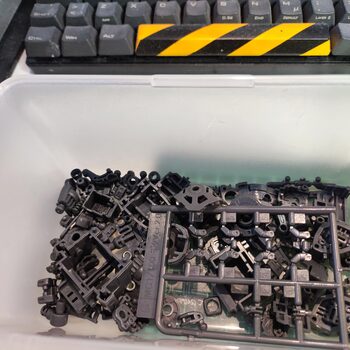
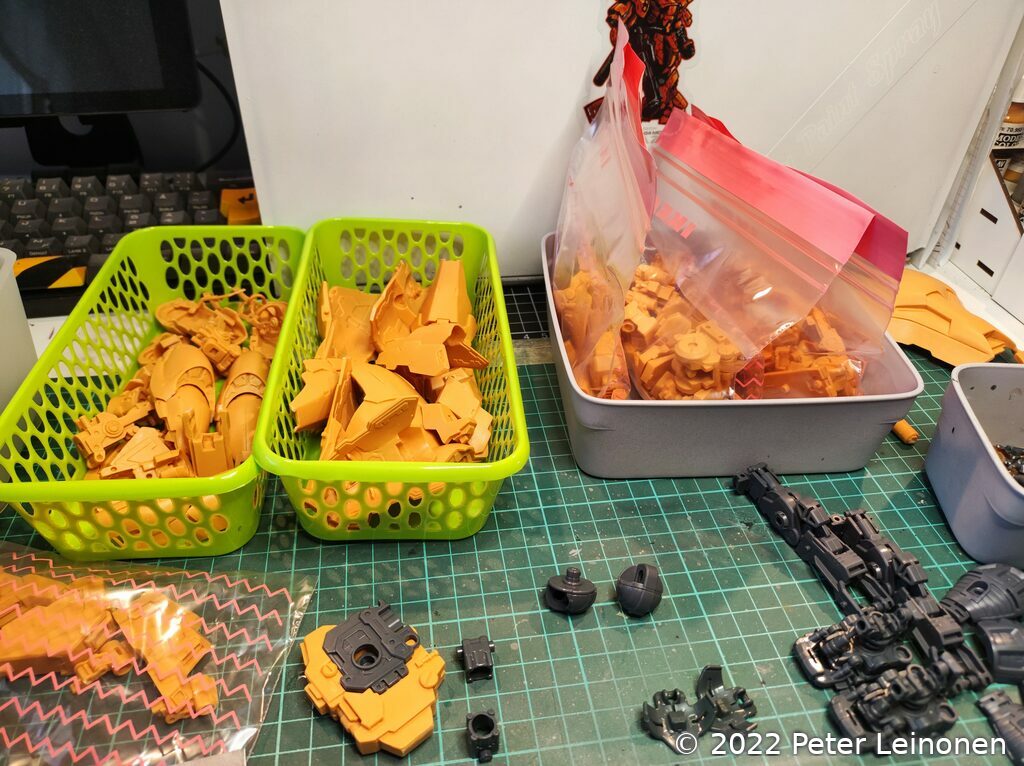
The Sazabi Formania kit is made by Gundam Modeling Group (GMG), never heard of them, but the kit is very nice and contains lots of details.
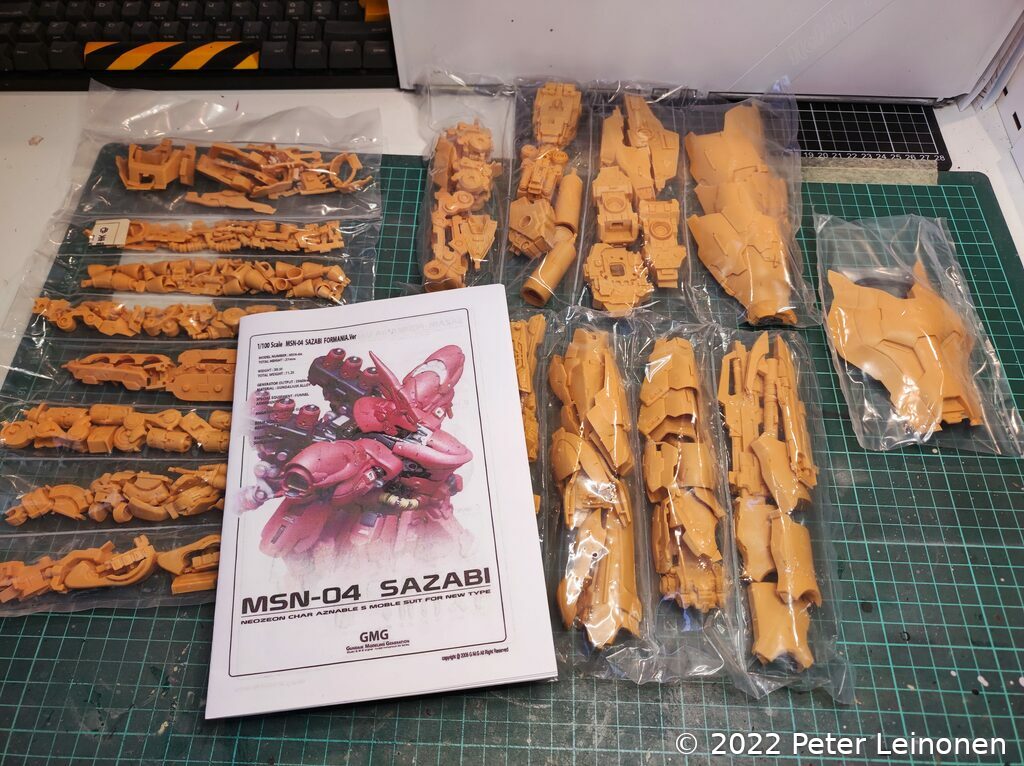
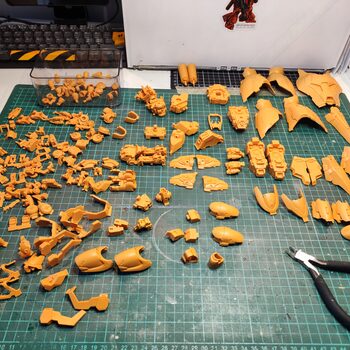
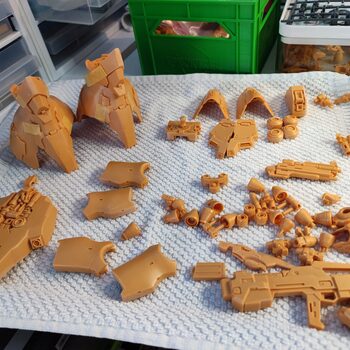
First steps
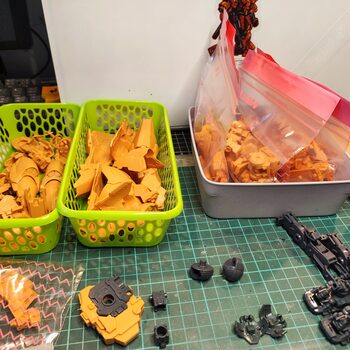
The first step is to locate all the parts and group them by category (feet, legs, torso etc), so I can work on those parts separately. I put the parts in different bins or plastic zip-lock bags.
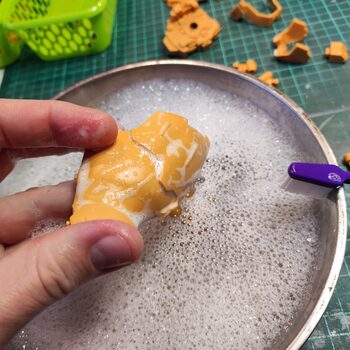
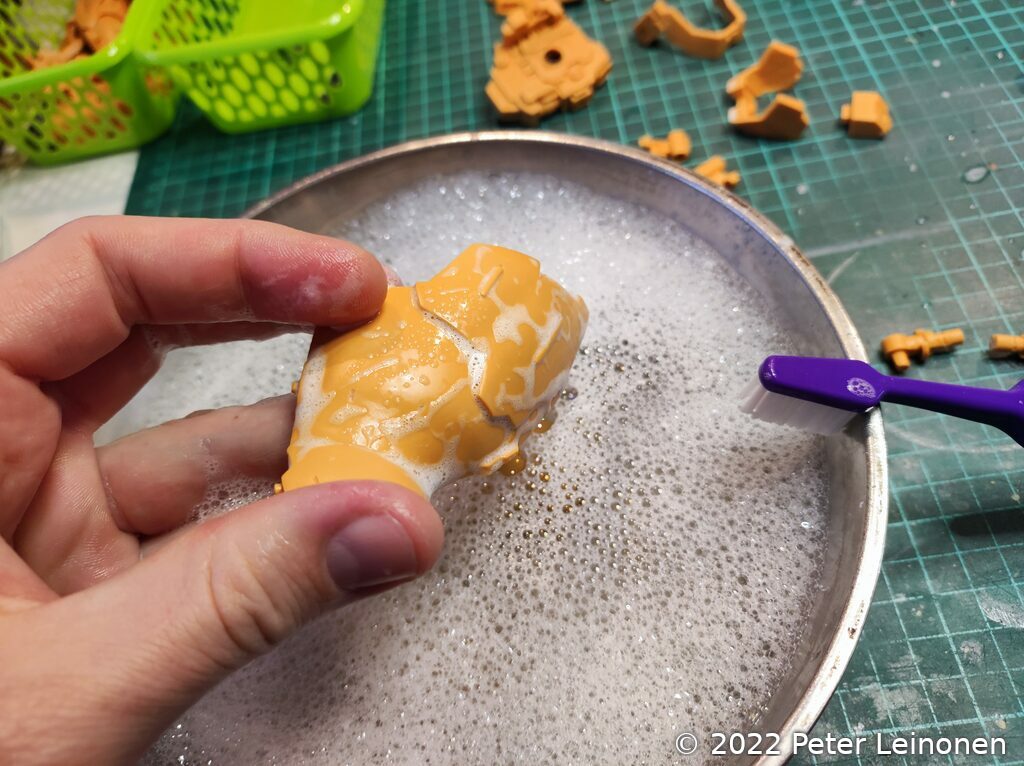
The second step is to clean the parts, because of the release agent that exist on resin parts. I use hot water and dish soap and an old toothbrush for scrubbing.
After cleaning i also did some wet sanding to get rid of the casting gates and mould lines. No pictures of this step.
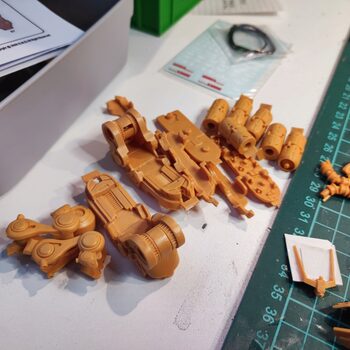
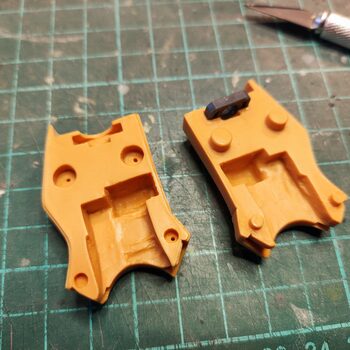
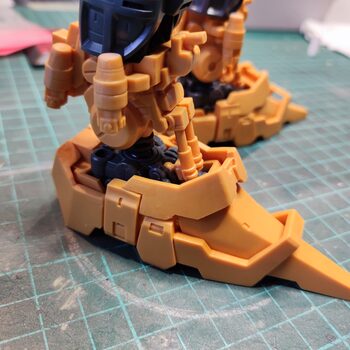
Assembly
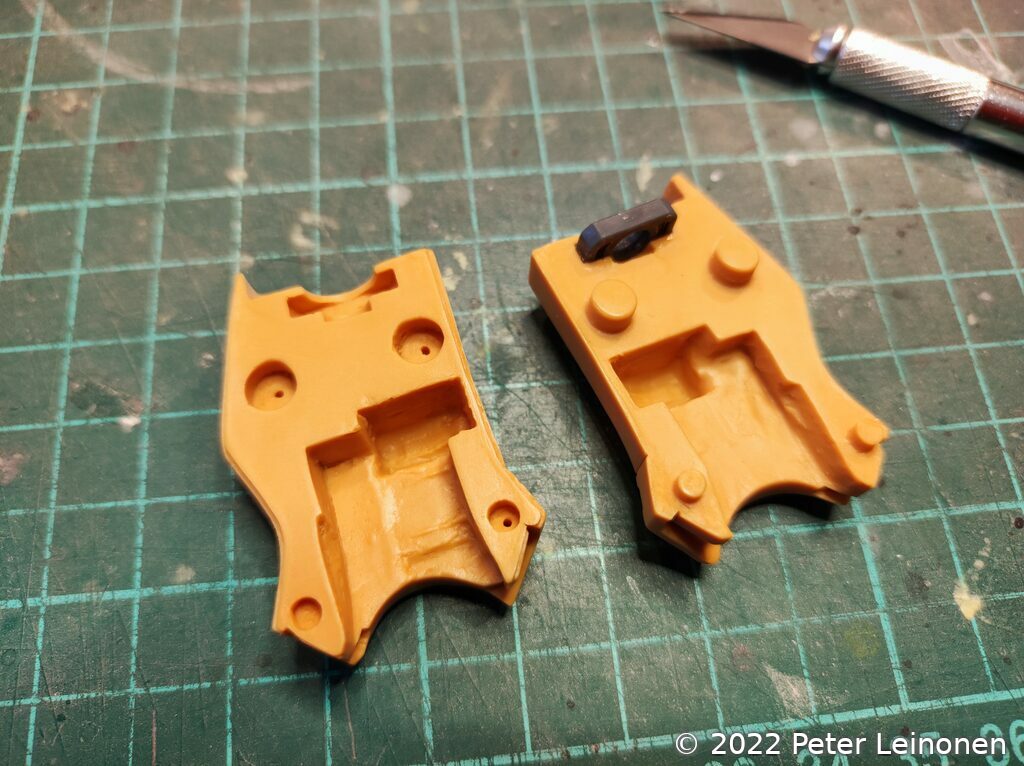
I decided to start building the feet, but also started checking the fit of zaku frame parts with the resin parts.
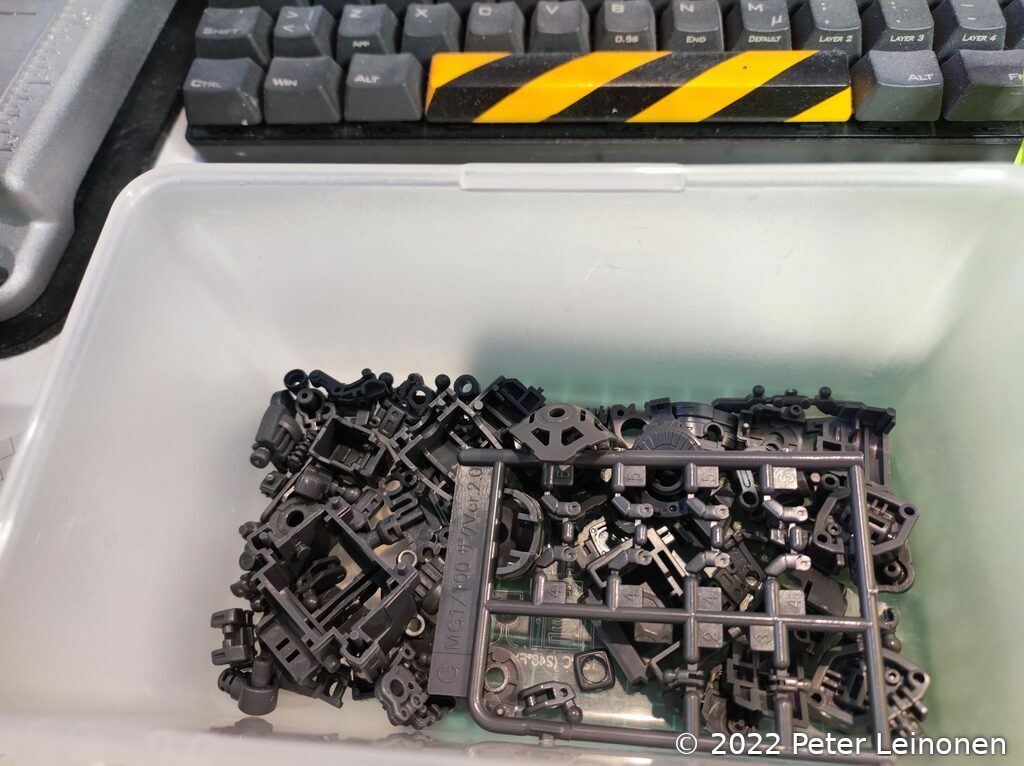
I cut out all the frame parts of the Zaku and put them in a bin. The leftover armour parts I save for a future project.
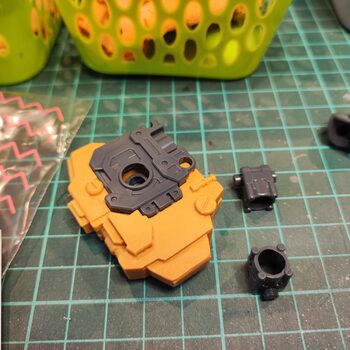
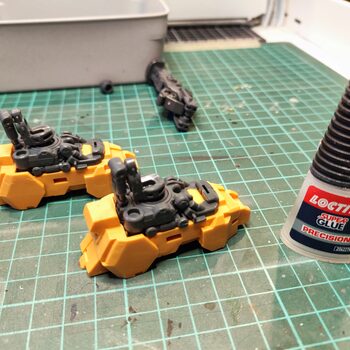
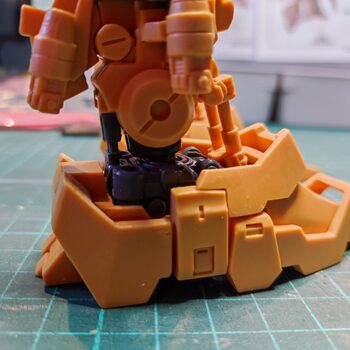
I assembled the frame for the feets and glued them to the resin feet base.
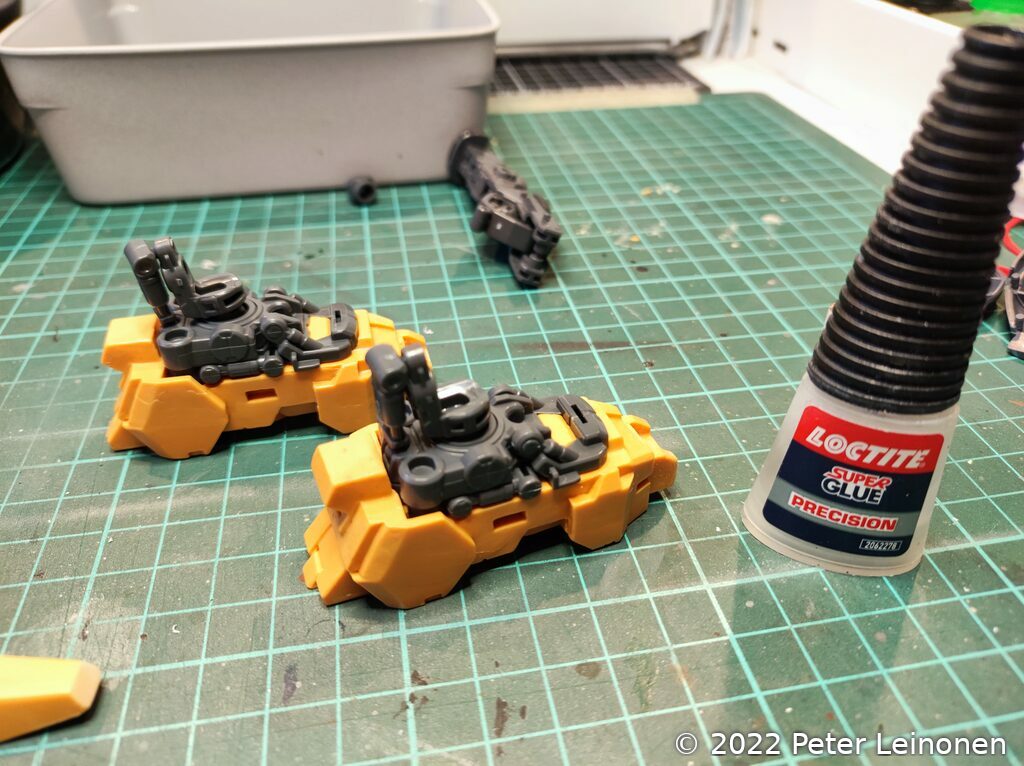
Then I just kept gluing on resin parts.

Superglue is a bit messy to work with, because you often put on more glue than needed because the nozzle is not small enough.. need to find a better brand or bottle for this. Wearning gloves is a good idea.
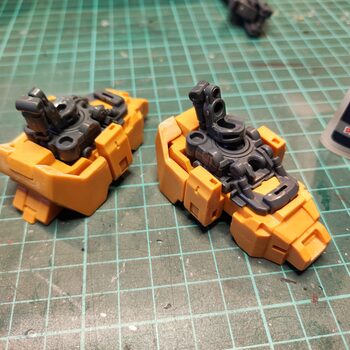
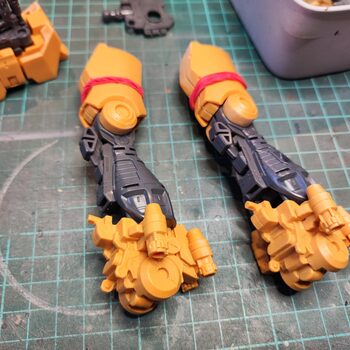
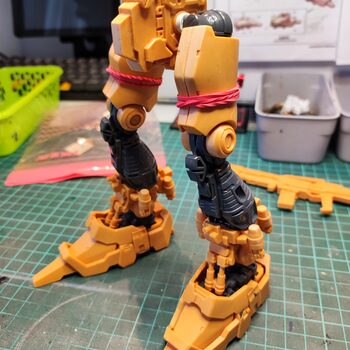
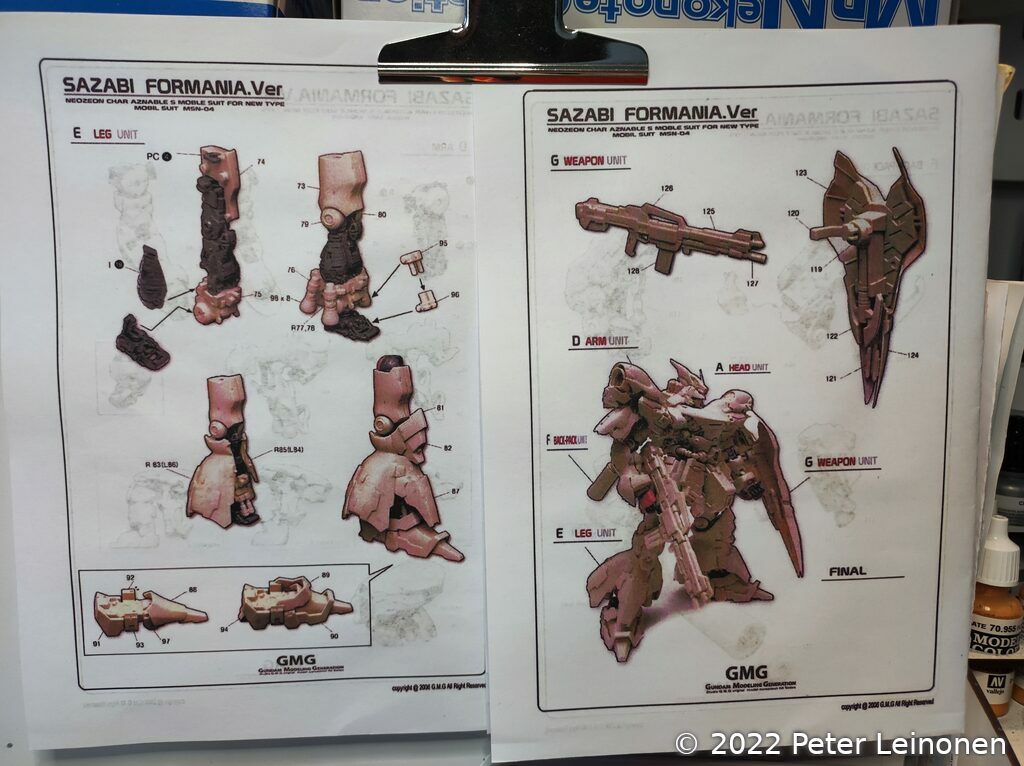
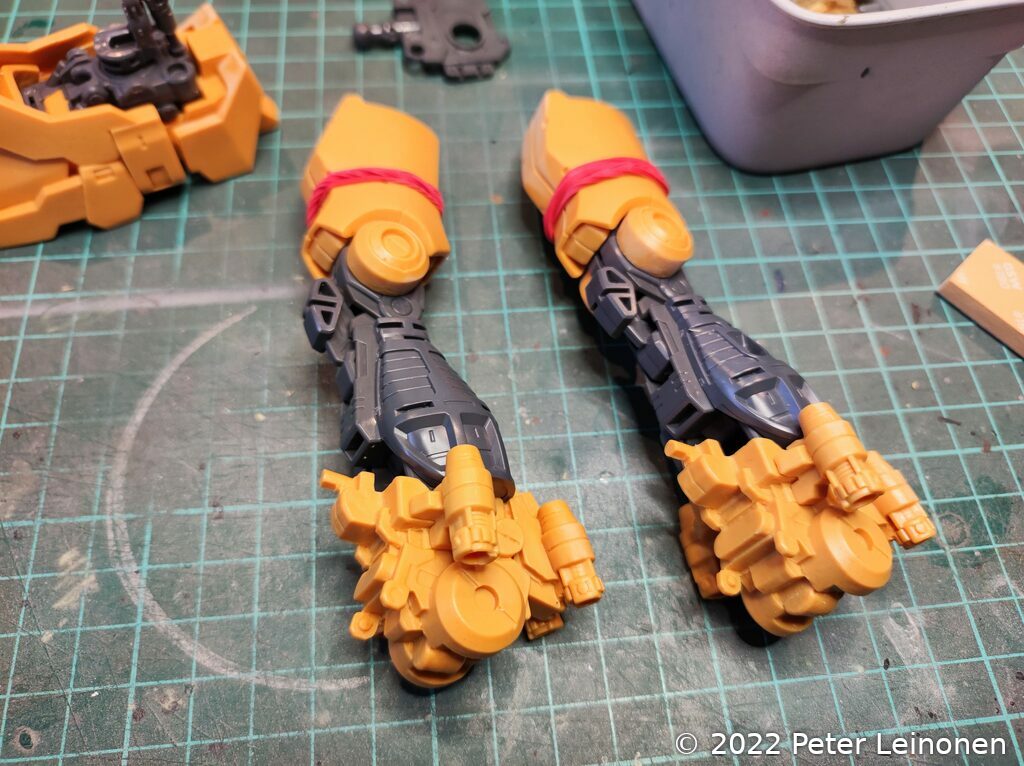
Legs (frame)
Next up is the legs. I had to cut off some plastic from the frame to make them fit inside the thigh parts.
The lower part that attaches to the feet was a bit tricky to put together. I had to cut off some more plastic on the frame to make things fit.
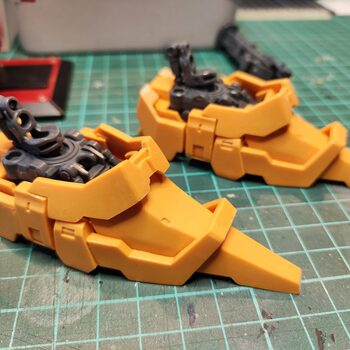
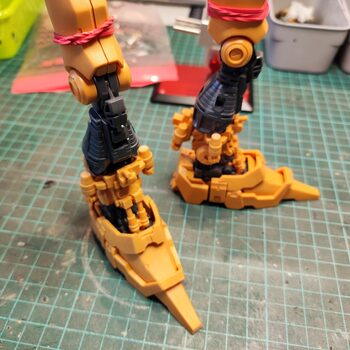
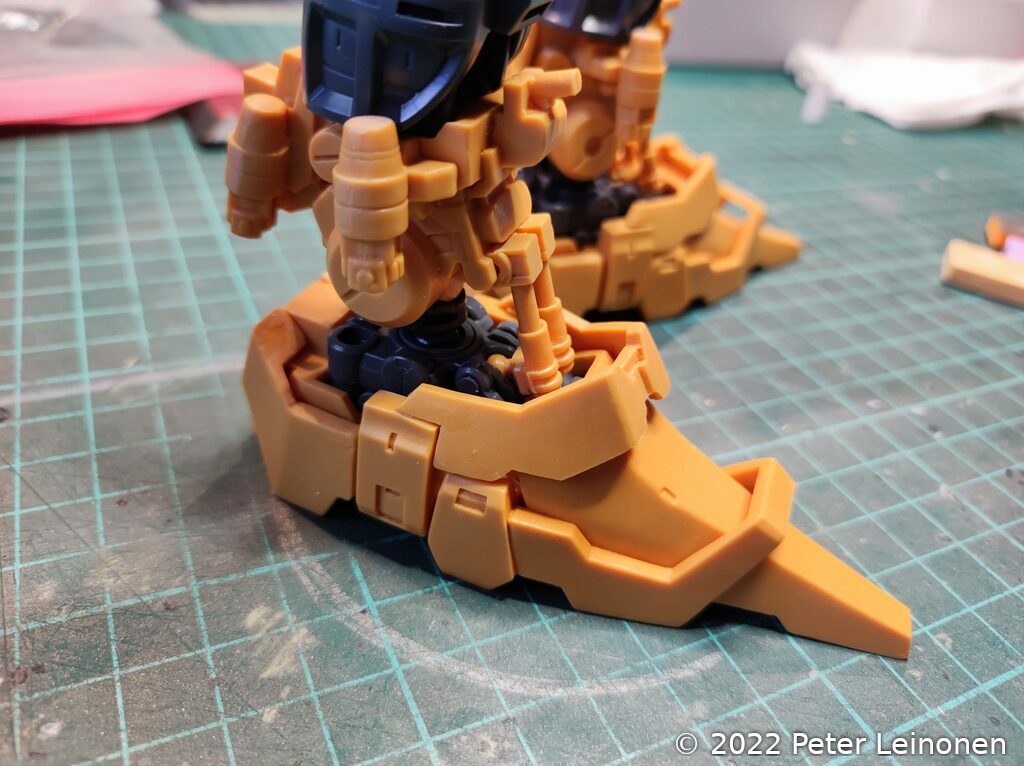
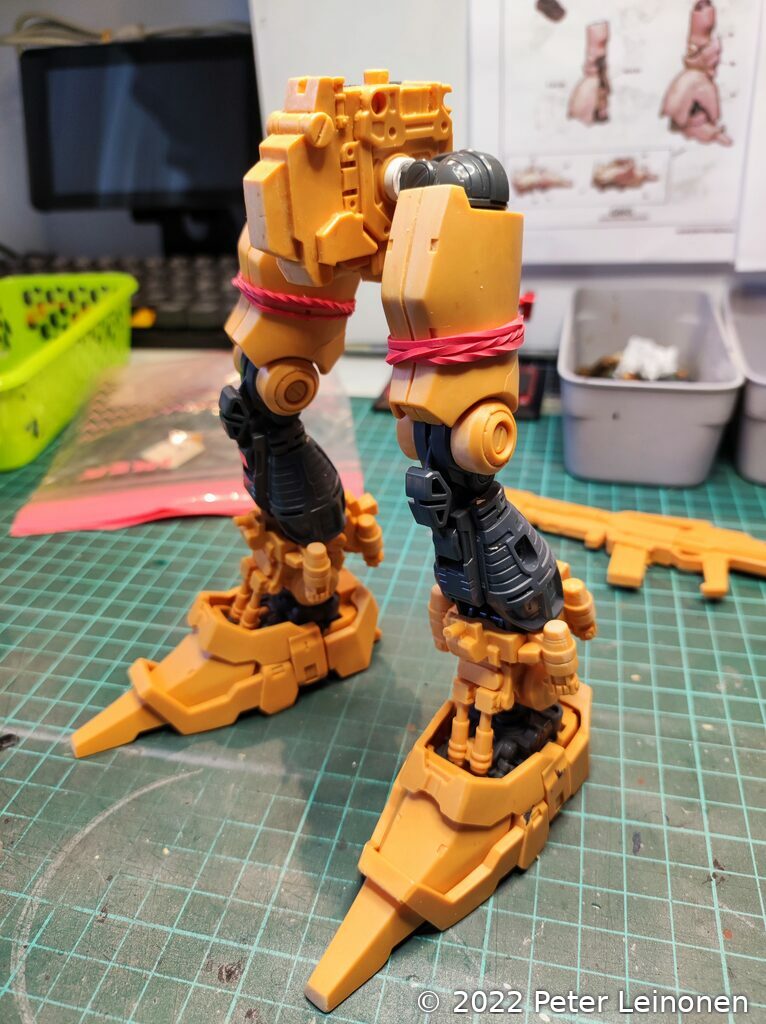
Test fitting the legs with the feet, things starts to look interesting.
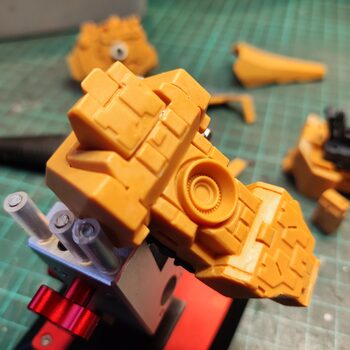
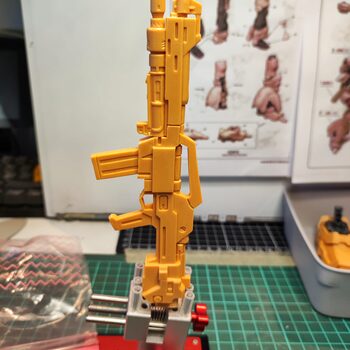
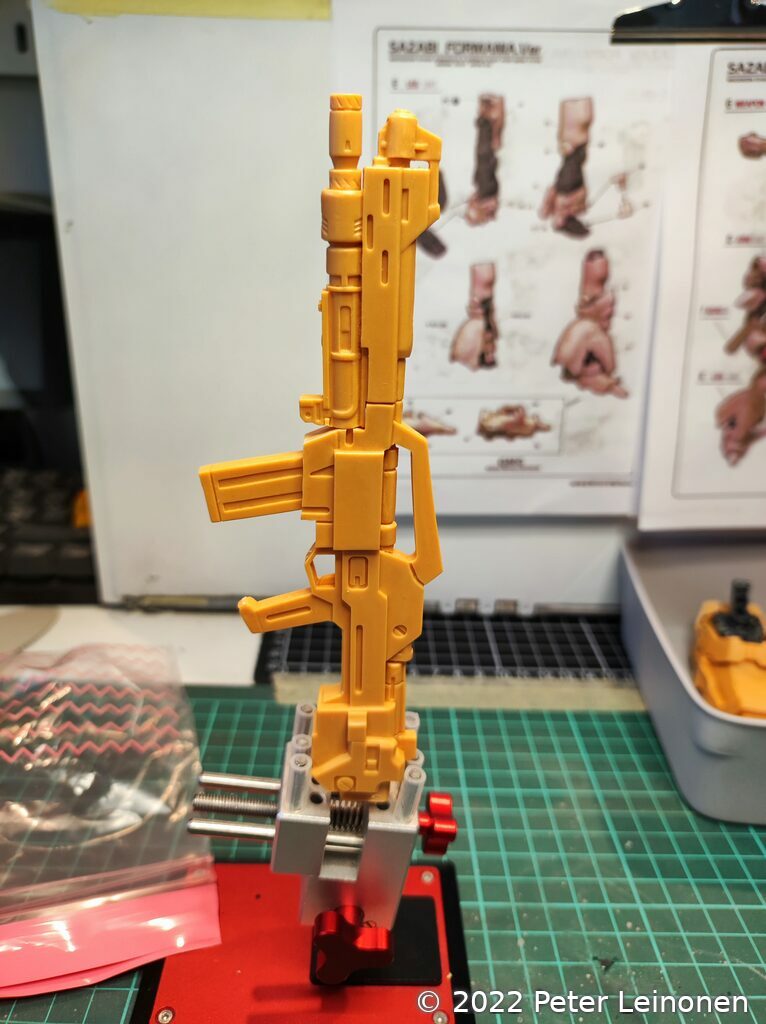
Rifle
I also assembled the rifle. Need to fill some gaps with putty later.
Stay tuned for the next part, where I will focus on the torso.