Sazabi Formania Ver. Part 2
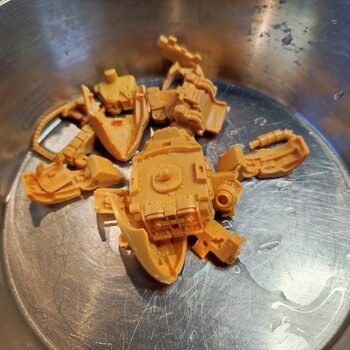
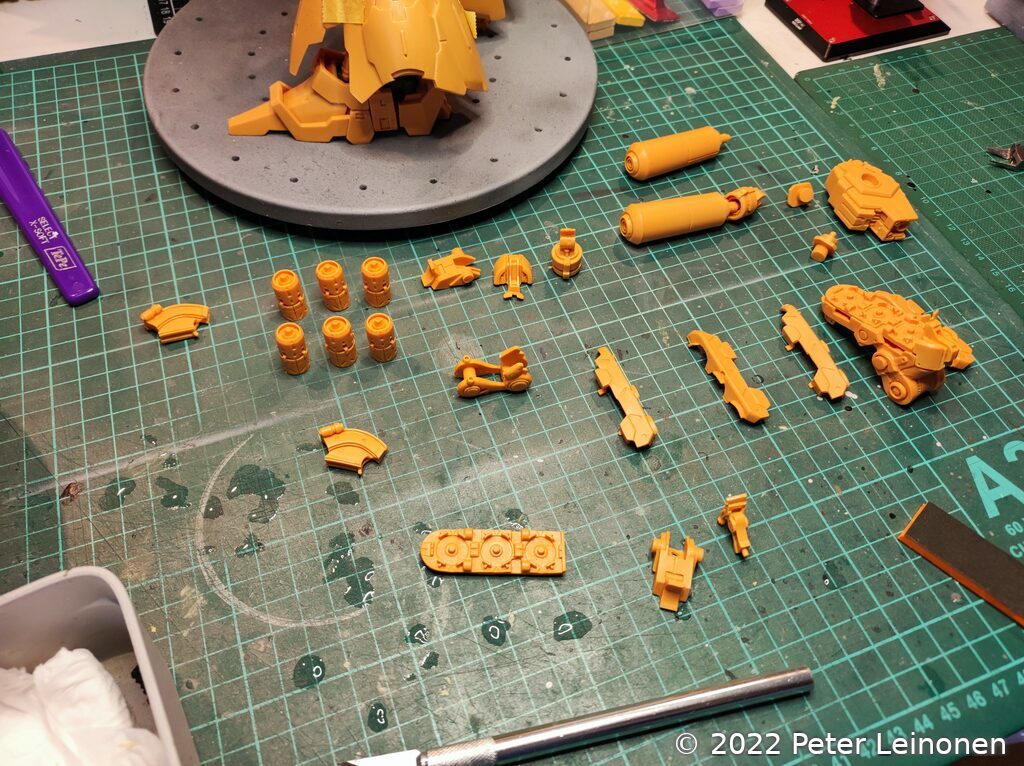
It's time for a project update. I have been making slow progress, aking sure all the parts fit nicely.
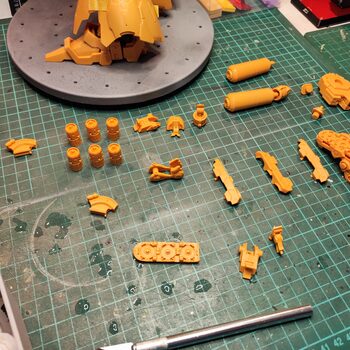
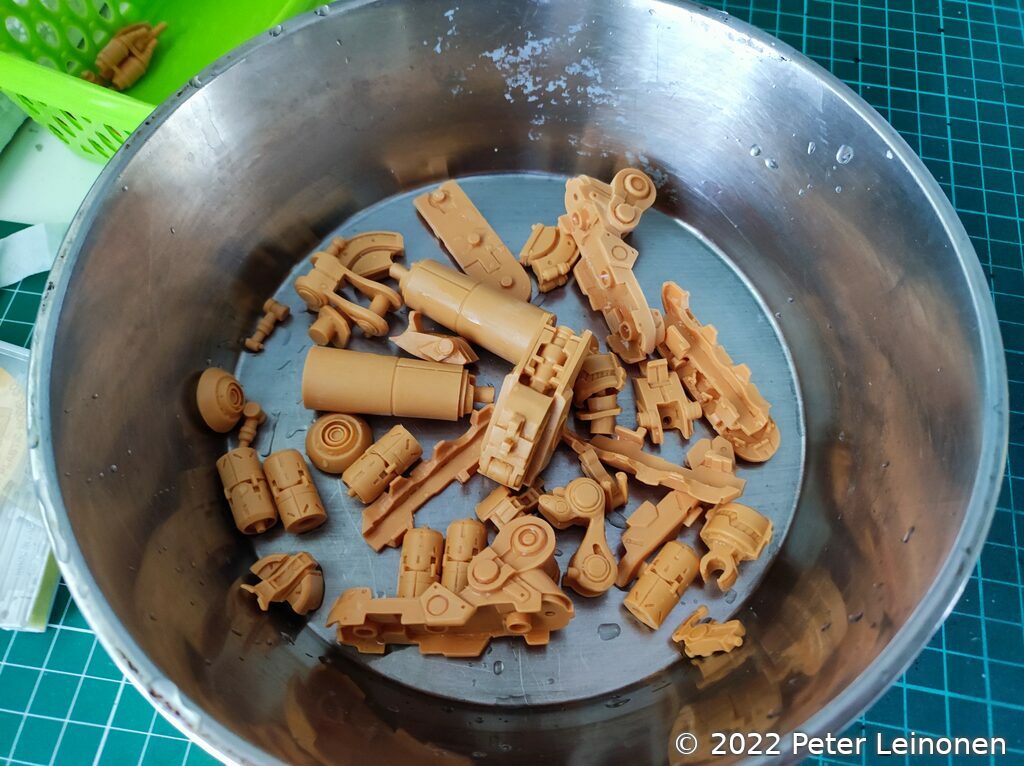
Most of the parts require some work before they fit together properly. This is one of the most difficult models I have built so far, but also fun.
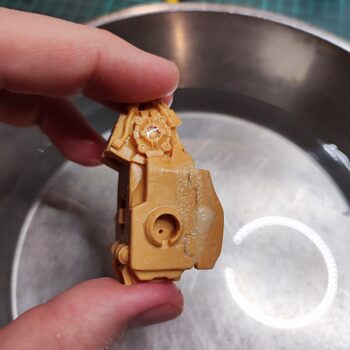
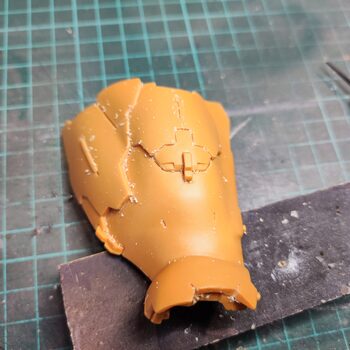
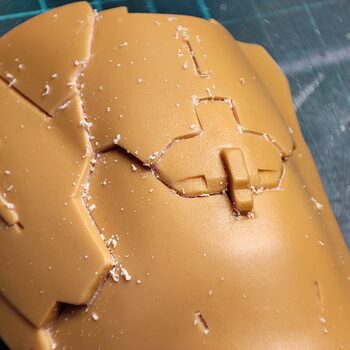
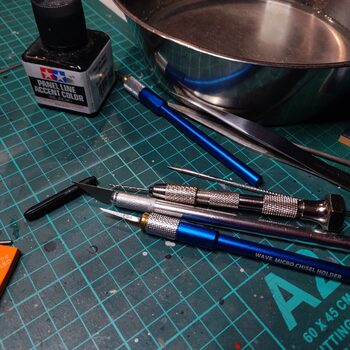
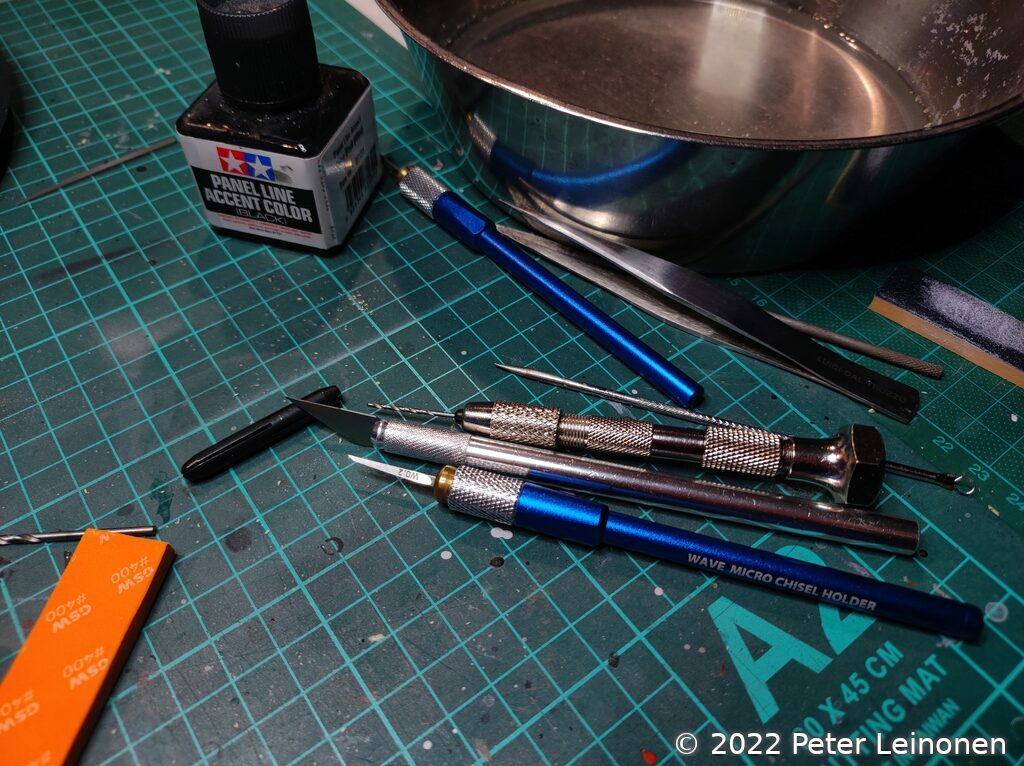
Wet sanding, re-scribing panel lines. Filling with putty, Superglue, Pinning with brass rods.
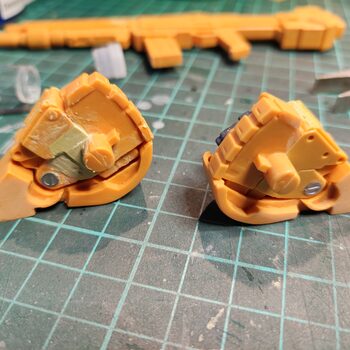
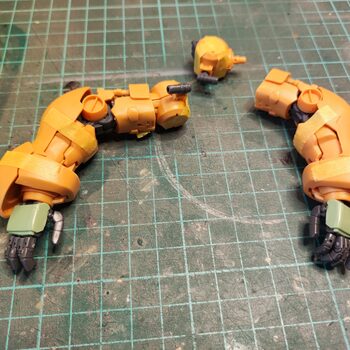
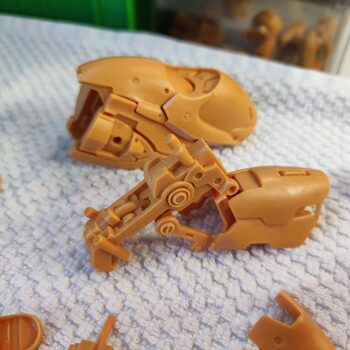
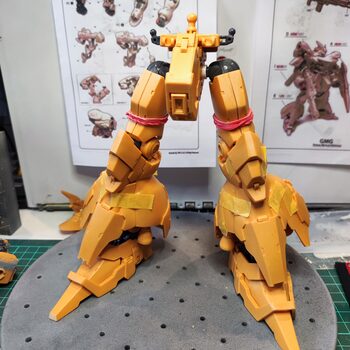
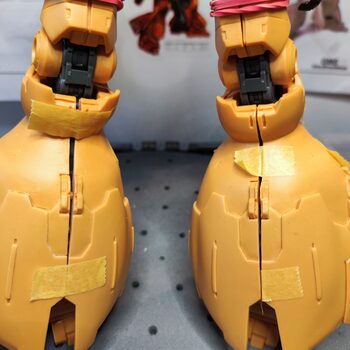
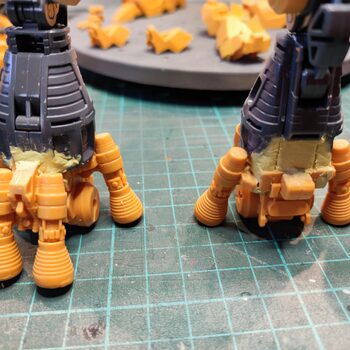
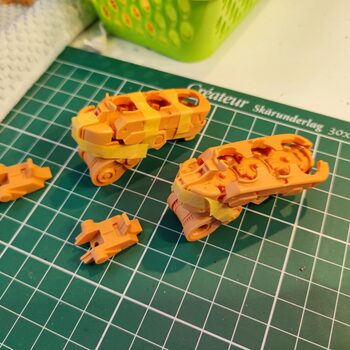
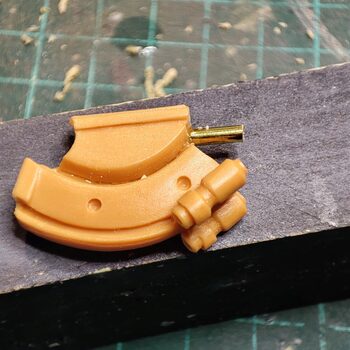
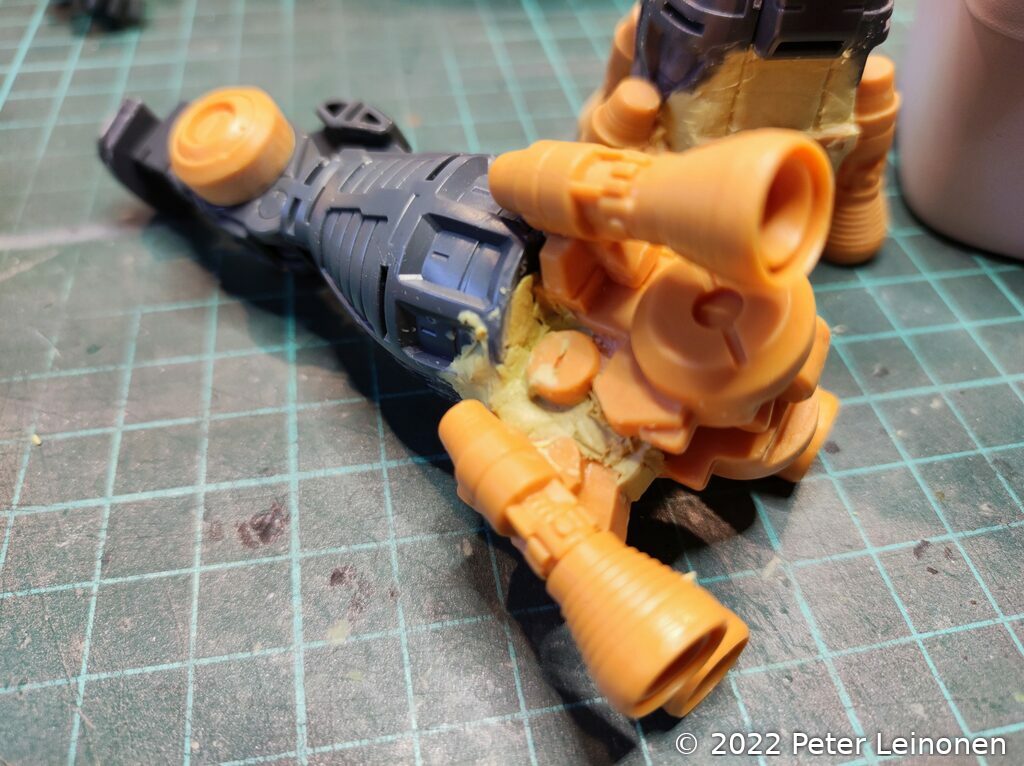
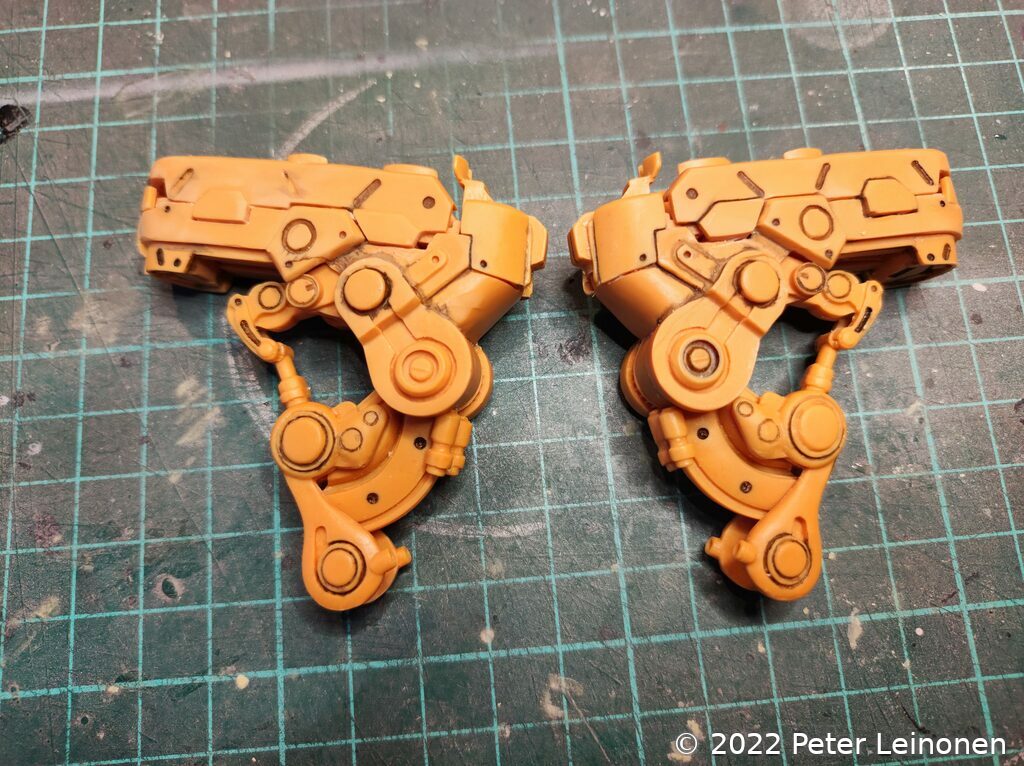
Legs
When adding the armour to the legs, I realized that I had put the leg thrusters on wrong, so the armour did not fit. I had to remove them and during this I broke some parts. I decided to fix that with epoxy putty.
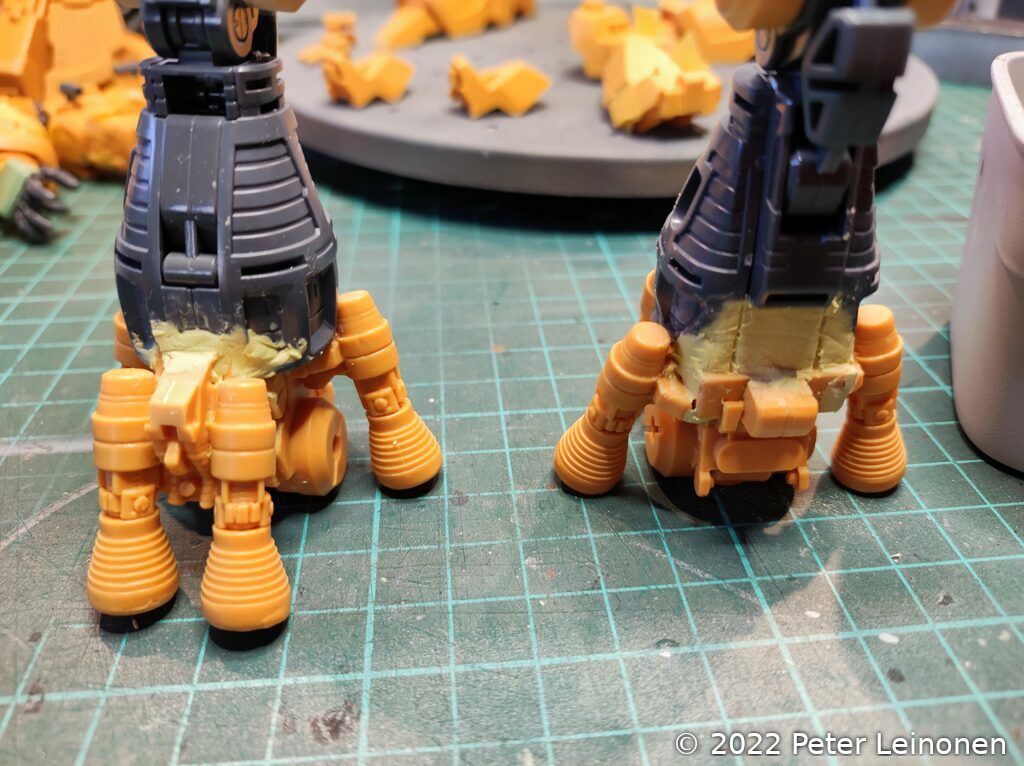
This also gives more strength, and this part is not so visible anyways. I will sand it and clean it up so it looks good.
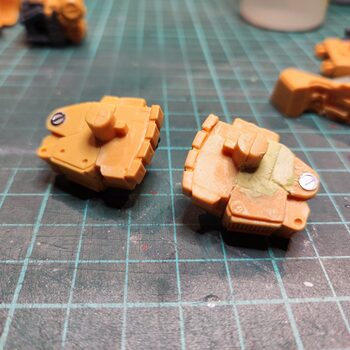
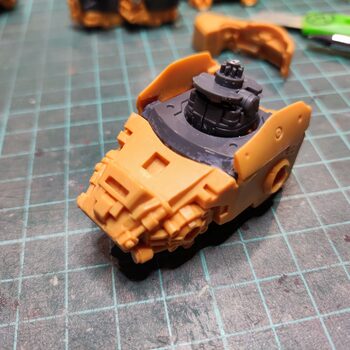
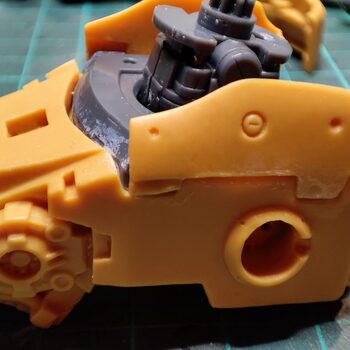
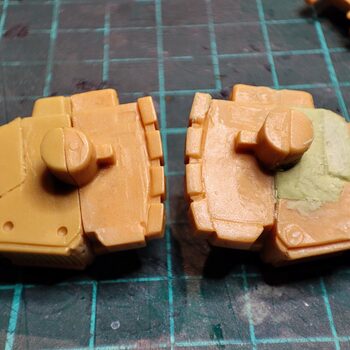
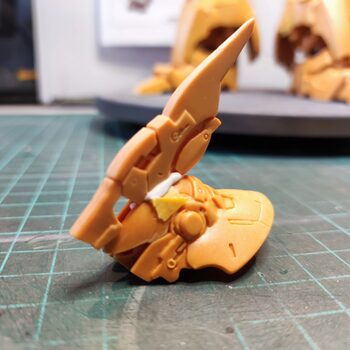
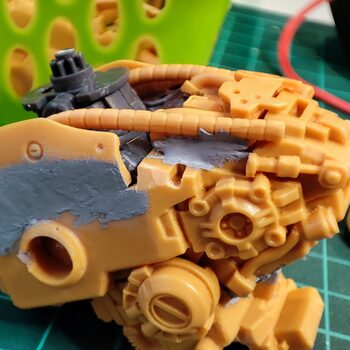
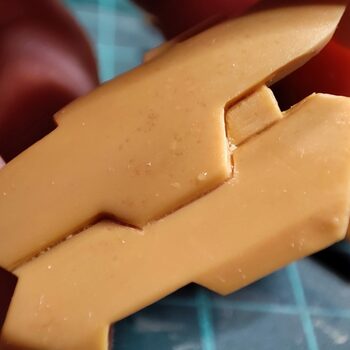
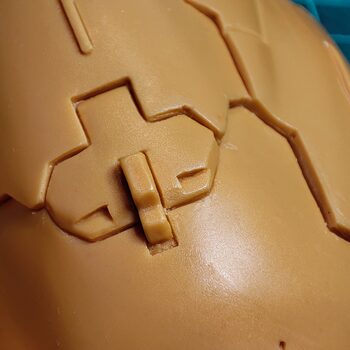
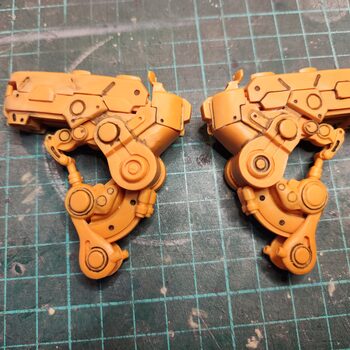
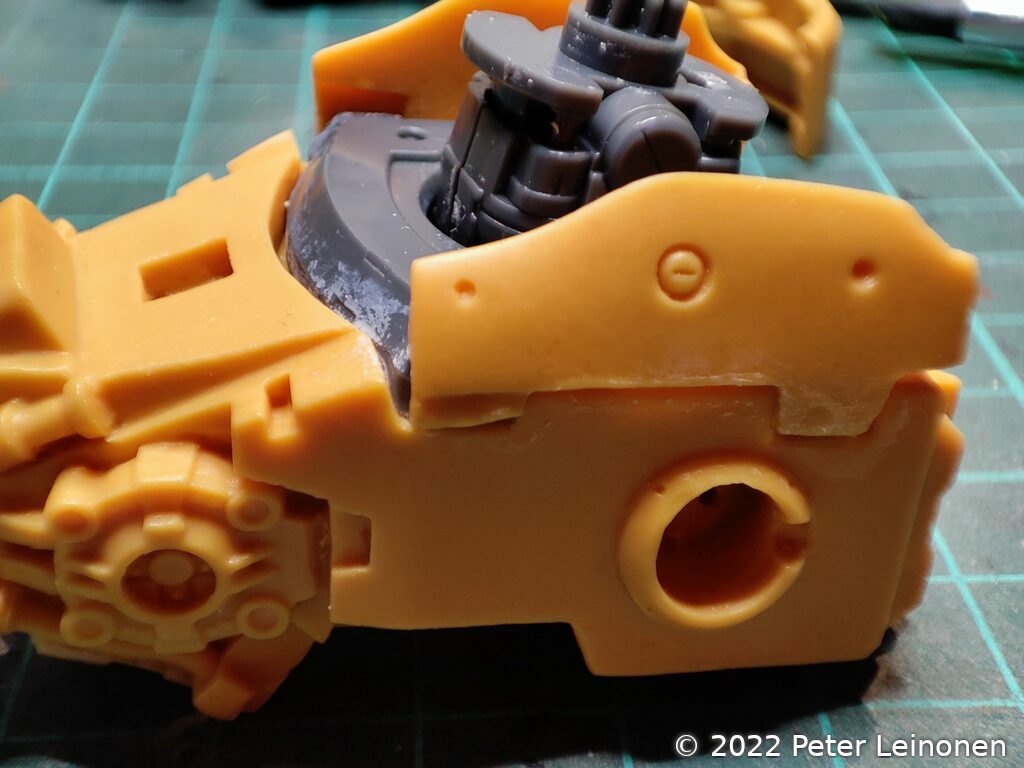
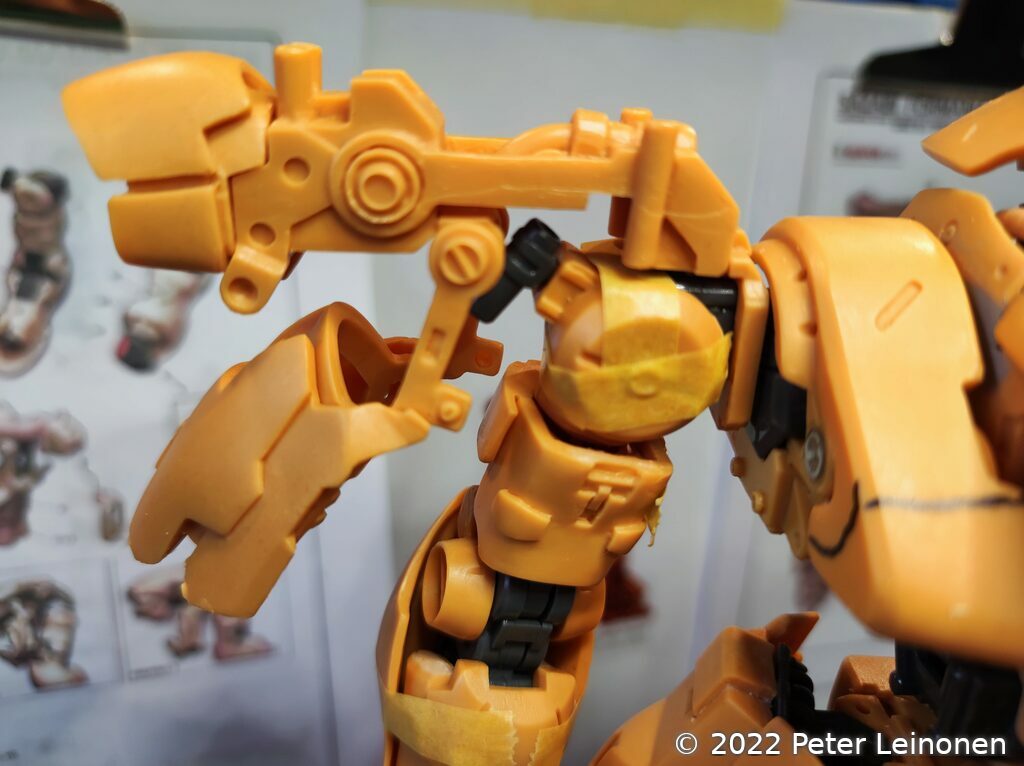
Torso
The torso consists of many parts that need to be adjusted and glued together. However I don't want to glue everything together, to make the painting process easier.

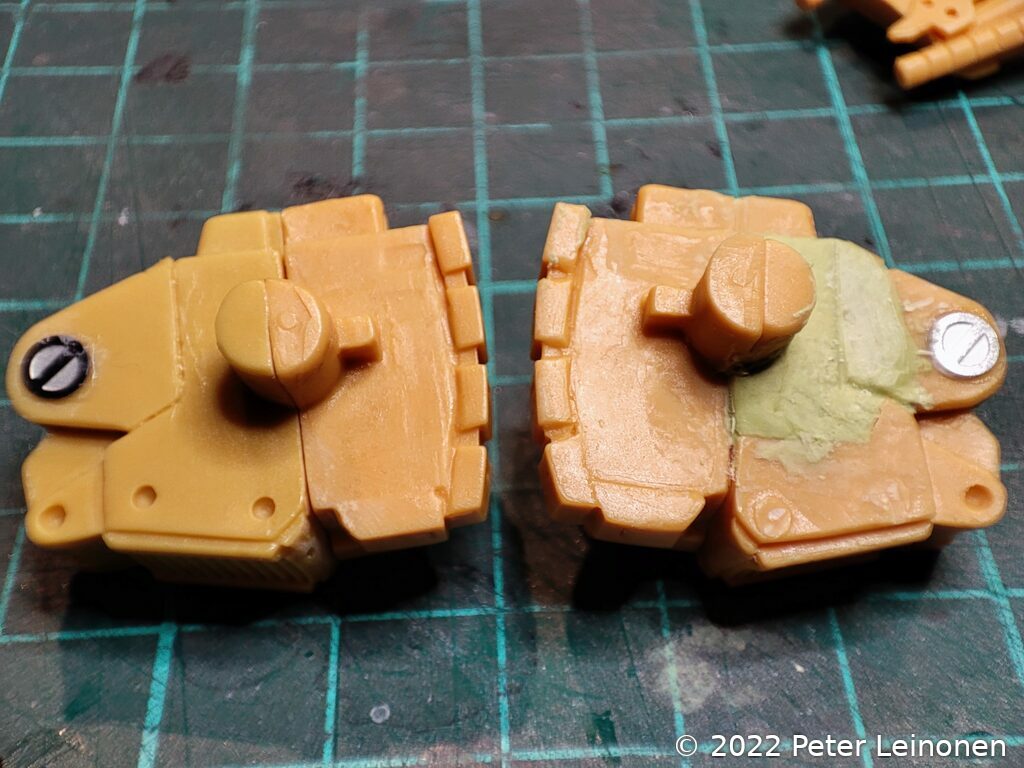
I had got a duplicate part, so I had to make a mirroed copy, again Milliput is very handy.
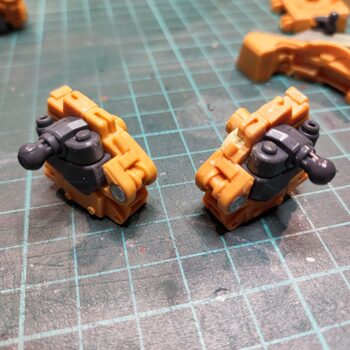
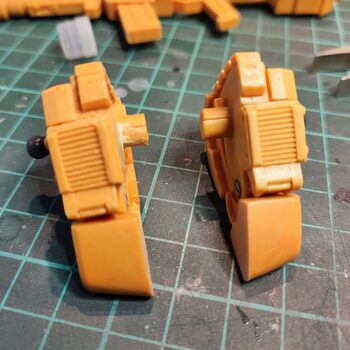
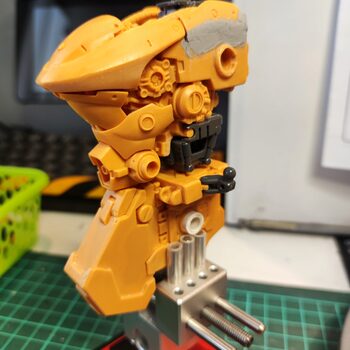
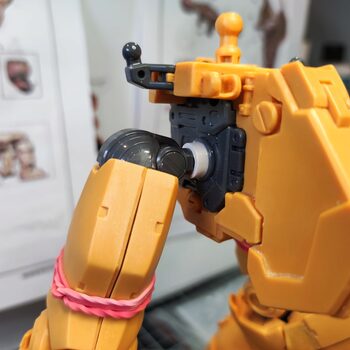
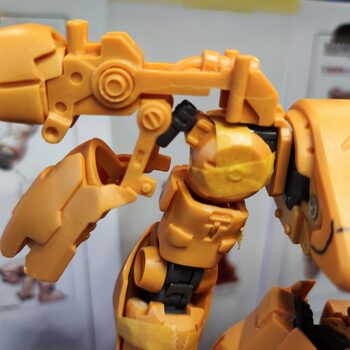
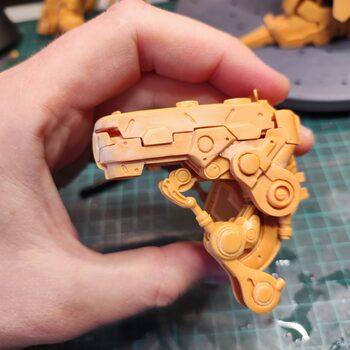
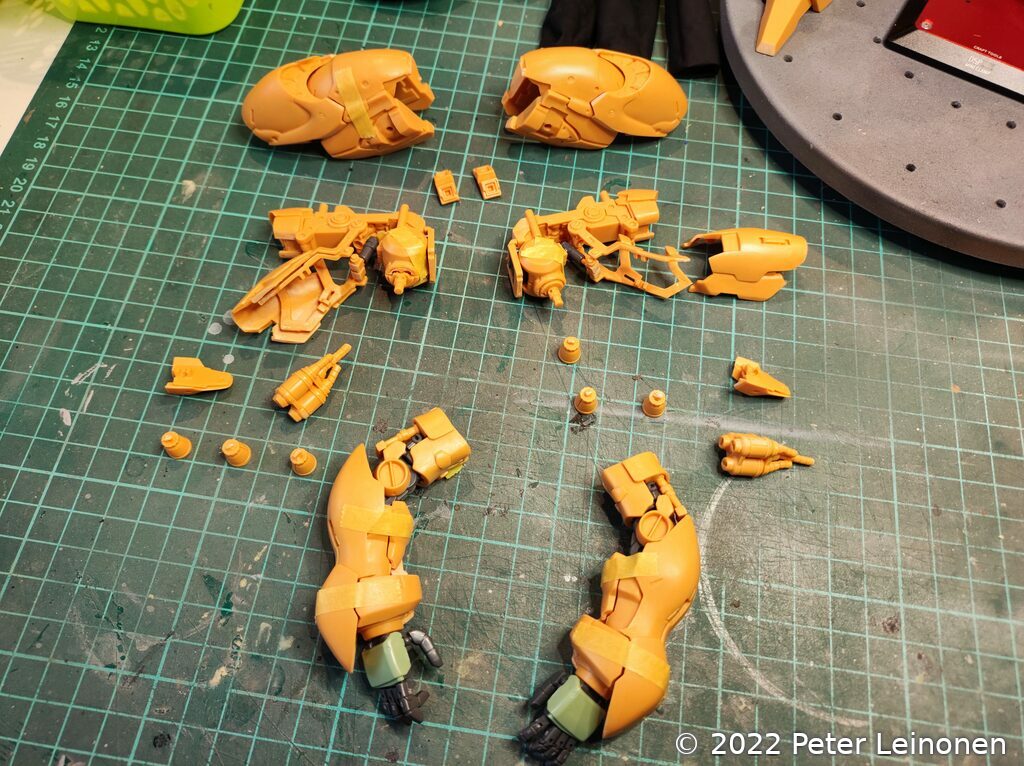
Arms & shoulders
The arms was pretty straight forward putting together. However I have not glued any of the parts yet.
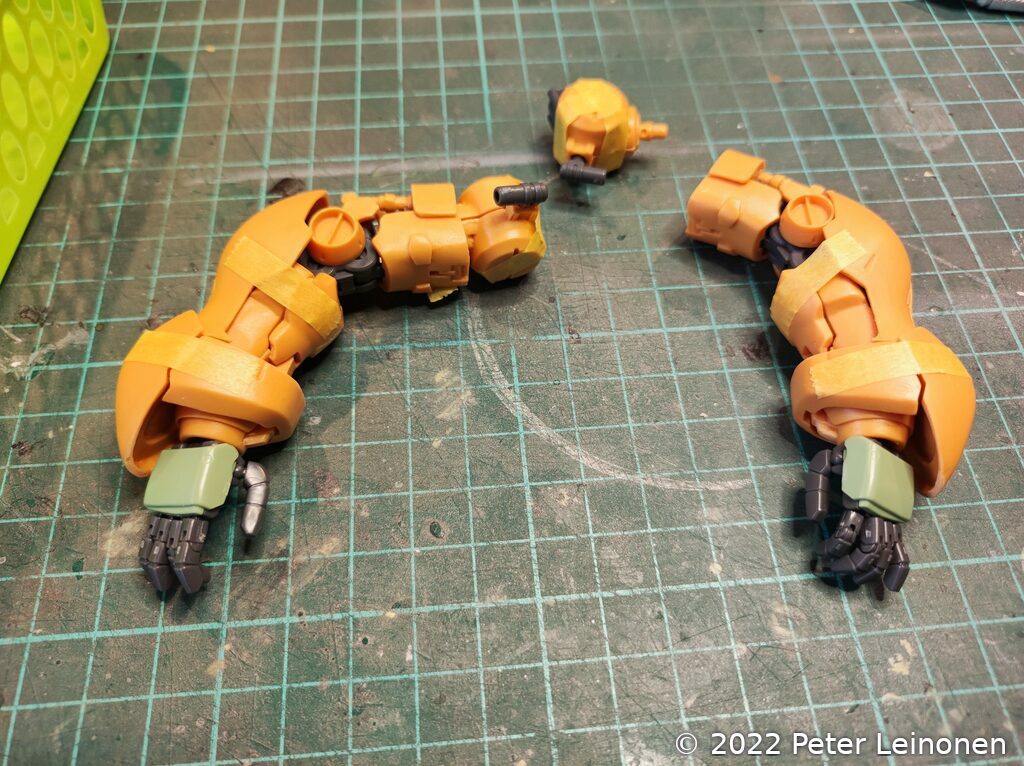
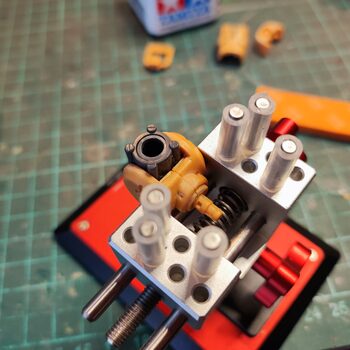
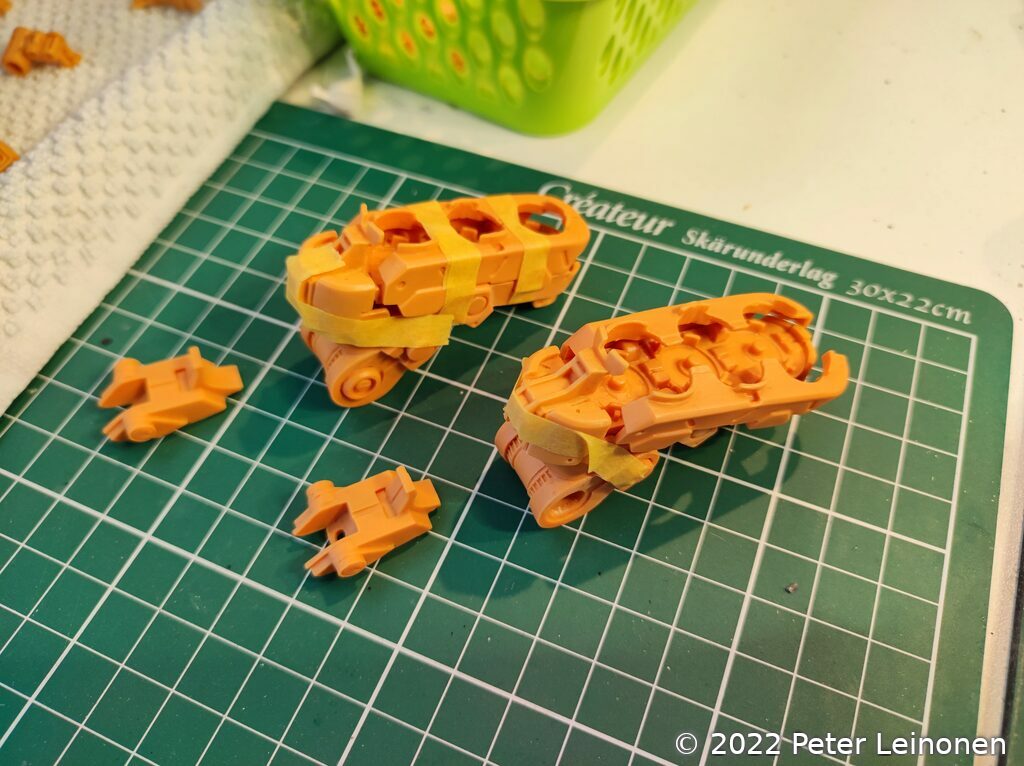
The shoulders are tricky, as they have a mechanism that holds thrusters, and the parts seem a bit fragile.
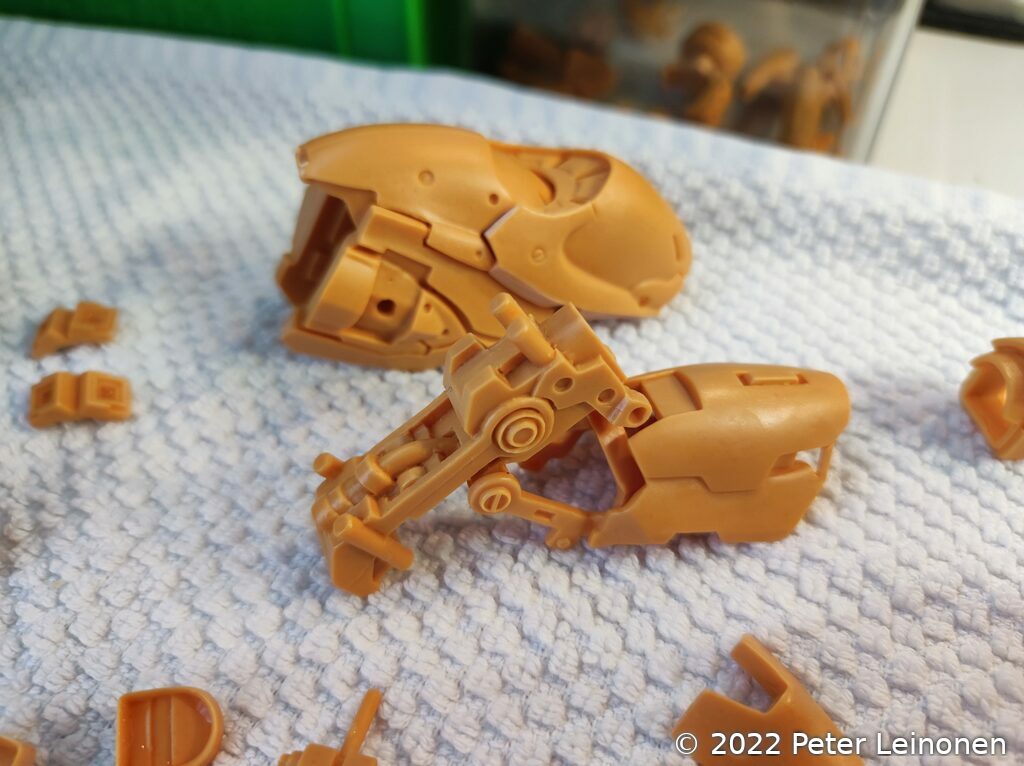
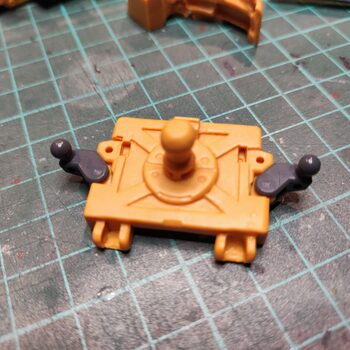
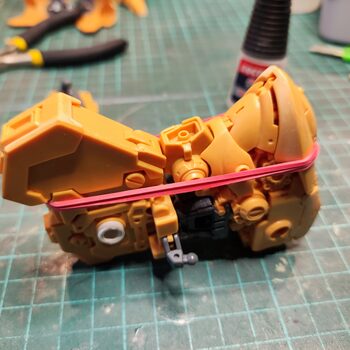
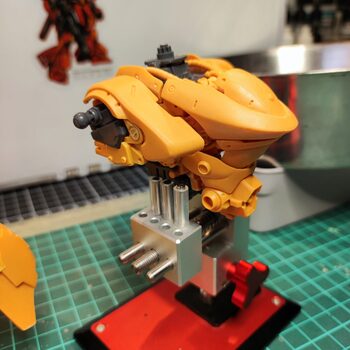
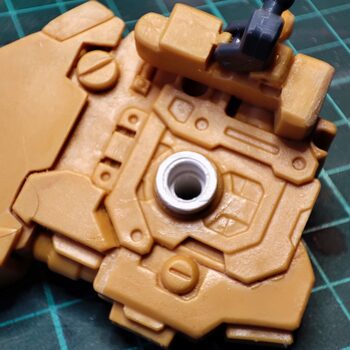
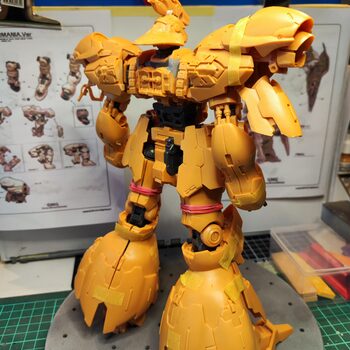
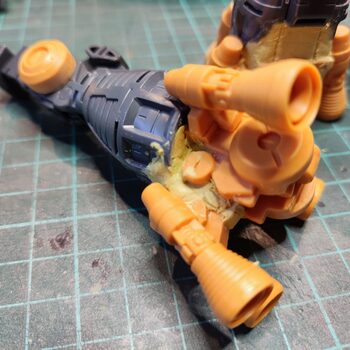
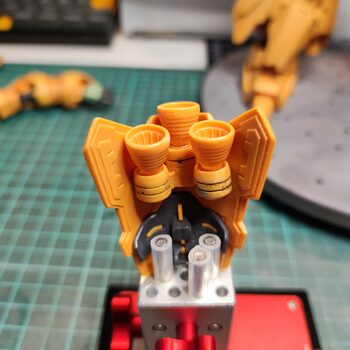
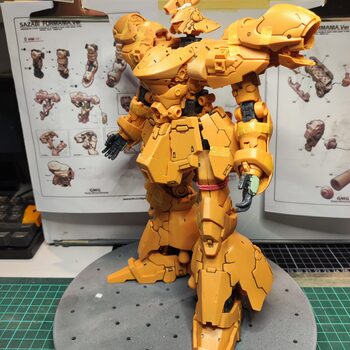
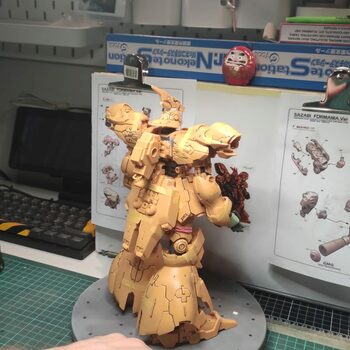
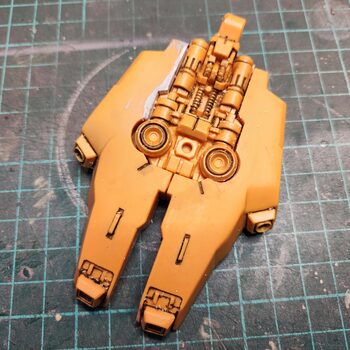
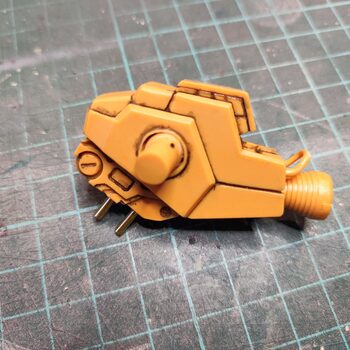
Backpack
The backpack was a bit tricky putting together. None of the parts had a good fit, so I had to do quite a lot of sanding and gluing.
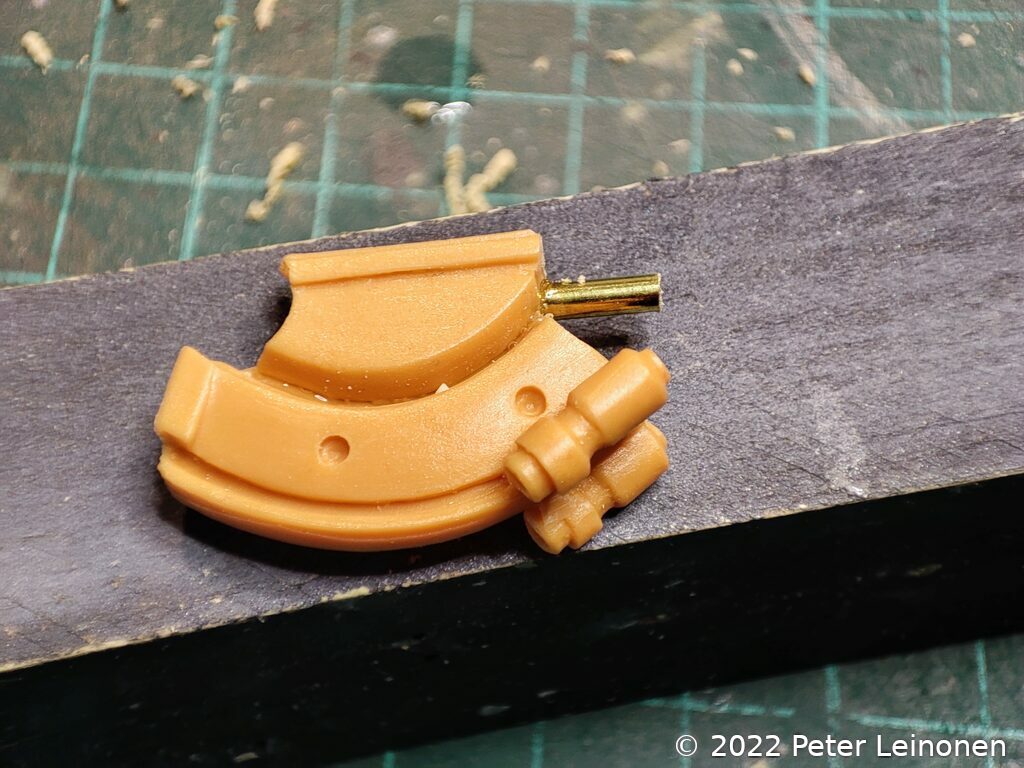
I used brass rods to give extra strength to some parts. I will use this method on more parts when assembling to give strength.
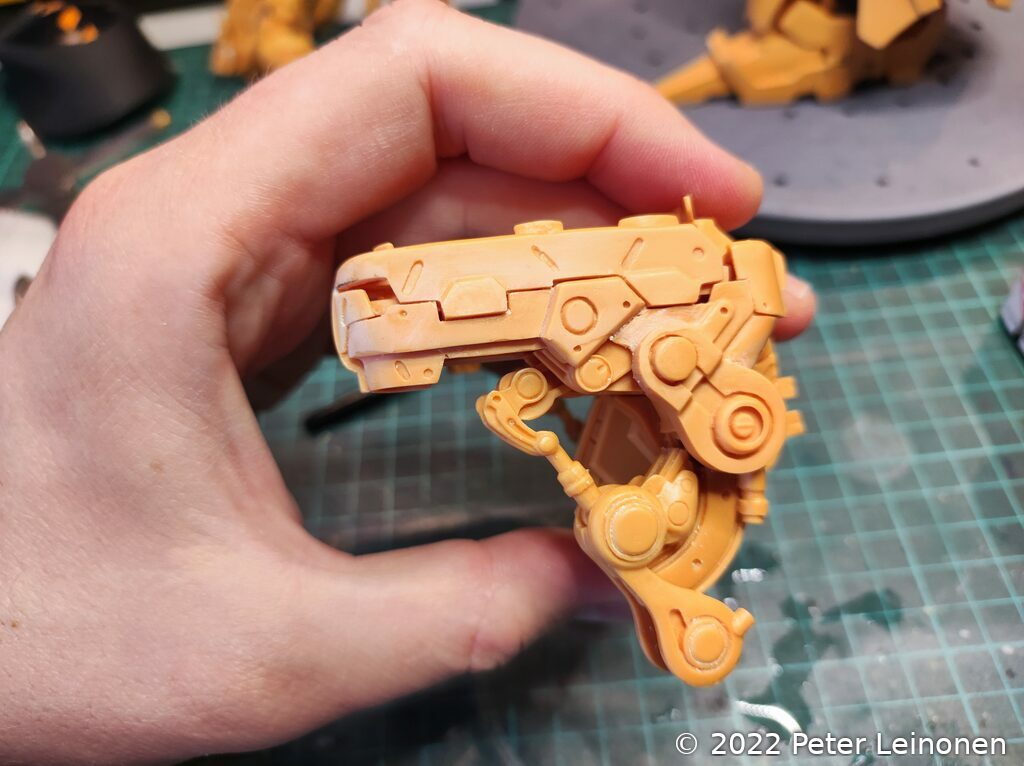
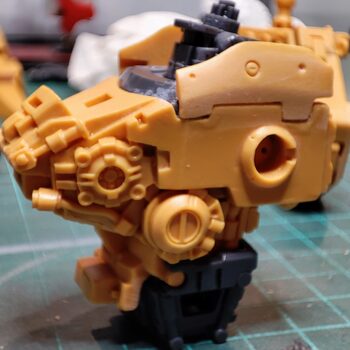
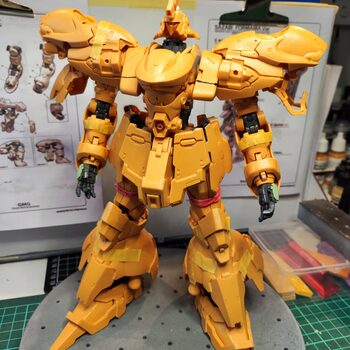
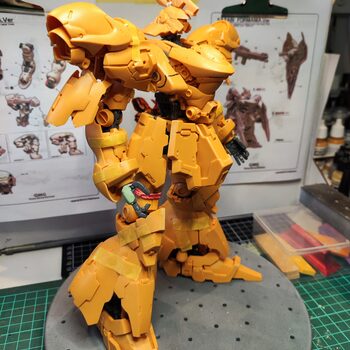
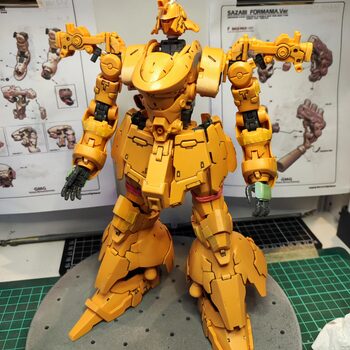
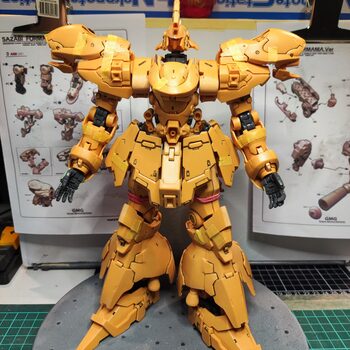
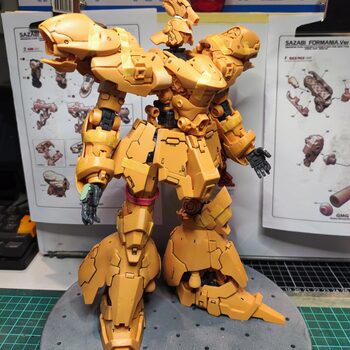
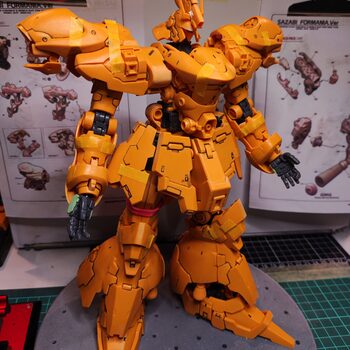
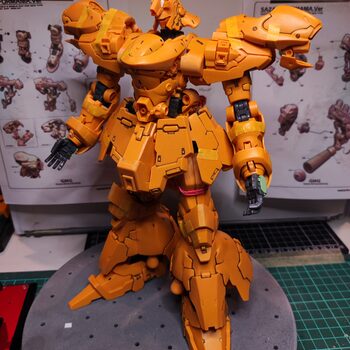
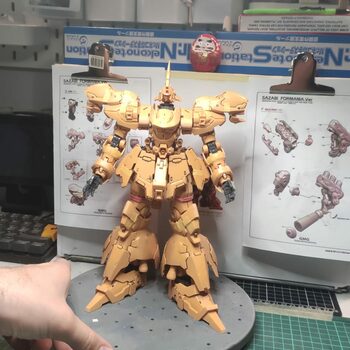
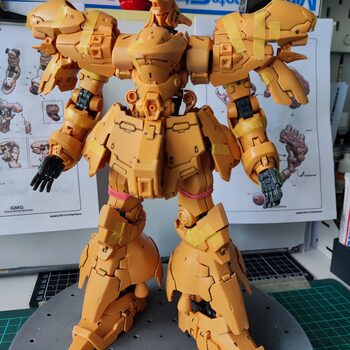
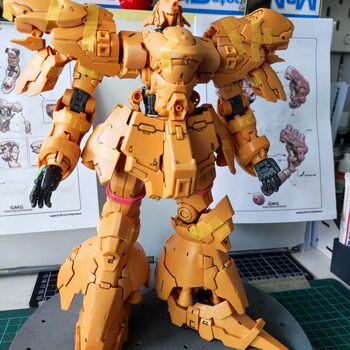
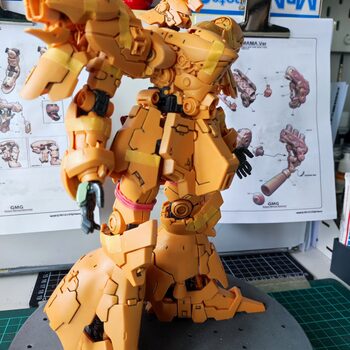
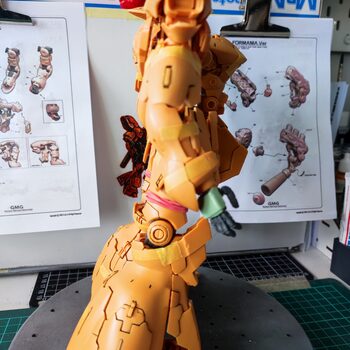
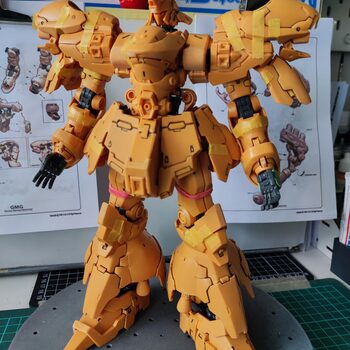
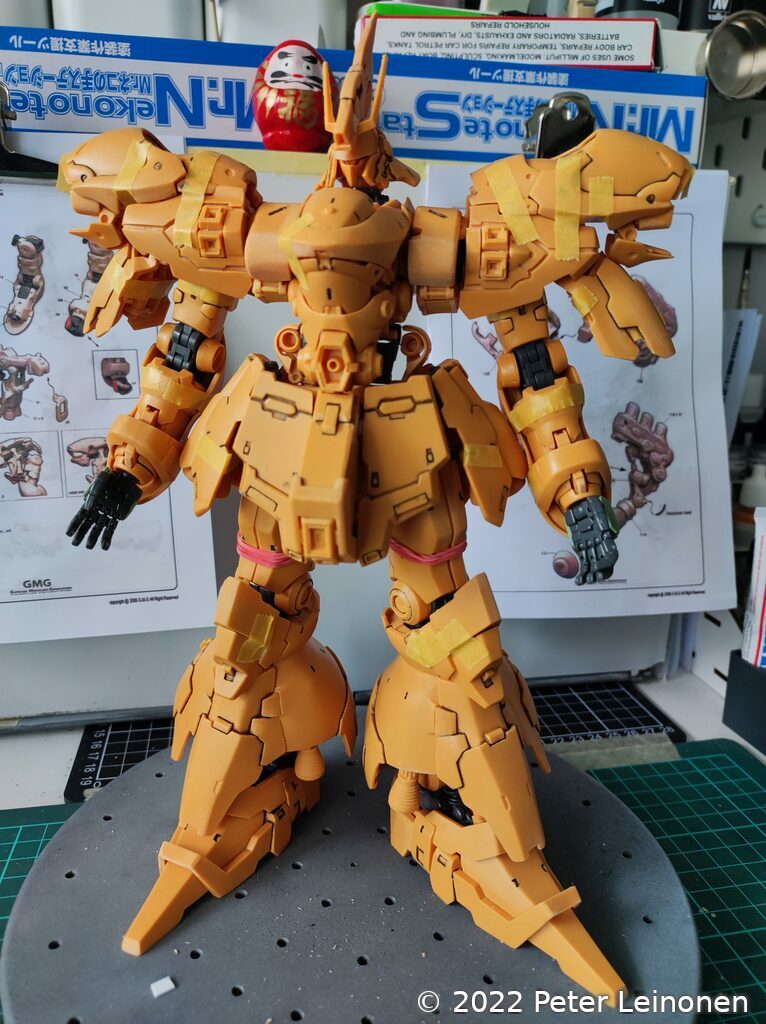
Reveal
This badboy is quite heavy and will require some work so it can stand up freely without falling apart on me. Also there are some parts that are quite fragile, so I need to handle them with care.
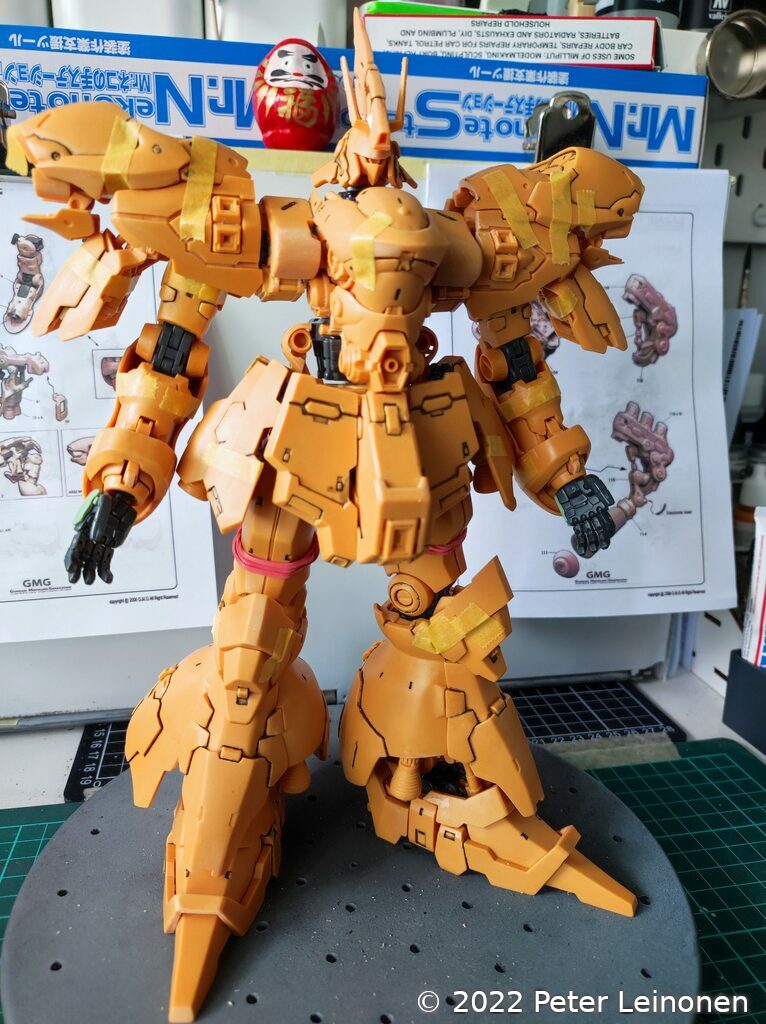
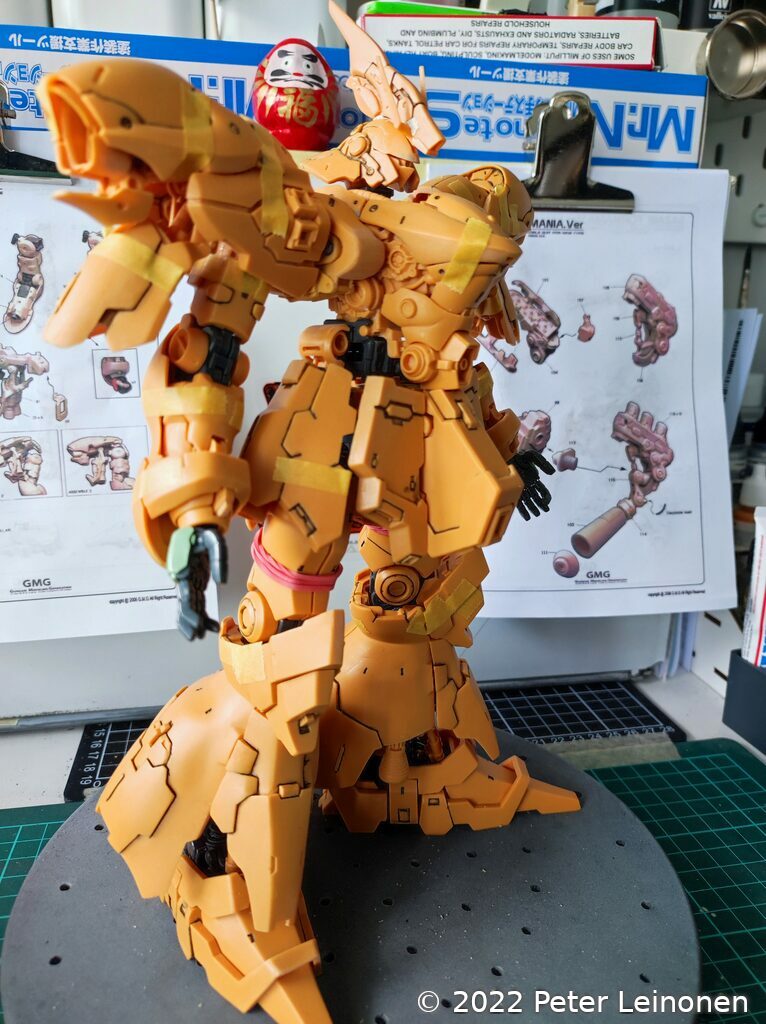
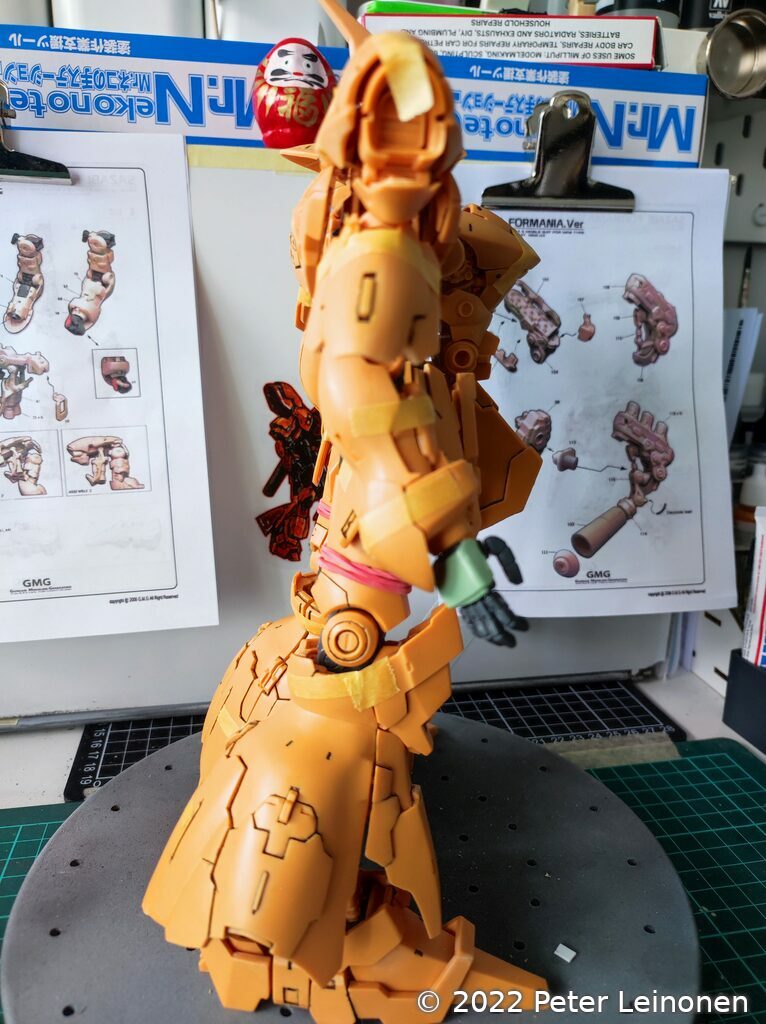
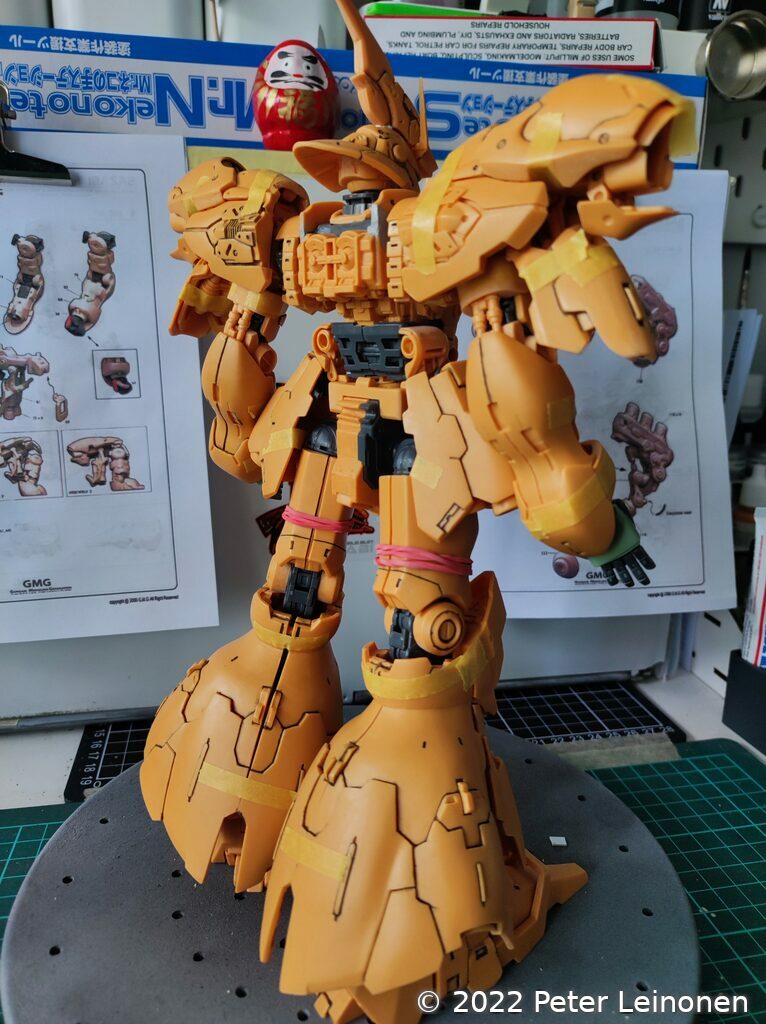
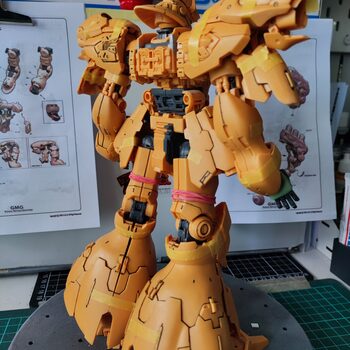
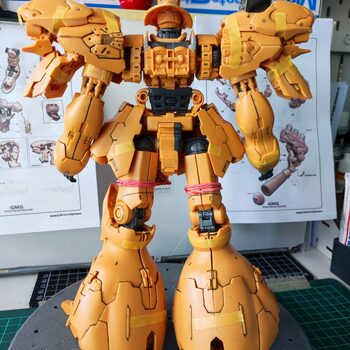
Looking good, but there is a lot of work to do before I can start painting it. I will add more brass rods to pin parts together strongly and securely.
Lot's of details that needs to be improved to make it look top notch.