Tiger I, Part 2
It's time for painting.
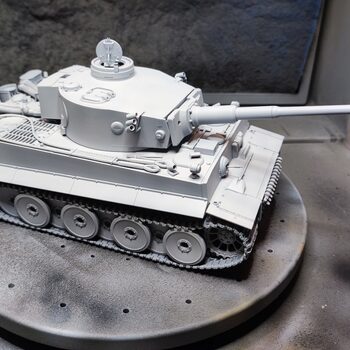
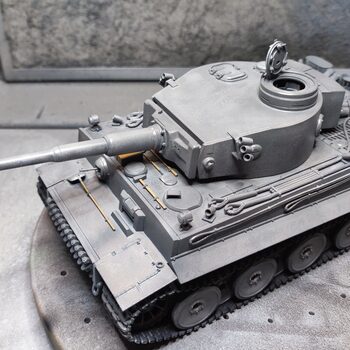
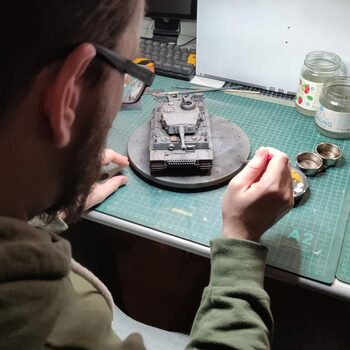
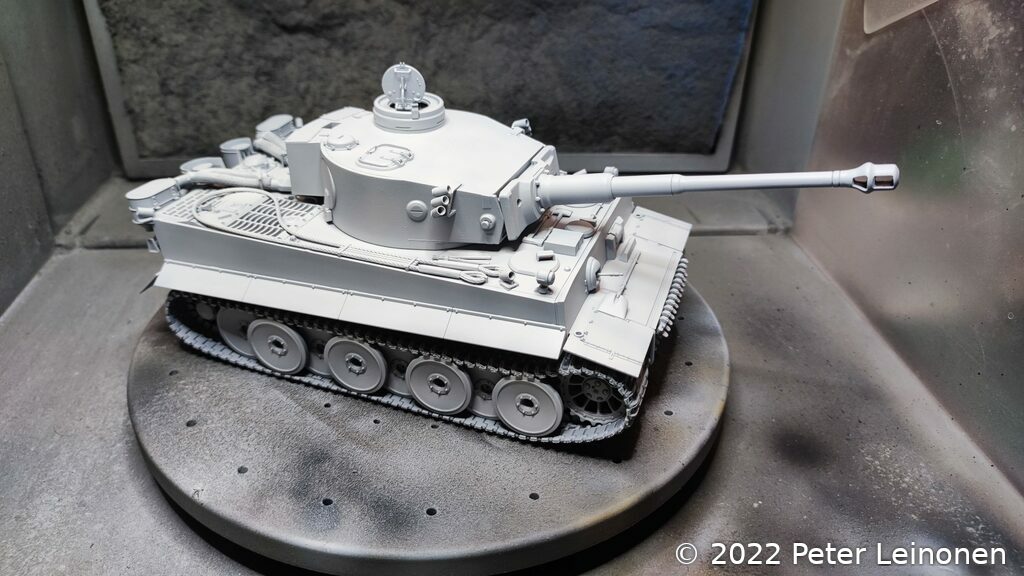
Priming
First up priming. I used light grey primer from Vallejo.
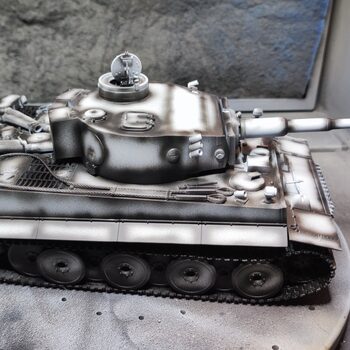
Pre-shading
I pre-shaded the tank with black.
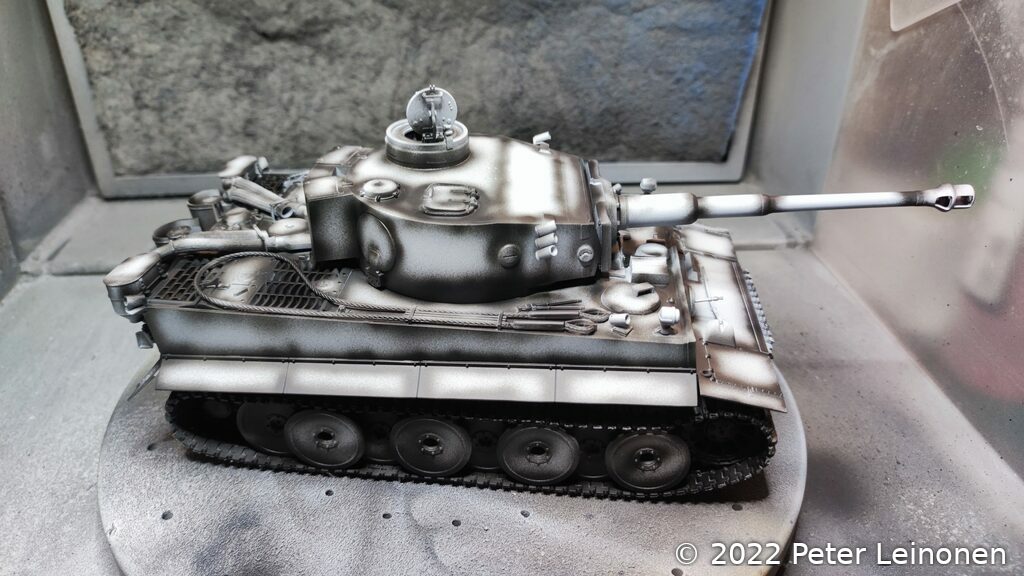
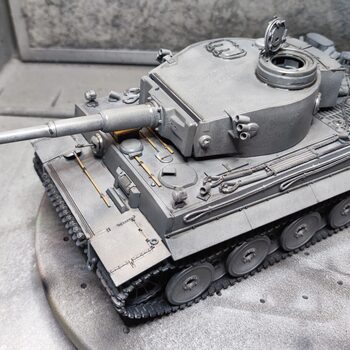
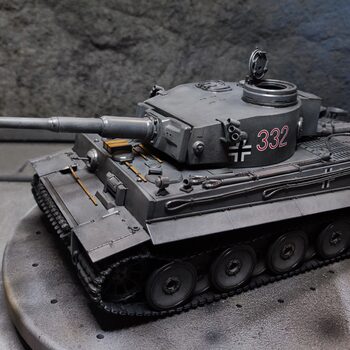
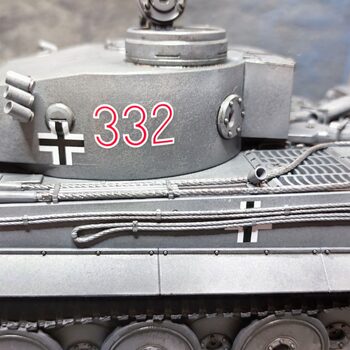
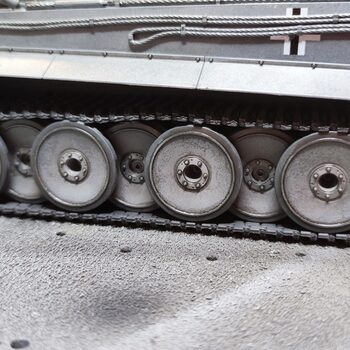
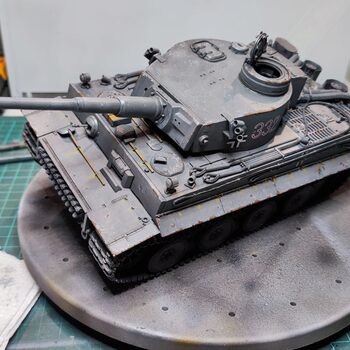
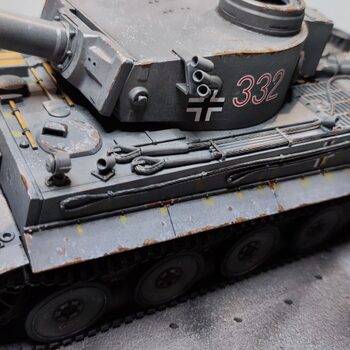
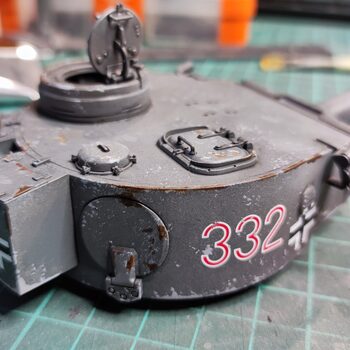
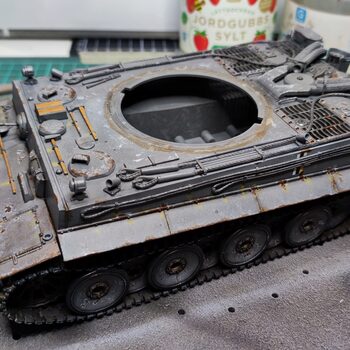
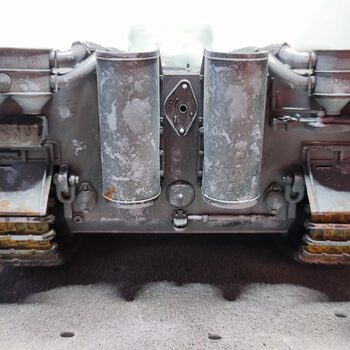
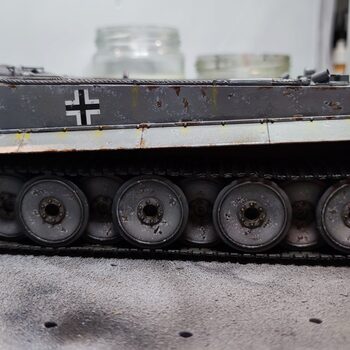
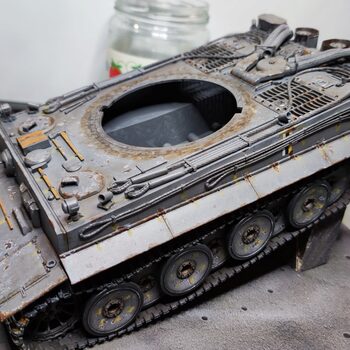
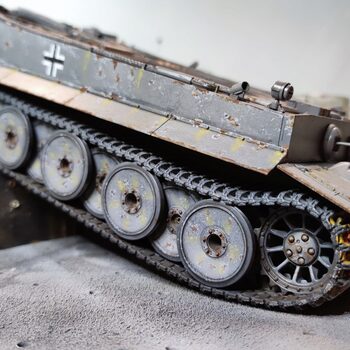
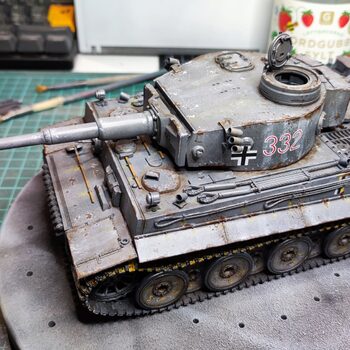
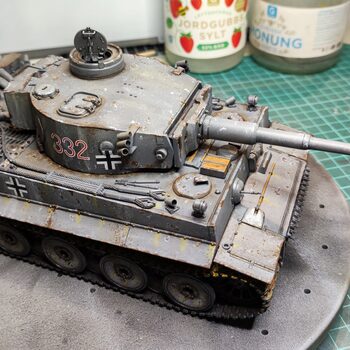
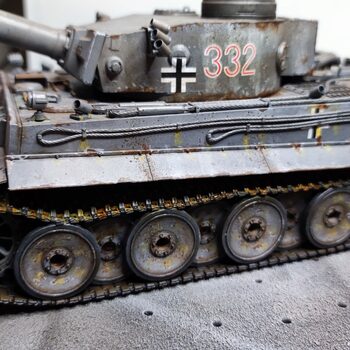
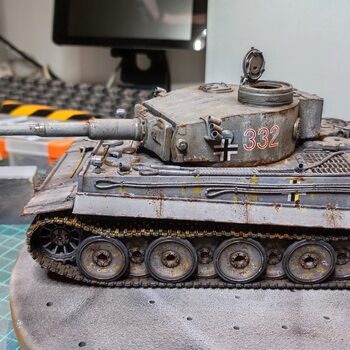
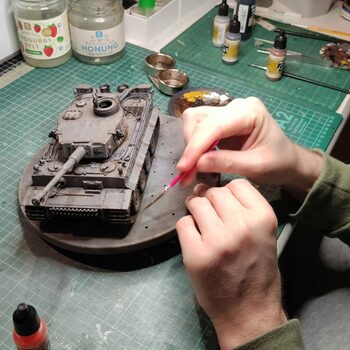
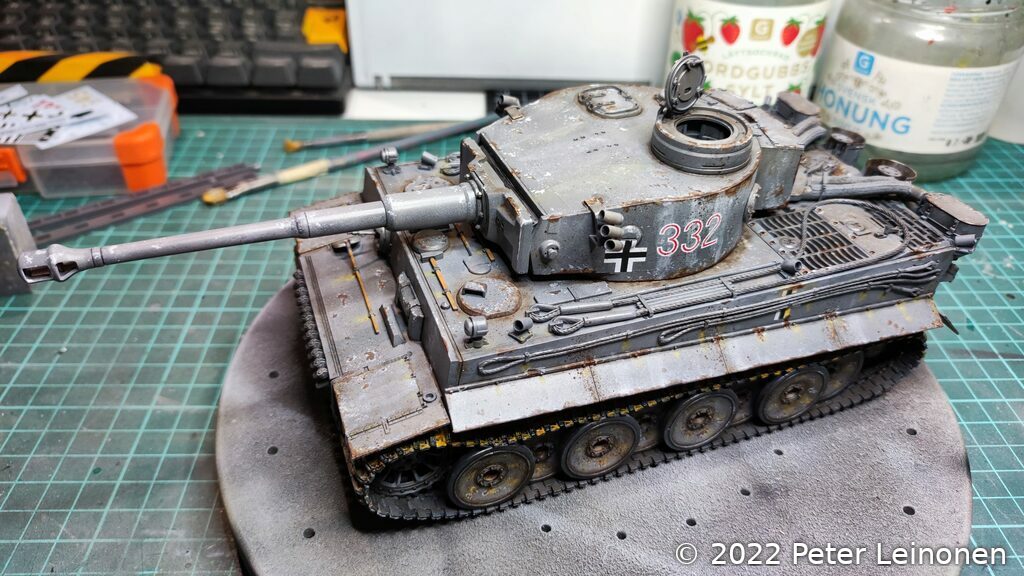
After pre-shading I applied a layer of dark grey followed by chipping fluid. I then painted with a light grey color. I chipped off paint with a hard brush to give it a weathered look.
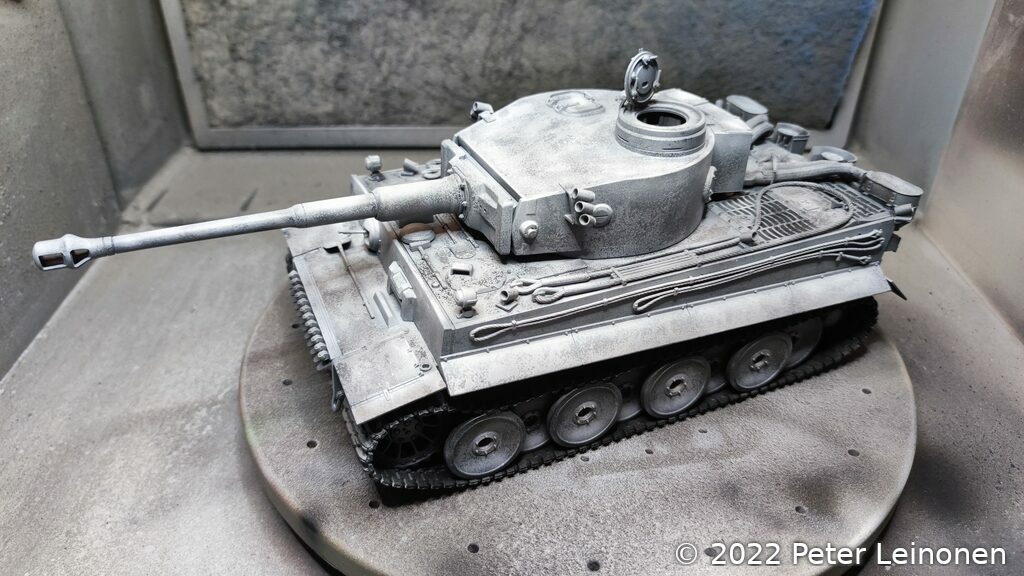
After the chipping process, I painted over the model with a darker grey tone because it looked too bright.
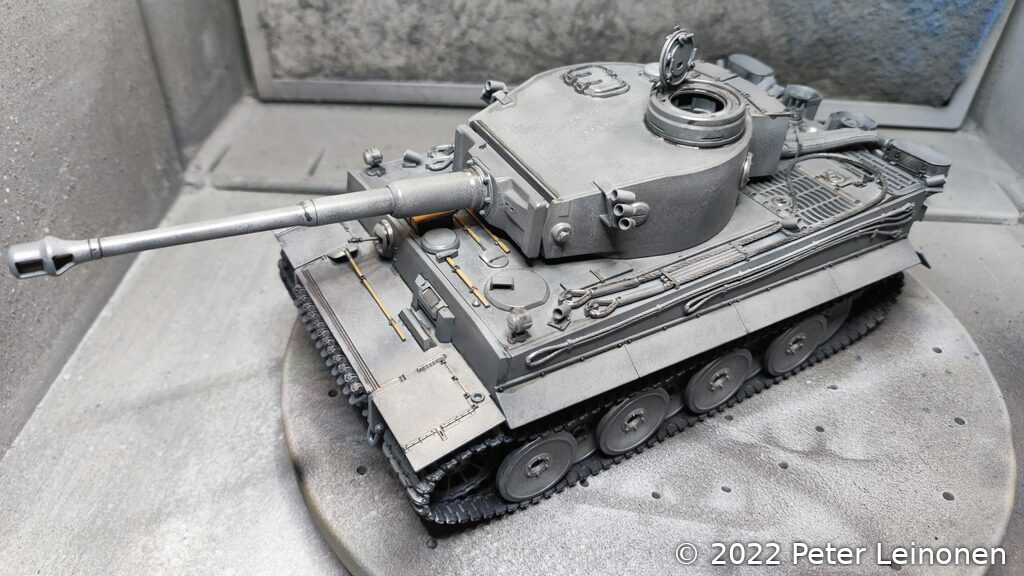
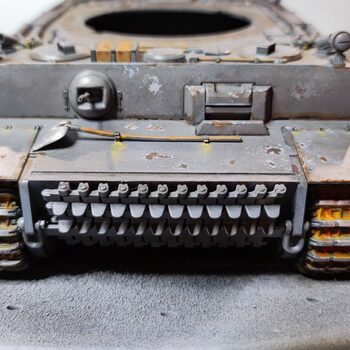
Painted some details with paint brush and applied clear varnish.
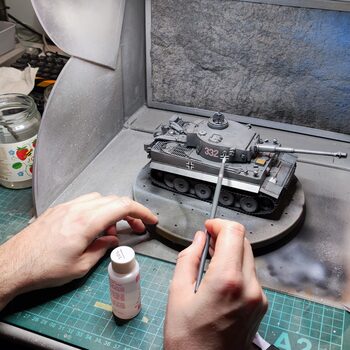
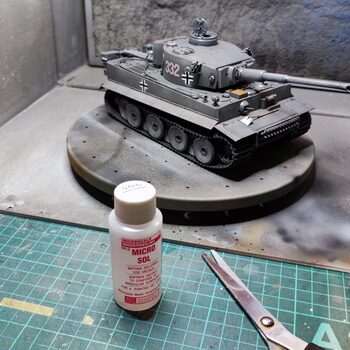
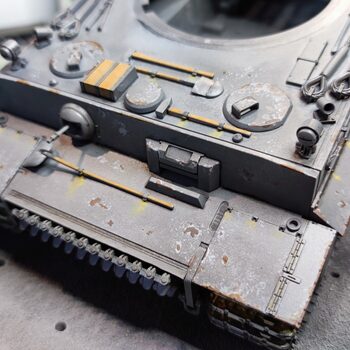
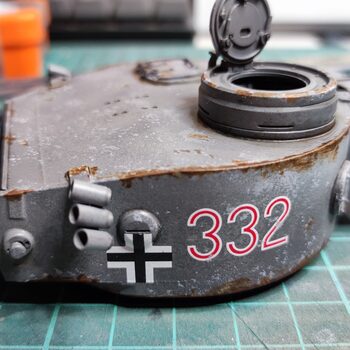
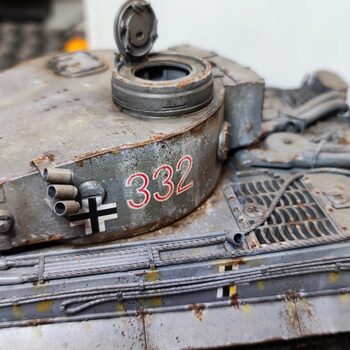
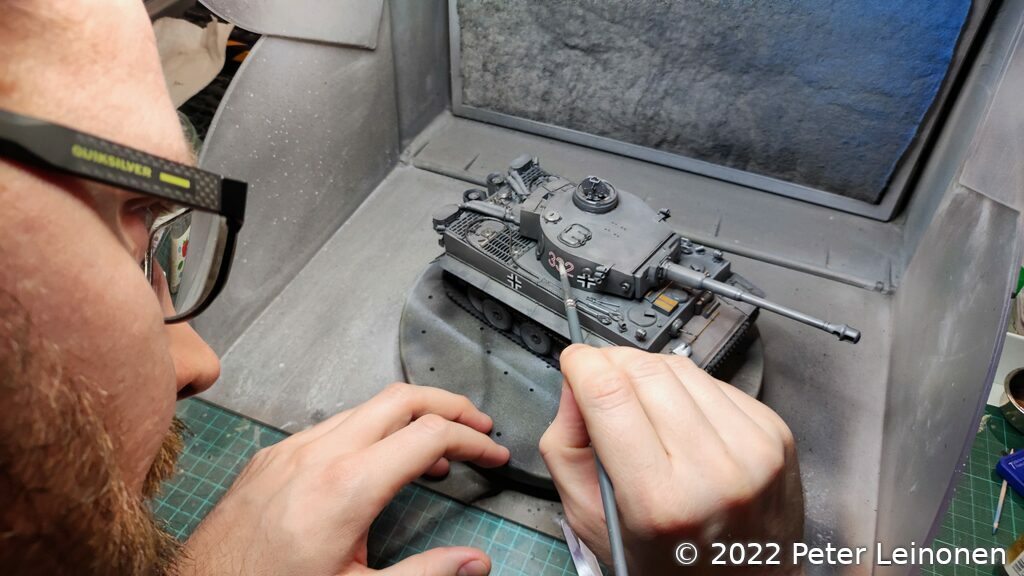
Decals & Panel lines
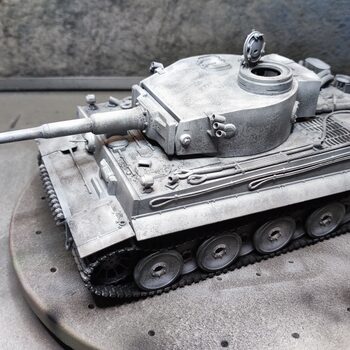
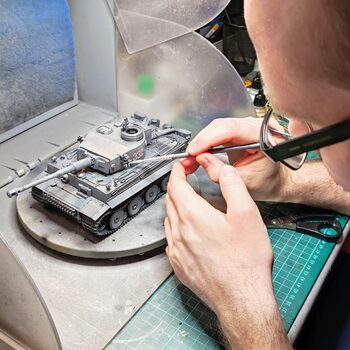
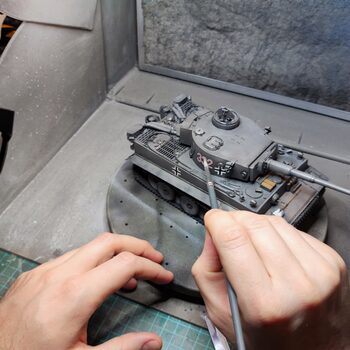
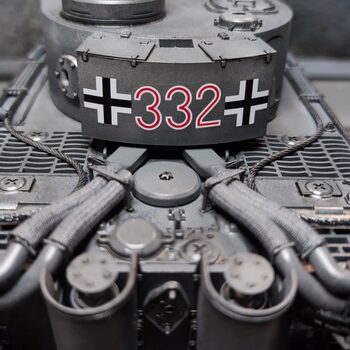
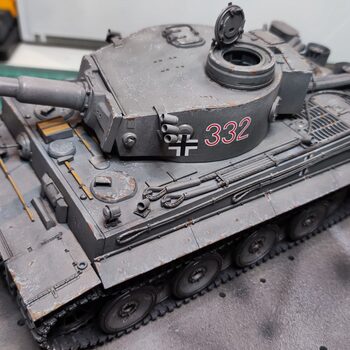
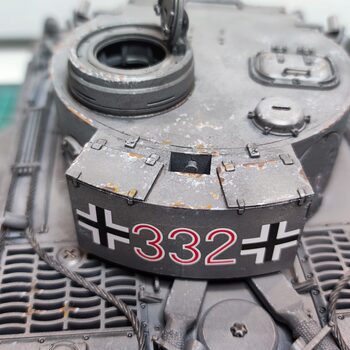
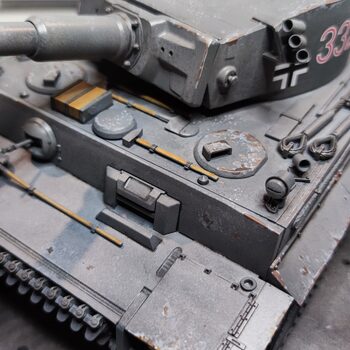
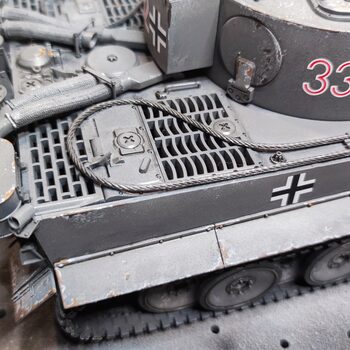
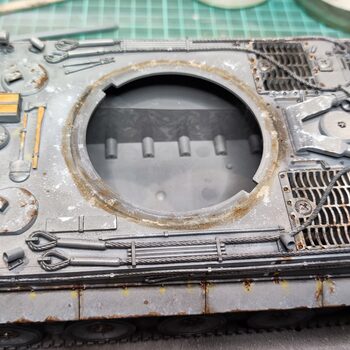
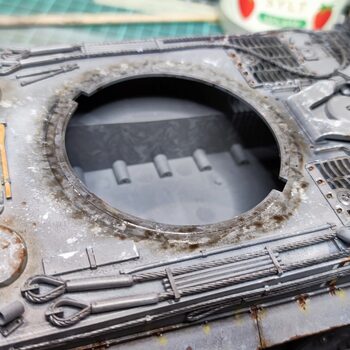
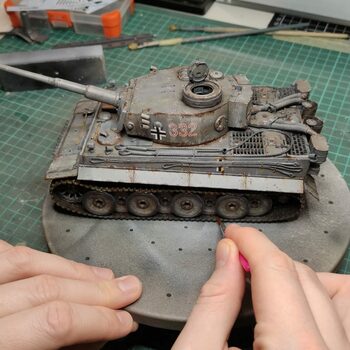
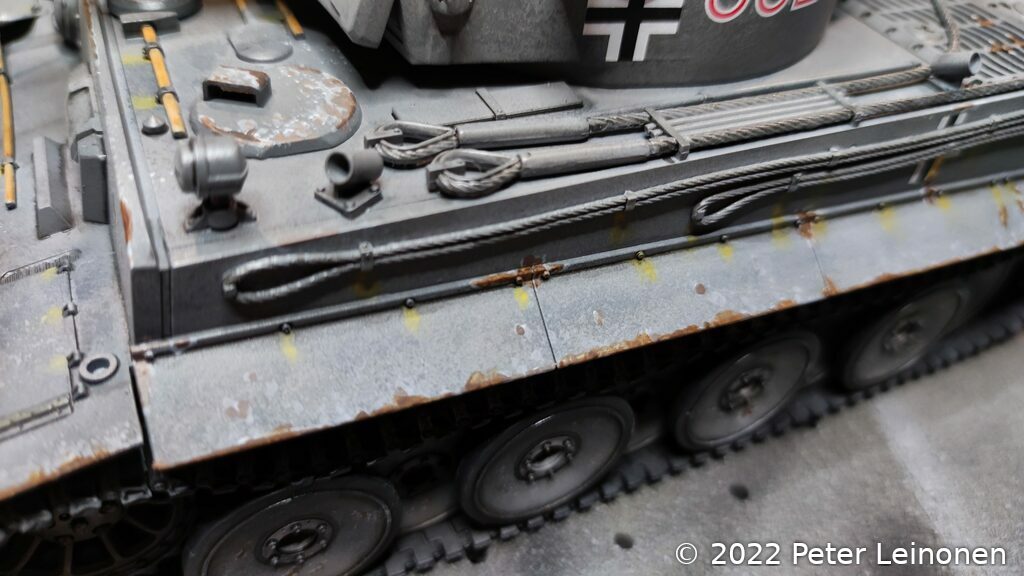
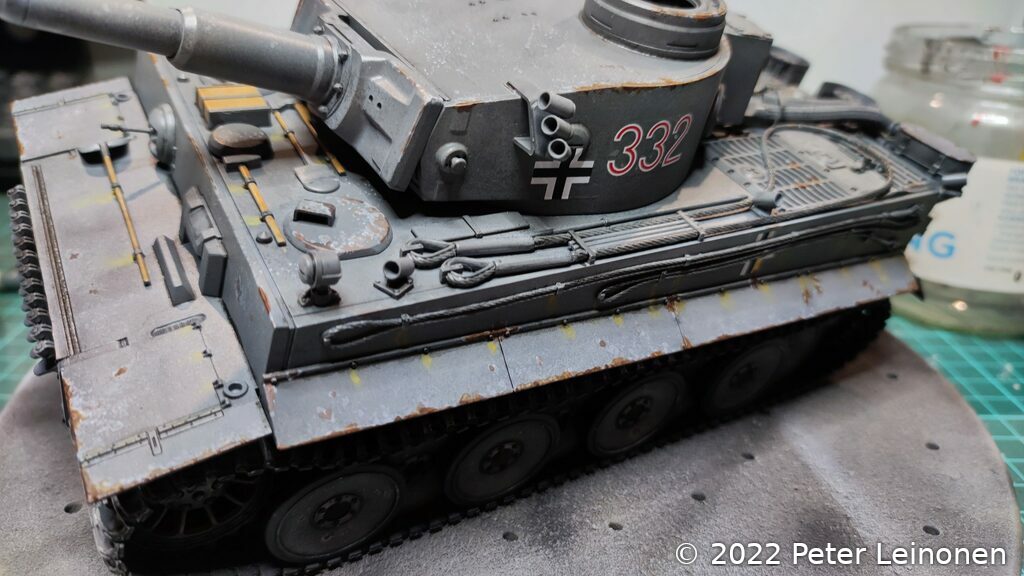
I added the decals and applied black panel liner to enhance the details and make them pop.
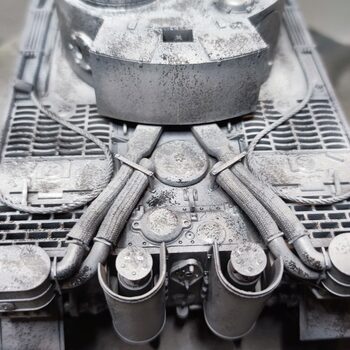
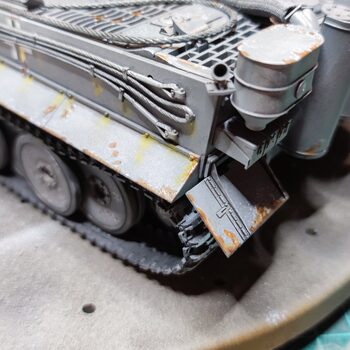
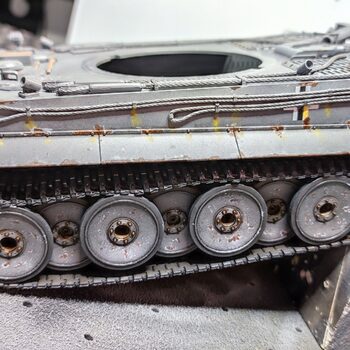
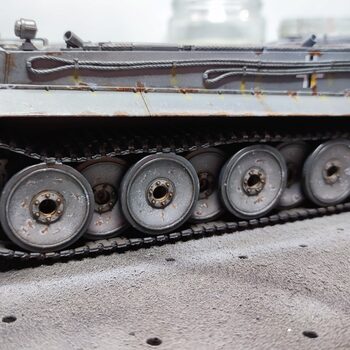
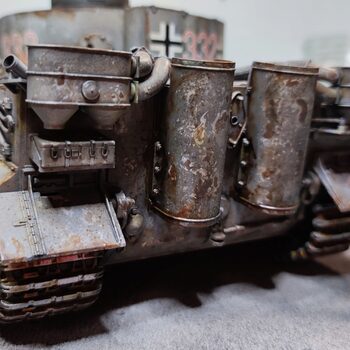
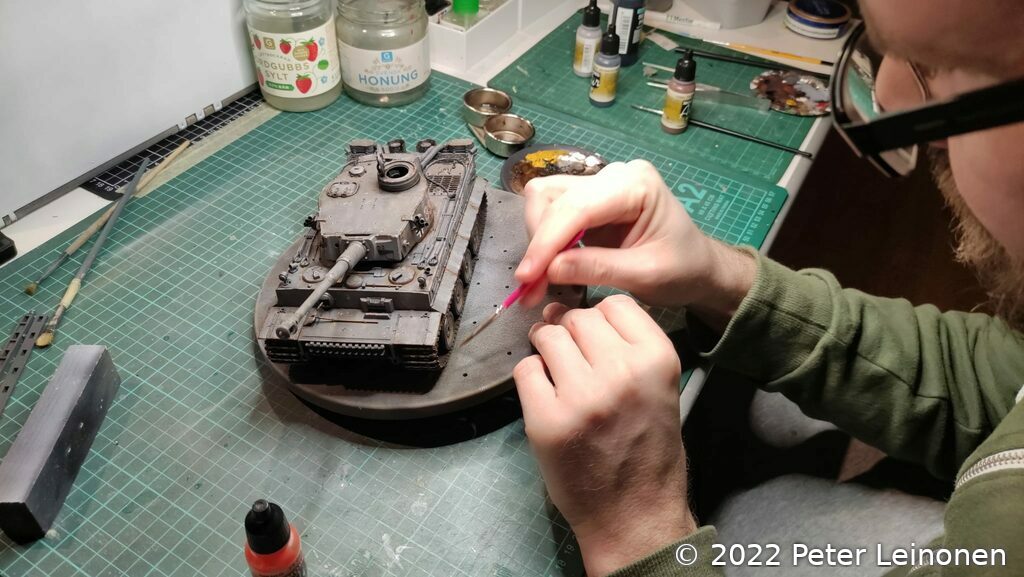
Rust
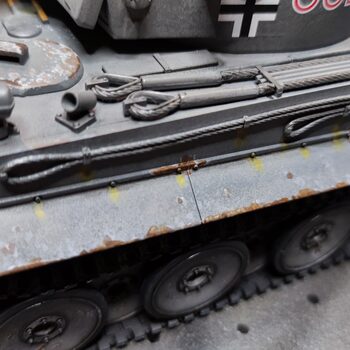
I wanted the tank to be rusty and worn down. I painted rust effects using paint brush. Started with a lighter tone using sponge technique and paint brush. Then I went in with dark rust color. When I was happy with the result I used burnt umber oil color to enhance the rust effect. I also used yellow umber in some places.
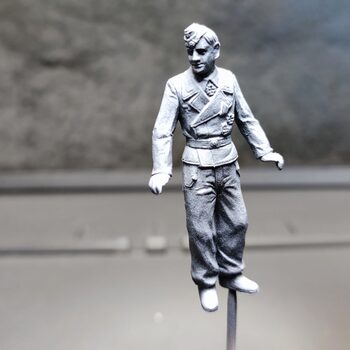
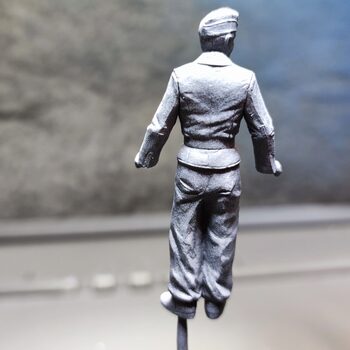
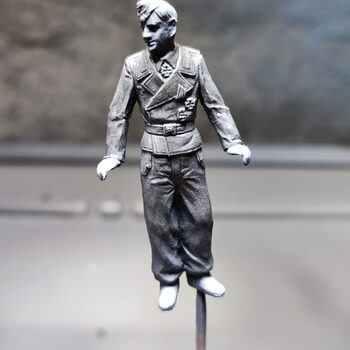
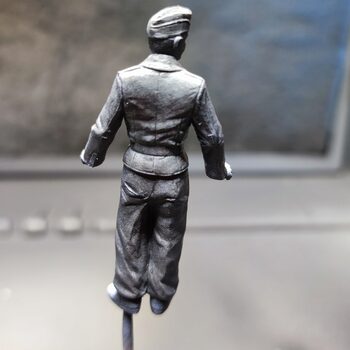
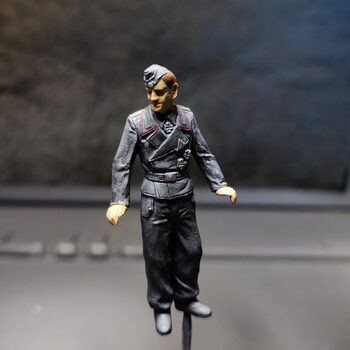
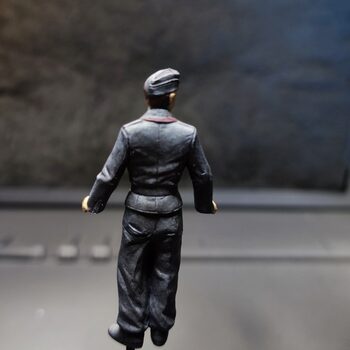
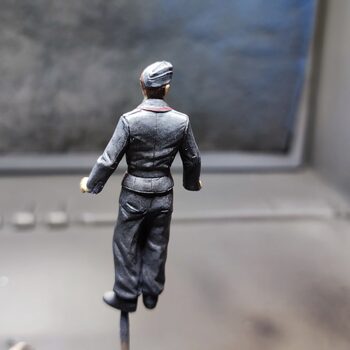
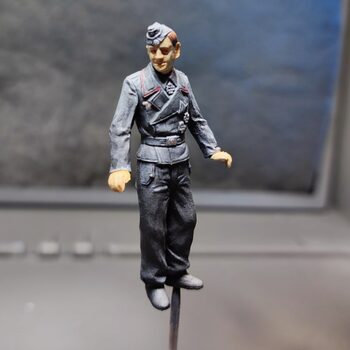
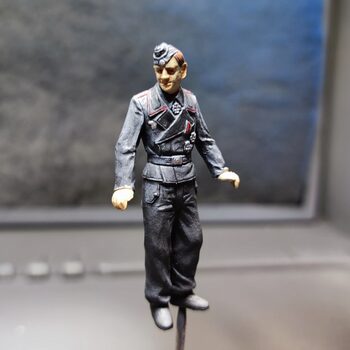
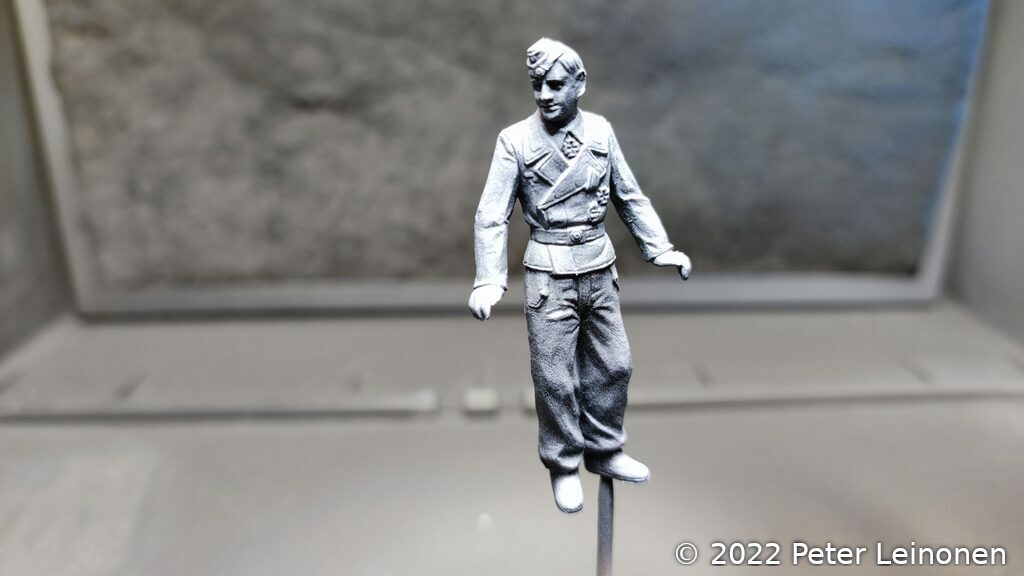
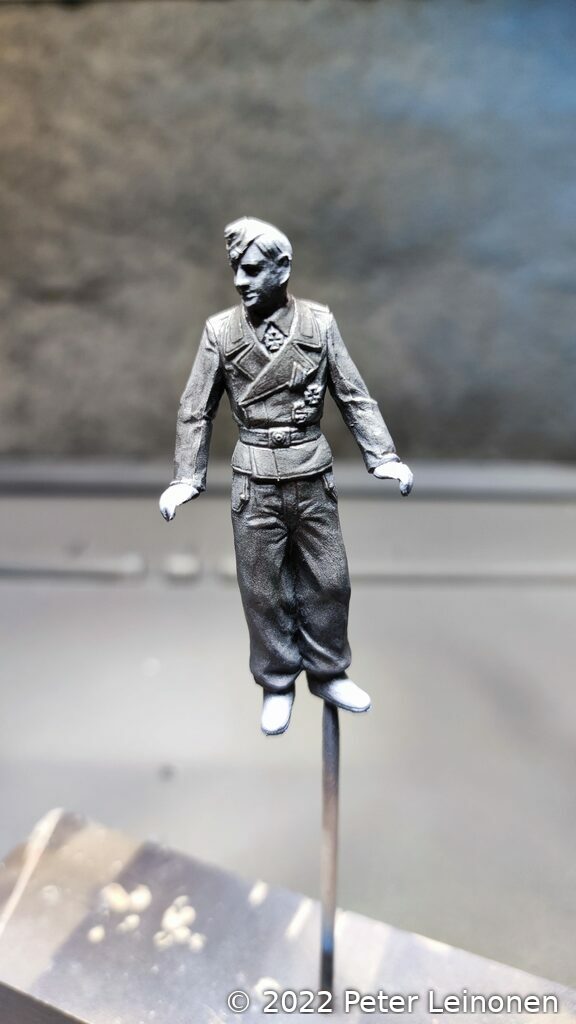
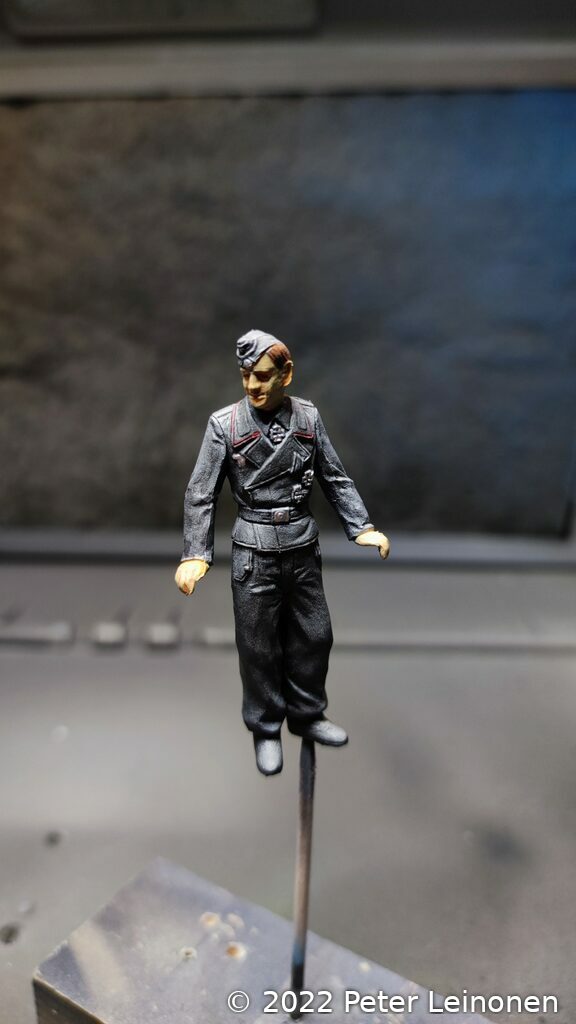
Painting the commander
Painting the commander was pretty straight forward. I used a technique called zenithal highlight. I painted the figure black, and then painted highlights with my airbrush by painting straight down over the figure with white paint.
I then applied several layers of grey using a paint brush and diluted paint.
Next up was adding details. Looks pretty good.
Next steps
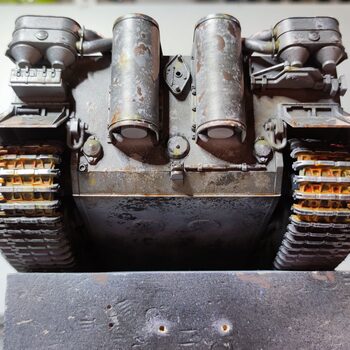
I will paint the under side of the tank, but this build is soon finished.
I learned some things and had fun building this tank.